Most of the time I singlehand, so how do I take photographs for Practical Sailor without awkwardly holding a selfie stick? I have a variety of remote mounts.
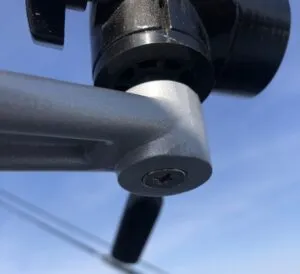
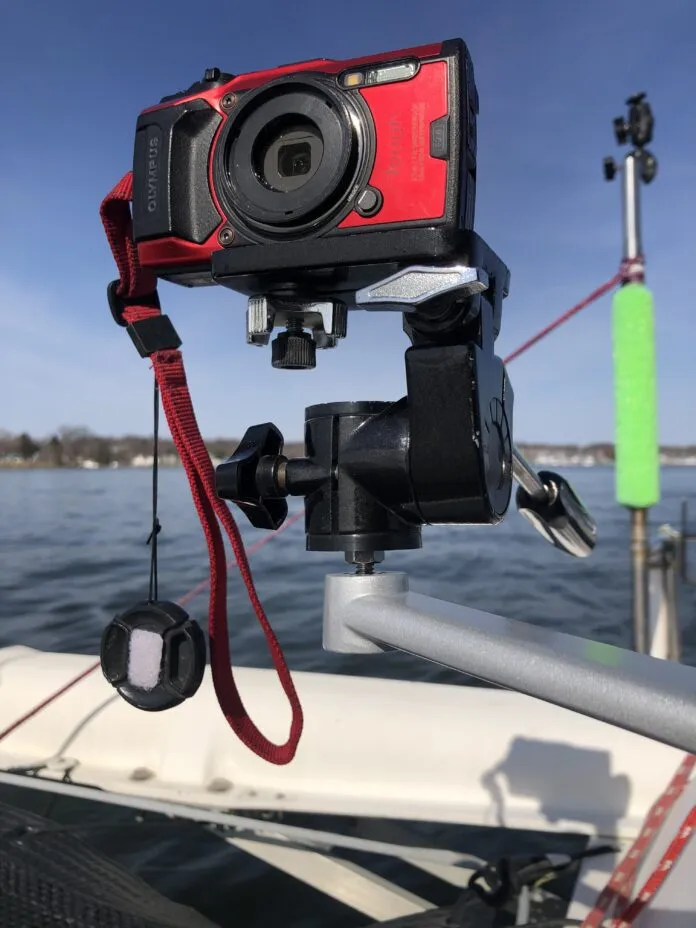
Winch Handle Camera Mount. I bought a cheap, locking aluminum handle for $25 on Amazon. A locking handle so that it can’t fall out, and aluminum because floating handles are hollow and won’t support the modifications. The grip was attached with a rivet that was easily drilled out. I countersunk the bottom side just enough to take a ¼-in. flat head bolt and counter bored the topside about ⅜-in. so that a ¼-in. nut would just pull into the softer aluminum when the bolt was tightened, without spinning. I then threaded on the top of an old tripod; both cameras and tilt/pan heads mount on a ¼-in. male bolt. The result is a very sturdy mount that is lightening fast to install, has a tilt and pan head, and that I can trust in any conditions. If you have a scrap tripod with a quick-release top that is a plus. It seems like some inventive sailor would market these.
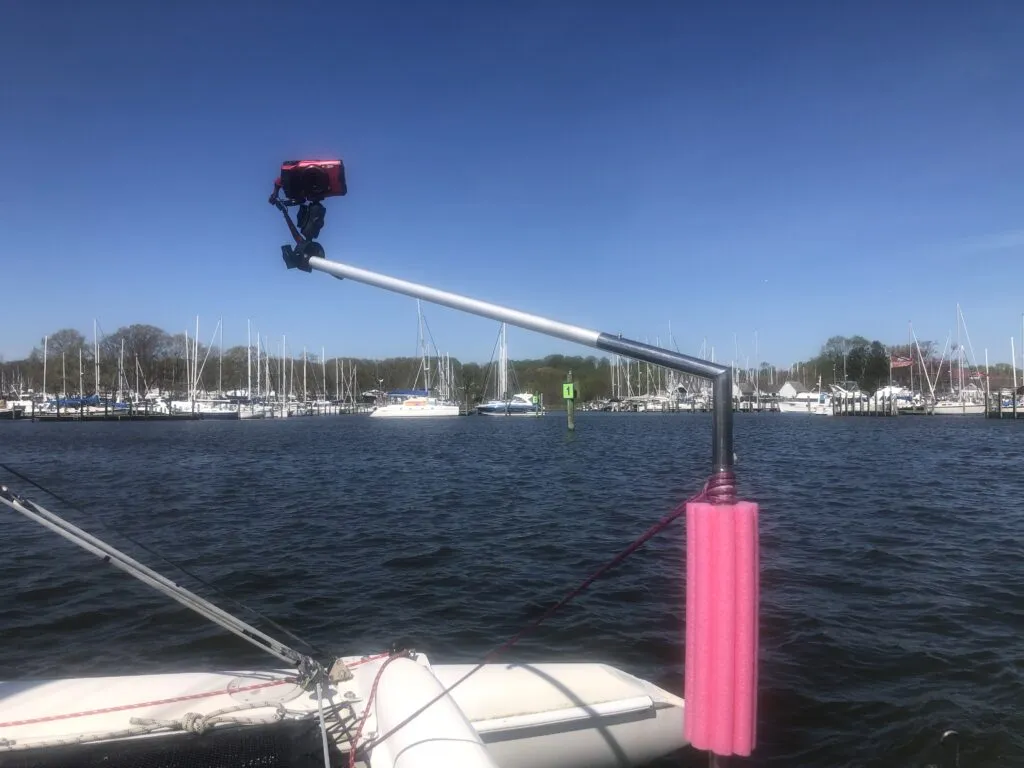
Extended Railing Mount. Sometimes the railing works, but often you need the camera farther away. In our case we had an odd stern rail with a post that went up 2 feet and then had an 8-in., 80-degree dogleg on the top. No one in the owners group knew what it was for, but we assumed it was for some manner of custom sun shade. It also rotates on the vertical axis. Perfect. We made an extension from 3 feet of aluminum tubing of the same OD and ID. We riveted a 4-in. length of stainless tubing that matched the ID of both the aluminum tubing and the end of the stainless railing 2 inches into one end. The extension is secured with a stainless paddle clip which holds it in place and prevents rotation of one tube inside the other. Just drill a ¼-in. hole through both tubes and slide the clip into place. The camera attaches with a clamp-on RAM Mount.
RAM Mounts. Available with all manner of extensions and adapters for cameras, phones and pretty much anything else. The hardware appears to be mostly 304 stainless, so corrosion has not been a problem. They can come completely apart when loose.
RAM Mount balls can be screwed in places where there are no railings. If you don’t like holes, there is a self-adhesive version using VHB tape.
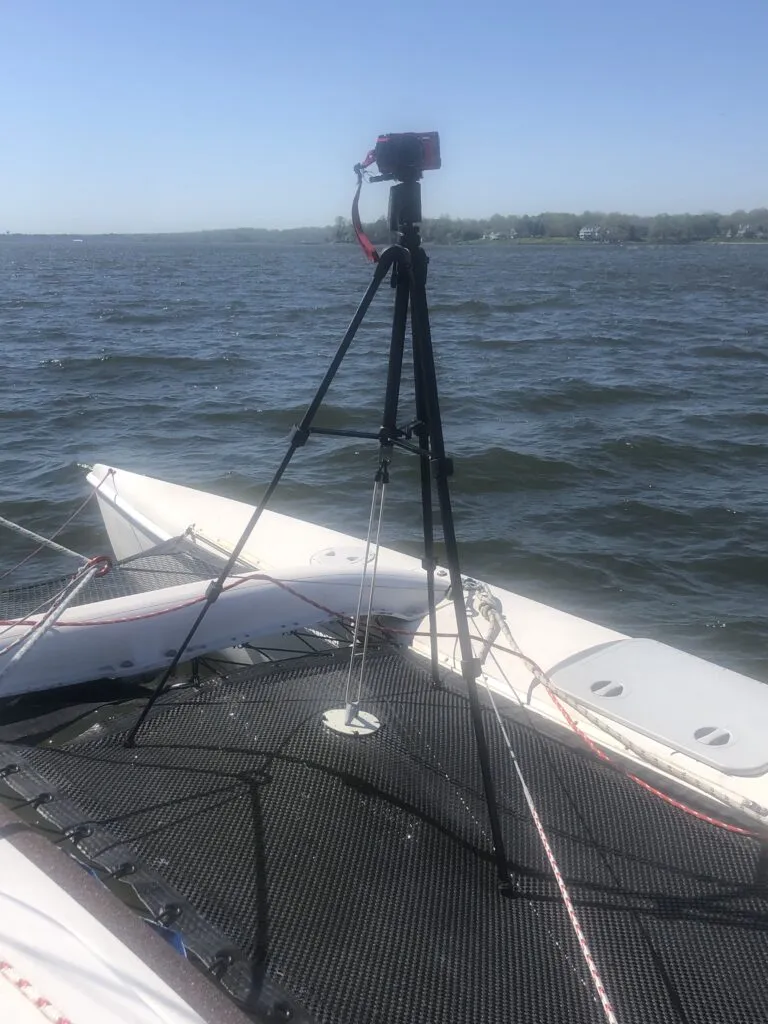
Tripods. Sure, you can put a tripod on the deck, and it will slide or tip over before you leave the dock, particularly if a speeder wakes you. However, every decent tripod has a ¼-in. bolt on the underside of the three-way brace that stabilizes the legs. Make an angled bracket with a ¼-in. hole in one end and a ⅝-in. hole in the other to accept bungee cords, and secure with a nut. If the threads are too short, the entire end fitting of the tripod typically unscrews and you can replace it with a longer bolt. By pulling the bungee down tight to a hard point, the tripod is secured in moderate conditions. We have hard points on our trampolines, installed to secure deck cargo. Other locations can require some fiddling, but you can always run a tight line between two existing hard points (stanchion bases, mast base, etc.) and then loop the bungee around that. On dry land or a dock, a weight is commonly hung from this same tripod fitting, but I wouldn’t trust that underway.
Another reason for the ¼-in. thread on the bottom of the tripod is so you can remove the tilt/pan head from the top and remount it on the bottom of the tripod (upside down) and use it for low angle shots and extreme close-ups. Not really a sailor thing, but now you know why it’s there.
CONTROLLING THE CAMERA
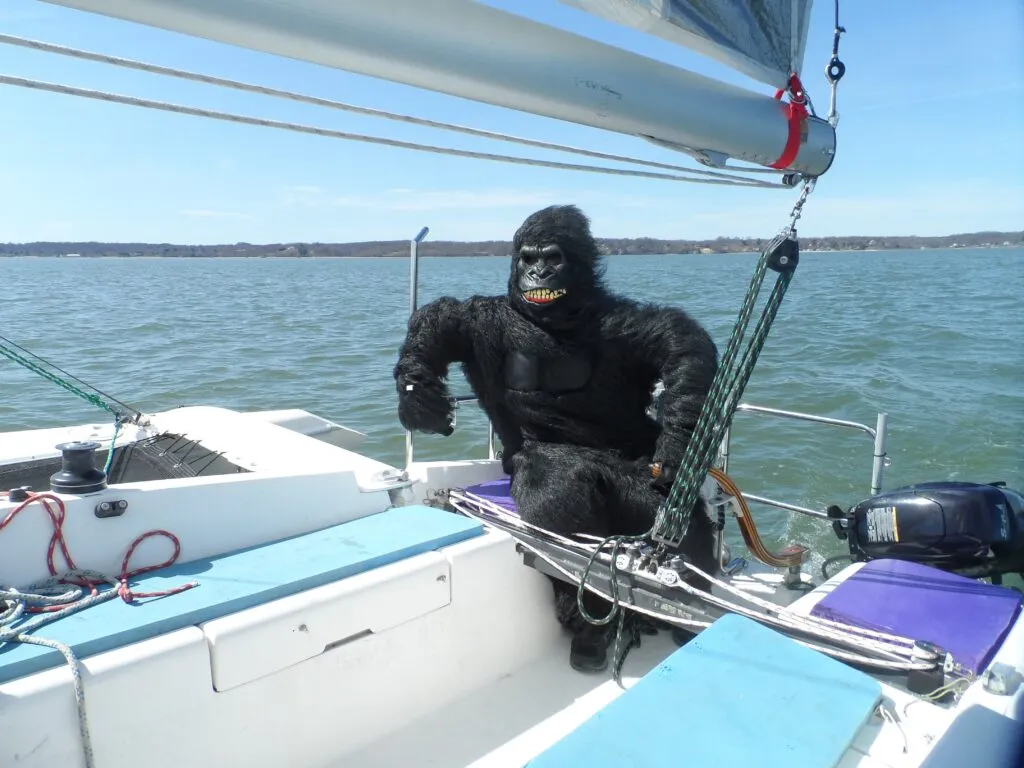
A 12-second timer works for many things, but it can be hectic. Once I wanted to pose in a gorilla suit for an article about the visceral side of sailing. Getting the hood and gloves back on and getting situated in 12 seconds was a trial. Fortunately, modern digital cameras are WiFi enabled and come with a free app. At least in the case of my Olympus TG6, you can take (more or less) full control of the camera, including mode and exposure controls. Typically, the timer is all that I need, but the app is handy when the camera is somewhere awkward, what I’m doing is complex, or for video.
LEARN FROM MY MISTAKES
A lens cover is strongly recommended, removed only when filming. All it takes is one spot of spray to blur images beyond use. But the cap flops around in the wind, often wandering into the frame. If it’s not on a string, you’ll lose it for sure. We put a spot of Velcro on the cap and several spots on the camera body.
If the camera has customizable settings (exposure, modes, etc.) check them every time you pick up the camera. It is all too easy to inadvertently change something when single-handing the camera.
Don’t focus on the timer and mount to the exclusion of all else. Recently, out by myself, I became so focused on getting some photos of a grounded boat I bumped the autopilot off lock and hit a day mark! Fortunately, I was slowed to about two knots. It was a bit stupid—another lesson learned.


Thanks for this article on camera mounts. I’ve been thinking of getting a GoPro to record video of racing and cruising on my C&C 30. This article has changed my mind from thinking to planning.