“Keep the crew on the inside and the water on the outside.”
This old salt’s advice to new offshore sailors is somewhat “tongue in cheek” but still pertinent. What it does not say is how to achieve that! As a regular solo distance sailor, including crossing oceans, it is something I have given a lot of thought to. I have also tried several systems to keep the crew onboard, so here are some ideas that may help you do just that.
First a disclaimer: Every boat is different and what works perfectly on one boat could be a death trap on another, so this article does not aim to dictate how to do it on your boat, but rather, looks at the principles and materials involved. So here goes.
There are several points I want to cover:
Line strength. A jackline that breaks under load or risks injury to the crew is worse than useless, it instills false confidence. But the way you rig it has a big impact on ultimate strength and safety.
Where you rig it. The jacklines and harness/tether should always keep you on onboard. If the system allows you to go over the lifelines you are likely to be drowned as you are towed alongside before anyone can stop the boat.
A jackline is not just for going forward. People have been washed out of the cockpit in a knockdown. The system I propose allows you to be attached to the boat from the moment you leave the companionway.
START WITH LINE STRENGTH
A solid wave boarding over the deck exerts huge forces! Also, a human body falling even a couple of feet builds up a lot of energy. If a tethering system is going to work, it has to absorb and dissipate this energy safely and without allowing the person to go over the rail. The important word here is “safely.” You could make a massively strong system using steel tubing and wire tethers that would be almost unbreakable, would it be safe? Probably not! If you fell across such a system from windward to leeward on a 2-ft. tether you would have fallen 4 ft. and are probably traveling at about 10 miles per hour.
The wire tether has no give, so when you get to the end of it, you stop instantly—a bit like running into a brick wall at full tilt. Well in fact, your harness stops instantly the rest of you doesn’t!! The likely results are whiplash injuries to your neck, back injuries and serious bruising from the harness webbing. They put crumple zones in cars to soften the impact in a crash. We want the same in a tether system that anticipates some give to absorb the energy and prevent injury. Okay, so we use rope or webbing to do that. Fine, but that creates a bit of a geometry problem as illustrated below.


In Fig 1., the angle the jackline makes is 120-degrees, which means the load on each leg of the jackline is the same as the load at C. Great, the system is secure, unfortunately the crew member is now in the drink being towed behind the boat at several knots. So, we need to tighten things up.
In Fig 2., AB is now my nice tight jackline, so there is not enough slack for the crew member to go over the rail. But what about the loads? If C is my 90-kilo crew member, who has just fallen a few feet, which effectively doubles the weight put on the line. Think of it now as a load of 180 kilos. (this number is not the real figure but just an estimate for illustration).
To hold an angle of 30-degrees in the jackline, you are now going to put twice the load on each leg. You can see what’s happening, and if you want even less angle, the loads rapidly get to the point where anchor points start to fail. You are also going to need to use a pulley system to get enough tension in the jackline to hold the angle. If you want to see a practical demo of this, here is a YouTube video from a vertical access trainer.
WHERE TO POSITION THE JACKLINE
So what to do? This brings us to No. 2 on our list, where to rig your jacklines. Let’s start with the most common setup, running jacklines along each side deck, and look at why this may be less than ideal. If you get thrown onto the lifeline, the jackline lifts off the deck and you can easily finish up over the side.
When faced with this sort of problem I often look back at what was done on working sailboats. Those are tried and tested systems that work in all weathers. So how did they do it? If they needed to rig a jackline to cross the deck in very rough weather, they simply tied a line between the masts. If a crewperson got swept off their feet they may get washed towards the scuppers, but even with stretchy hemp or manilla lines, they would not go overboard. The line was rigged just above head height so as to be out of the way. Could we do this? Well maybe on a 60-footer with flush decks, but not on a typical cruising boat!
However we can get as close as possible. Here are some suggestions.
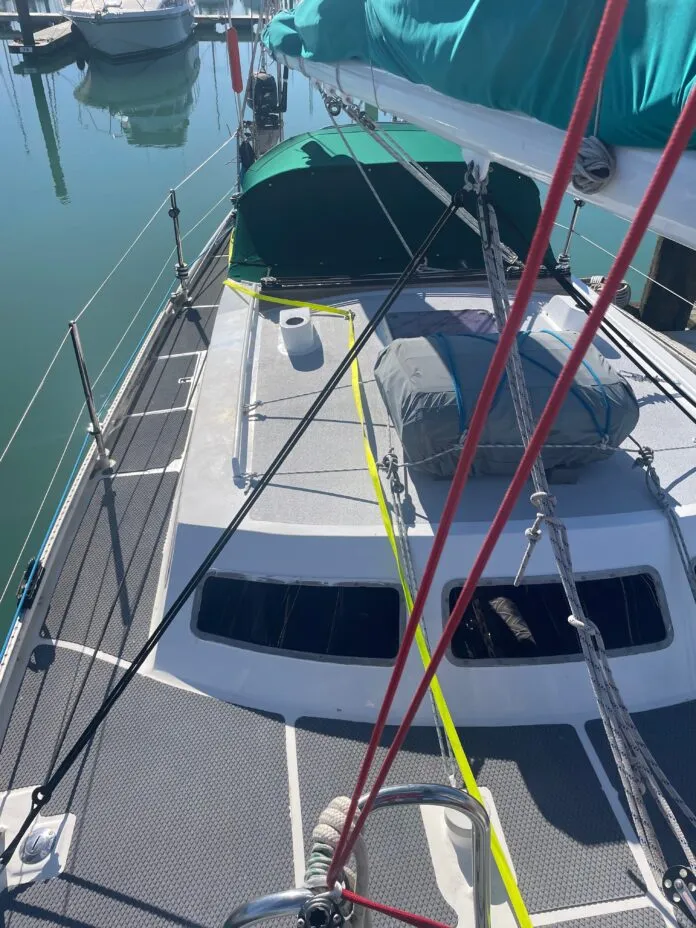
Boat with a rigid dodger. Strong point in dodger roof on each side as far inboard as possible that still allows you to reach to clip in. Then run the lines to a strong point on or around the mast.
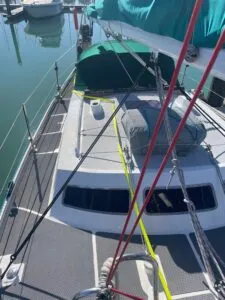
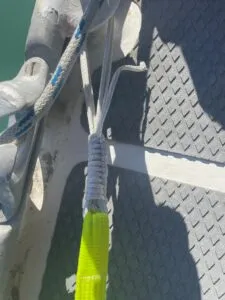
Boat with a soft dodger. Put the strong points in the cabin top, again as far inboard as you can comfortably reach, and run the jackline to the mast.
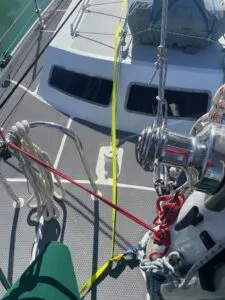
In both cases, rig another line from the mast to the stemhead, samson post, or a centerline cleat if you have one to cover the foredeck. If you’ve got a staysail, you’ll have to work out ways to terminate the jackline at the lower terminus of the inner forestay. You’ll have room to maneuver up here if you use the long leg of your tether. But be careful when you’re working up here. Even with a jackline mounted as close to the centerline as possible, you run the risk of having enough slack in the tether to go over the rail and get dragged. Ocean sailing is not without its challenges.
The bottom line: Adjust your tether so it just allows you to move along the deck on a moderately tight line. Keep your tether as short as practical. In rough weather, you will be moving hand over hand along the handrail leaning in so one leg of the tether can be pretty tight.
You can easily see that if you are thrown onto the jackstay with this set up is much more likely to pull you up before you get anywhere need the rail. To make it even better in rough weather, I would keep the tether as short as possible—you are likely leaning into the cabin top anyway—and keeping down or even on hands and knees so the tether can be really short. Also, as soon as you clip on you will pull all the slack out of the jackline further limiting movement.
You may be fine using a longer tether when it is calm enough to simply walk along the deck. I always clip in when solo or when I am the only person on deck, at night or in any seaway that is moving the boat around. On a well-crewed boat in fine weather, I will freely admit I don’t clip on.
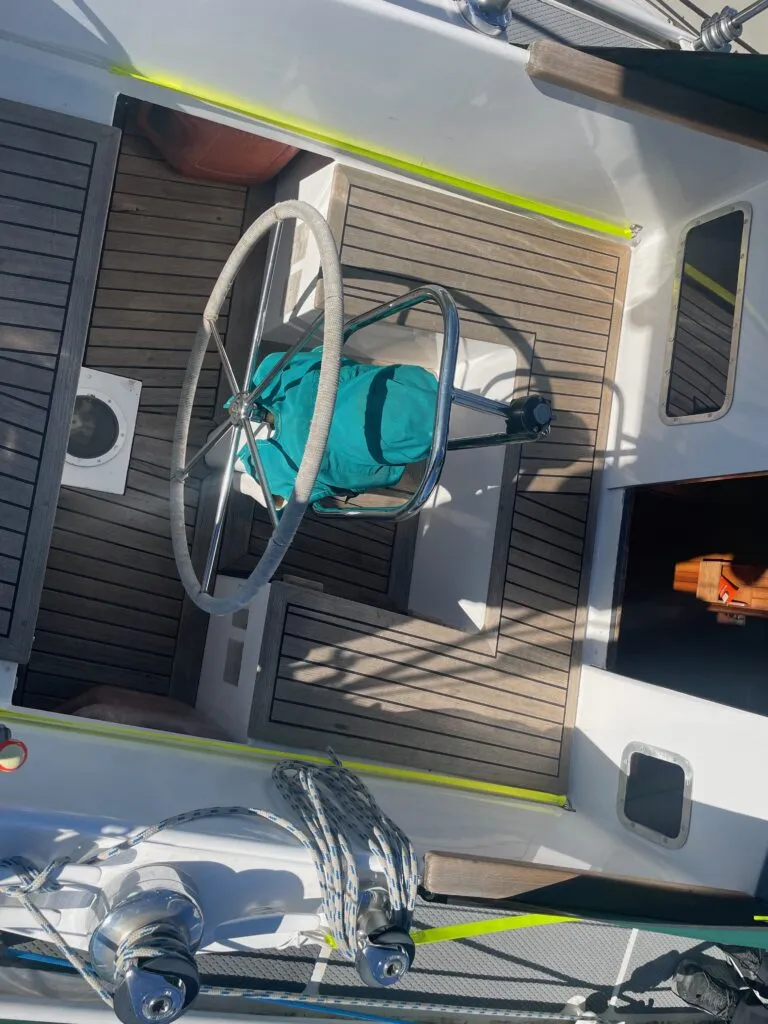
This leaves one final area of concern, how do you transfer from the cockpit to the deck and from aft of the mast to the foredeck? The first thing is that one tether is not enough. If you only have a single tether you will always have to unclip from one line before clipping to the new one. Sod’s law says that that is the moment the boat will take a sudden unexpected roll that knocks you off your feet. So, 2 tethers. I use a short one for clipping lines to minimize how far I could get thrown and then a longer one that I can wrap around the mast and clip back into the harness attachment or if I need more freedom.

Back to getting to the dodger. If you have a rigid dodger this should not be an issue. Run the lines from the back of the dodger over the roof so you can clip into them before leaving the cockpit, but still fit a handrail on the roof if it did not come with one! With a small folding dodger this becomes more of a challenge. Can you step around the dodger and clip the jack-line with your short tether before unclipping the long tether from the cockpit? Mock up the lines and try it. If the answer is no or it is too awkward because of the size of the dodger can you even reach the coachroof handrail while still having one hand firmly holding something in the cockpit? I suspect the answer is no.
Never use the guard wire as a handhold unless it is a solid tube above waist height. So you not only have a problem moving the tether from the cockpit to the cabin top you have nothing to hang onto when moving around the dodger even ignoring whether you can clip in. Just to make things worse this is often the narrowest point on the side deck. If you do have that, and it is great for hiding behind when it is rough, it also needs to be pretty strong. That is a big area of canvas for the wind and waves to catch on.
Hopefully, it will be a solid frame made of stainless tubing not a lightweight folding aluminum one. If this is the arrangement, you have simply to mount a handrail across the dodger on each side. I have seen quite a few that were built this way but it should be a reasonable add-on if not. You now have something to hand onto and clip to when moving around. Below is a good example of how this can be done but it does make the dodger a much more ‘fixed’ structure, if you want to fold it down the handrail would have to be removable.
I would be happy with this type of setup for inshore or near-coast cruising but not offshore. In bad weather offshore where waves get a lot bigger, this type of dodger is simply too vulnerable for me.
Offshore, I would always go for a rigid dodger. It does not need to be big but it should be solid enough to take green water crashing into it. Adding a folding fame if you want more cover is fine.
As I said at the beginning, you will have to work this out on your boat but the principle is that the further inboard and higher the line is rigged the better job it will do of keeping you on the boat.
The other great advantage of this method is also that the lines are now not on the side deck. Side deck lines get damaged by people walking on them, trip you up and only keep you onboard when on the windward side.
DON’T FORGET THE COCKPIT
Final points, what about the cockpit? We tend to think that we are safe in the cockpit but in a knockdown the cockpit sole becomes a vertical wall! People get washed out of the cockpit in knockdowns and if the boat is pooped. We are also likely to be more relaxed and less on guard in the cockpit. Going forward in rough weather, I will bet you are hanging onto anything you can. In the cockpit you might be relaxing with a brew when a rogue wave suddenly breaks over the combings or throws the boat on her beam ends. So put strong points on each side of the companionway that you can clip into as you exit. Do the same on either side of the helm station and depending on the cockpit size you may want to consider running a line along the front of the seats. This will be well inboard but still allow you to move around without it being in the way.
Hope this gets you thinking. Be safe, and happy sailing.


