WINCH GREASE FALSE SAVINGS?
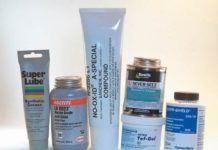
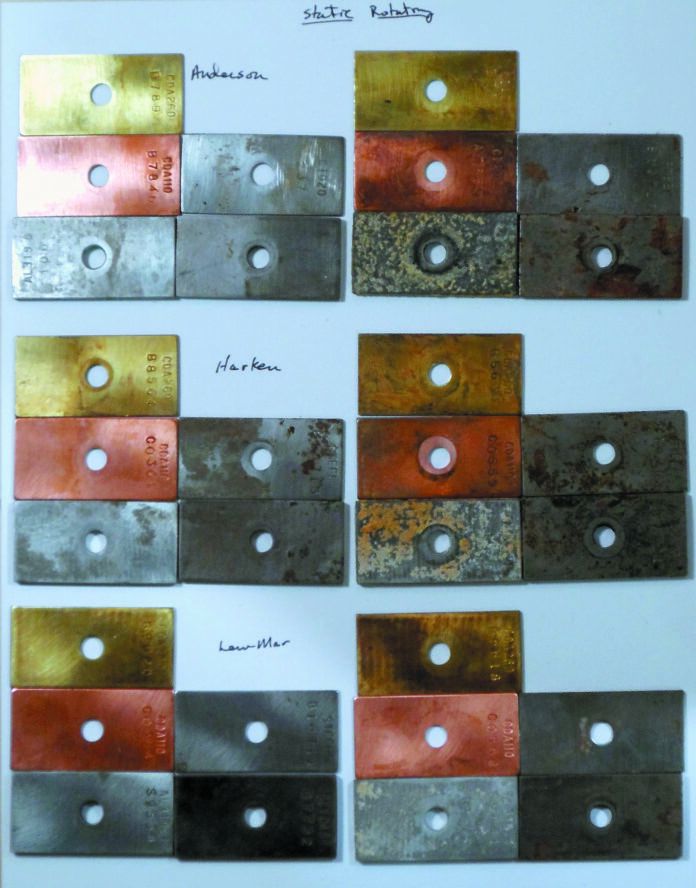
With regards to your report on winch grease (see PS February 2017, “Budget Priced Winch Grease,”), price is a small consideration compared with my labor. One thing you didn’t mention is how hard it is to clean the old grease off. Winches should be serviced regularly and cleaning last year’s grease off can take quite some time. I use paint thinner and a brush in a plastic pail. This task is much easier with Lewmar grease than it is with Harken grease. I now stick with Lewmar for that reason.
Martin and Angela Minshall
Katie MII, custom 37-foot cutter
Currently cruising Australia
WHAT ABOUT AMSOIL?
With regards to your winch grease test, I was surprised that you didn’t include any of the wide range of Amsoil high-performance, synthetic greases, perhaps starting with their Water Resistant Grease (NLGI 2, calcium sulfonate base). Amsoil lubricants are not cheap, but they have a well-deserved reputation for saving maintenance money.
Jonathan Allen
Our belief is that in a winch, resistance to wash-off and corrosion are the most important traits. Temperatures are low and the grease will be replaced (hopefully) on a very regular basis. The most common winch failure, in fact, seems to be wear in the pawl sockets, and these are generally oil-lubed, and light oil does not last long. Amsoil should do the job, and we will follow up with a test.
Those early weeks of the “great splash,” when thousands of new boats hit the water for the first time this season can be chaotic to say the least. Whether you want to be first in the water or are happy to keep tinkering for a few more weeks, the PS Online archives have got you covered.
WOOD FINISH
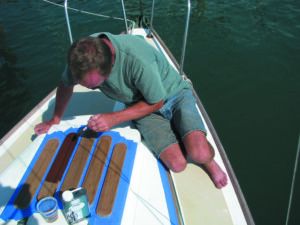
Modern polymers have made the job of protecting wood easier, but we’ve also found some eco-friendly natural concoctions that provide limited protection as well. Search “wood finishes” with our online tool for a bucket-load of articles on products and application tips. The 2-year wood finish update (September 2011), and the application and gloss report (June 2015) provide comprehensive coverage and links to previous reports.
RIG INSPECTION
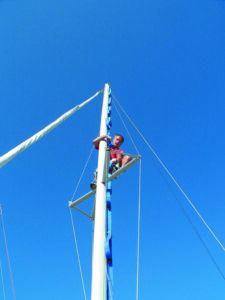
Winter’s freeze and thaw cycles can creep into rigging terminals, and hidden corrosion can leave your rig vulnerable. If you’ve not yet stepped your mast, inspection is easier. If you have stepped it, it’s time to climb. In any case, we have you covered. Search “rig inspection” at PS Online. Brion Toss’s “Hidden Causes of Rig Failure,” is a great start.
CLEANING
Still scrubbing? Check out our test reports on boat soaps (PS January 2013), waterline stain removers (PS April 2014 and November 2007), isinglass/clearvinyl cleaners and protectors (PS May 2014 and March 2009), and hull waxes and polishes (Inside Practical Sailor blog April 9, 2014 and July 2014 PS issue). Our four-volume report on Marine Cleaners in the PS Online bookstore will ensure you’ve got everything you need (www.practical-sailor.com/products).
STORM READY
You don’t have to live in hurricane-prone area to benefit from our comprehensive four-volume Hurricane Preparedness guide, which describes the gear and techniques that can help you ensure that your anchored, docked, or moored boat is in the best position to survive an extreme weather event. Details are at www.practicalsailor.com/products.
BOTTOM PAINT REPORT
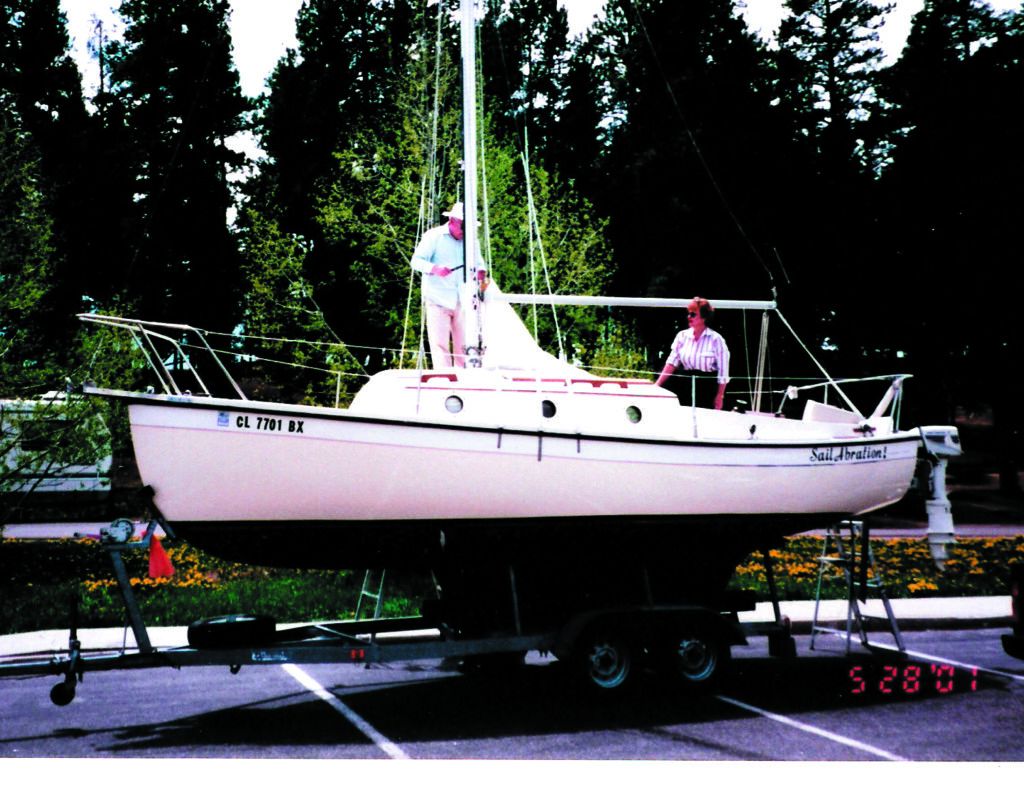
I just got around to reading Ralph Naranjo’s “Epoxy Barrier Coat Update,” in the September 2020 issue. My own experience is quite different, but for various reasons. Most of our sailing has been on fresh water, both warm and cold. Our boat is pulled each fall for covering and rest on the hard. About half of the time the boat has been on a mooring at very high altitudes where sunlight is severe and water is clear.
We floated our Compac 23 on Memorial Day weekend of 1984 at Annapolis. MD.
Our dealer applied KL990 for the bottom paint. When our boat was pulled in late September 1984, we had blisters even though the gelcoat was blister resistant. We washed off the hull and sanded down the blisters and left them to drain under a tarp for the winter. In the spring of 1985, we worked a deal with the marina yard to lift the boat at night with their Travelift so we could sand the hull and apply West System epoxy on the keel bottom and areas that the pads of the cradle covered in the daytime. Over several nights, we applied four coats of epoxy.
We then lightly sanded the epoxy and applied four coats of Micron with one white coat on the hull and three brown coats over it. We sailed out of Havre de Grace, MD for two more years getting as far south on the Chesapeake as the Solomons and as far north as the Delaware River. Then we moved west to Colorado and sailed for 28 years on Pueblo Reservoir and Lake Granby. When the boat was pulled each year, we took it to a car wash and hosed down the slime on the hull and in the spring applied a touch-up coat of bottom paint where we had brushed the bottom on groundings or rollers and bunks on the trailer had rubbed.
Most of our sailing has been in fresh water. We had two weeks in salt water and three weeks in brackish water on the Chesapeake. Wiping slime off the waterline was a frequent task. Of course, the cold water at Lake Granby obviated the need to wipe any slime off the hull for many years. Lake Granby is 8,300 feet above sea level and you need a heater in the cabin all summer as the nightly temps drop to between 30F and 35F or so.
Currently, we need to sand the bottom and apply fresh bottom paint for sailing in Pamlico Sound, NC and the Atlantic. Over the 35 plus years, we never repainted the whole hull, but now the white coat is showing here and there. The epoxy barrier coat is yellow along the waterline, unprotected from the sun, and in some places the coating has chipped off along the edges. Needless to say, we have had a wonderful experience with West System epoxy and will definitely use it again. I need to apply some offmore epoxy to the water line and the keel bottom. I may also need to recoat the hull where the trailer bunks support the hull as the boat has been trailered 3,600 plus miles from Maryland to Colorado and back to North Carolina.
Gordon and Patty Allison
SailAbration, 1984 Compac 23/II,
Pamlico Sound, North Carolina
Thanks for sharing. UV will degrade epoxy if it’s not coated.
THE ZEUS3 POD?
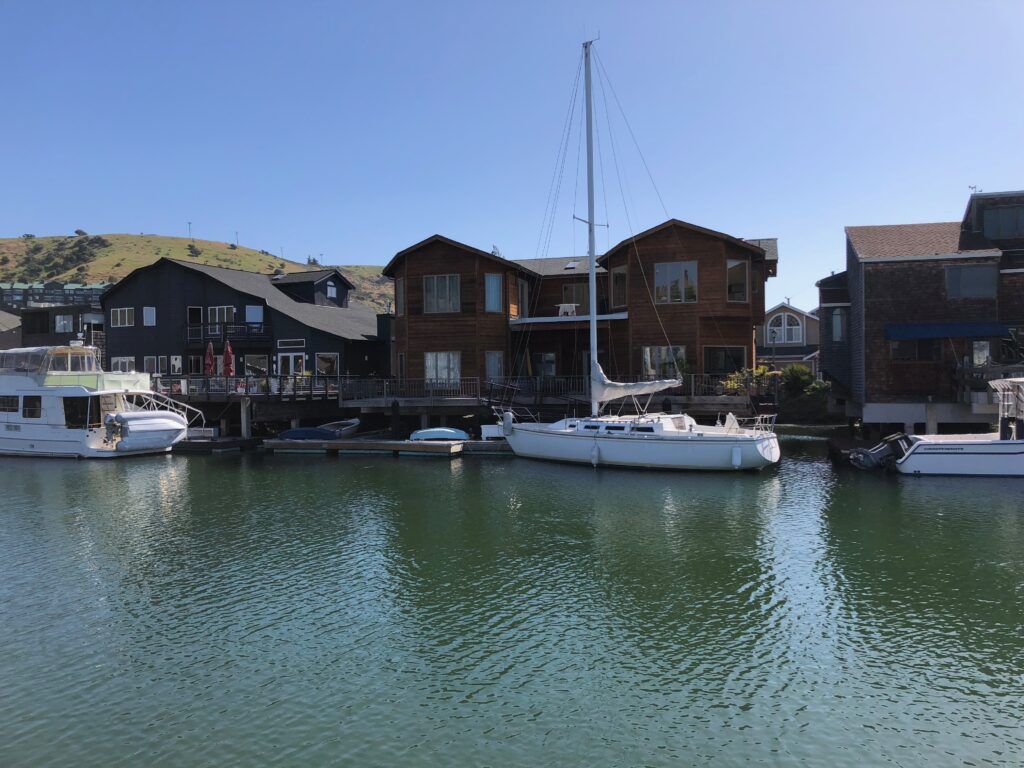
Regarding your report on the B&G Zeus (see PS February 2018, “Testing the B&G Zeus3 Nav System,”), I am now a proud owner of a B&G 12-inch Zeus 3. I’d like to know if there is a swivel pod and interconnect cables available to facilitate the removal of the unit when not in use.
Merv Fernandez
Catalina 36
San Francisco, CA
As far as we know, such a product does not exist. The Zeus 3, like all MFDs, supports a multitude of cables of varying types. Although your quest is technically possible, finding interconnect cables that would make this practical would be difficult. If the concern is theft, we would just remove the fasteners that connect the two halves of the pod together, drop the MFD cables and take the front half with you. As a side note, the pods typically come with anti-theft fasteners in the first place.
RAFT INSPECTION COSTS
Regarding your report on liferaft inspections (see PS February 2013, “Liferaft Inspection: An Inside Look”), I have owned a 6-person Viking life raft for seven years. I had it serviced at an approved facility in Florida three years ago and the total price for the service was around $1,300. The raft did not require anything other than the normal service. This service price was well above what I was told to expect when I purchased the raft for around $2,100 at a boat show. I’m thinking I may just buy a another life raft from another manufacturer rather than go through this experience again.
Jack Courtney
Ciboney, 1985 Hunter 31
Punta Gorda, FL
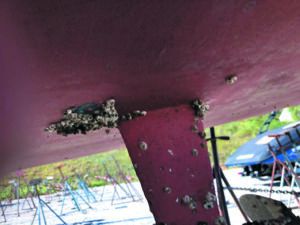
Last fall I contacted Scott Bellem of Pettit Paint about the problem. Scott communicated with me numerous times and recommended different Pettit bottom paint more appropriate for our shallow, brackish mooring area. He then drove 2 hours round trip to deliver the recommended paint, at no cost. I was impressed by the way Pettit stood behind their product and made things right. Scott’s customer service went above and beyond expectations.
Bob Reeve
Liberty, 1995 Freedom 35
Old Saybrook, Connecticut
DIY LIFERAFT INSPECTION
When you buy a boat already with a raft or if you buy a raft used, the cost to repack is very daunting. So far better than ignoring it is do it yourself. I did and was overall very glad that I did.
1. I can repack it with what I want.
2. I know for sure what is going on with the raft.
3. Parts of the job were a bit of a pain, but overall easier than I thought it would be.
4. I saved a lot of money and again, much better that ignoring it. As has been pointed out by many, it’s almost to the point of if I have to spend that much, just buy an new one.
So I thought that even if I can’t finish it, I’m no worse off. And much better than ignoring it. Is it as good as having the pro’s do it? No, but a good alternative that I now trust.
Fred Read
Merry Dolphin, Tartan 37
Oriental, NC
PEARSON 303 OCEAN READY?
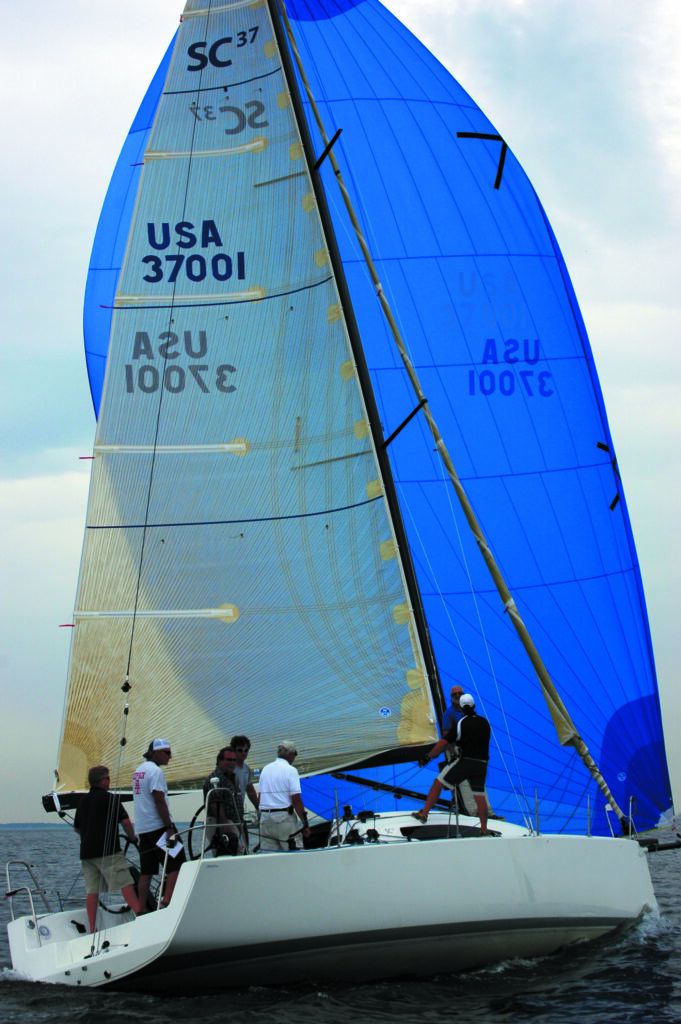
Cruz 37 for “offshore sailing” is as much a standard for regulating international trade as it is as for a benchmark for seaworthiness.
With regards to your review of the Pearson 303, why do you say that the one thing she is not is an “offshore passage making boat.” I am a passagemaking sailor and am interested in making passages with this boat, so I need to know what reasons you have that says I should not.
Richard Manto
Our testers generally refer first to the builder’s descriptions of a boat’s purpose, and then evaluate where the boat’s design numbers fall in relation to the standards and measurements used to evaluate seaworthiness. These standards are discussed in links that follow. Of course skilled or lucky sailors have sailed “unfit” boats across oceans without incident, and standards are no guarantee of seaworthiness. The ocean does not read the fine print.
Because lives are at stake and many of our readers put great trust in our judgement, we generally err on the side of caution before rating a boat fit for offshore passages. Very few production boats come off the line ready to cross the Atlantic in our view, if only because they lack some essential equipment and a proper shakedown.
The Recreational Craft Directive 2013/53/EU used by builders to categorize their boats for international trade compliance describes “offshore” boats as Category A. Category A covers largely self-sufficient boats designed for extended voyages with winds of over Beaufort Force 8 (over 40 knots), and significant wave heights above 13 feet, but excluding abnormal conditions such as hurricanes.
Here are some related Practical Sailor articles discussing seaworthiness standards. If you use the online search tool, or Google “Practical Sailor stability” you’ll find more:
• www.practical-sailor.com/blog/ sailboat-stability-uncensored
• www.practical-sailor.com/sailboat-reviews/standards-costly-hurdles-or-vital-guidelines
• www.practical-sailor.com/sailboat-reviews/certifications-and-ratings-whats-the-deal
• www.practical-sailor.com/safetyseamanship/special-report-dissecting-the-art-of-staying-upright
Generally boats with an overall length of less than 30 feet are penalized in the European directive standard because they don’t rank well according to the capsize screening formula. But overall length alone is hardly a deal-breaker for “offshore” use. Just ask any of the French sailors scooting across the Atlantic each year in their Mini-Transat boats.
A shady solution to stop anchor-dancing.
In the absence of a large hard top or Bimini, awnings are vital part of summer anchoring, blocking the burning summer sun and providing shelter on drizzly days. We’ve also struggled with glaring shortcomings. Most are a nuisance to rig, with six or more clipping points and a pole or two required for stability. If the wind blows, the awning must come down. It will flap, catch wind, and increase the load on the anchor, and that means fussing with all those clipping points and poles.
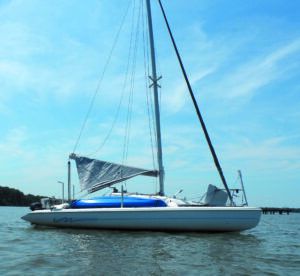
While testing riding sails, we noticed that the V-Delta provided helpful weather protection (see PS August,2019 “Rest Easy With a Riding Sail”). Not much, nothing like an awning or Bimini, but it was cold and spitting rain, so we appreciated any improvement. It also rated very highly as a riding sail because it was effective, added minimal drag, could be adjusted, and was stronger than any other design. So why not incorporate these attributes, creating an awning that can stay up in all weather, and be simpler to rig to boot?
The V-Delta riding sail design was innovated by Paratech Sea Anchors as a means of preventing yawing when hanging behind a parachute sea anchor. Consisting of a diamondshaped piece of cloth rigged over an elevated boom, it is better supported than any other riding sail design. Our trial version, made from a poly tarp and duct tape, easily stood up to 30-knots gusts with no sign of strain, while other trial shapes flogged themselves to bits.
MINIMAL CHANGES REQUIRED
The changes required to modify the riding sail design into a functional awning design are minimal. The diamond shape is retained, but extended forward to the mast. It is also made wider by adding about 50 percent additional length to the luff perpendicular, while carefully retaining the same sheeting angle. The cloth area is roughly doubled. When used as an awning the boom is elevated, though not quite as high as for the V-Delta riding sail, and the “clews” at the each side are spread wide apart to increase the shade (but not so far that the distinct forward-facing V-shape shape is lost).
The result is more than nearly triple the coverage area of the riding sail and 80 percent of the coverage of a full awning. When deployed as an awning, the sheets are led well outboard (a monohull will require a spreader between the clews) to a pair of snatch blocks on the outriggers and then back to the stern cleats.
In the event of a storm, you slip the sheets out of the snatch blocks and pull them straight to the stern cleats. Final tension is applied by winching on the topping lift. This reshapes the awning into a narrow V, reducing drag and increasing stability. This transition can be accomplished in a few minutes without fuss, even in a rising wind. As with the V-Delta riding sail, further adjustments can be made by raising and lowering the boom—higher generates more correcting force, lower reduces drag in strong winds. Pulling the clews together with a rope further reduces drag.
Rigged as an awning, yawing is virtually eliminated, more so than the best riding sail. There is no flapping, even in stronger winds, because the cloth is set at an angle to the wind. It would seem that double the sail area means double the drag, which is a bad thing. In practice, the difference is much less, because the sheeting base can be narrowed (pull the clews together with a rope), and the boom can be lower than for the V-Delta riding sail, and still provide the same correcting force. The end result is that in storm position, the actual increase in wind drag is only 30 percent over the standard V-Delta riding sail. There is no need to drop the awning unless very strong winds are expected. Should it come to that, taking it down in a breeze is not difficult. Release the aft boom attachment first, then one sheet, and then slide it off the boom into the cockpit.
The down sides? The sheltered area is 20 percent less than a full awning, mostly with most of the lost area forward. It will likely interfere with a large dodger, especially when pulled down as a riding sail. Monohulls will require a spreader, but most awnings require that anyway. It will catch more side wind when moored between marina pilings. It does not shade the cabin top as effectively, so it won’t be quite as cool in dead air. It must be made of heavier cloth than the lightest awnings if you mean to use it as a riding sail. But there is only one spreader and you may not need a separate riding sail.
Practical Sailor welcomes reader comments and questions. Send email & reader photography (digital .jpeg 1MB or greater) to [email protected]; include your name, homeport, boat type, and boat name. Send any broken gear samples to Practical Sailor, 1600 Bayshore Rd., Nokomis, FL 34275


