Have you been wanting to add a bootstripe to your boat but aren’t sure how to do it? Perhaps you have a bootstripe already but need to raise the waterline and bootstripe. Looking around the boatyard for inspiration might not be much help. Many of the bootstripes you see, once you train your eye to recognize the crisp ones from the wobbly ones, might convince you that it is a lot harder than it looks. But it doesn’t have to be. With a patient approach and the right tools, you can create a very professional bootstripe. And once you have it painted it is simple enough to maintain it.
BOOTSTRIPE PRIMER
A bootstripe is a line of paint, usually several inches wide just above the top edge of the bottom paint running the full length of the hull. Some boats have several narrow, closely spaced bootstripes, or one or more narrow bootstripes next to a wider one. The width of the bootstripe is generally based on the waterline length and height of freeboard.
A bootstripe can diminish the slab-sided appearance of boat with high freeboard by interrupting the wide topside with a painted line of contrasting color. The stripe makes the freeboard appear lower and the boat leaner and more appealing.
A bootstripe can also dress up an otherwise plain looking boat by adding a bit of contrasting color to the topsides. Some owners like the bootstripe color to match or accent the bottom paint; others prefer to match the canvas.
Lastly, a bootstripe can provide a sacrificial surface protecting the topside paint from the abuse of mooring balls or the staining effects of oil or tannins in the water, which can leave an ugly unwanted dirty mustache along the stem of the boat.
Many contemporary boats have sheerlines with little to no curve. Straighter, flatter bootstripes with a generally uniform width tend to work well on these boats. However, the boot stripe width often varies on boats with more spring/curve in their sheer. For example, boats inspired by the Cruising Club of America (CCA) racing rules tend to have bootstripes that are wider at the bow and at the stern.
Before you begin this project, decide on the general style and width of bootstripe you prefer. These are aesthetic choices. If you don’t yet have a preference, start observing various bootstripes, especially those on boats like yours. Measure the ones you like. This information can serve as a good starting point. A rough rule of thumb for determining bootstripe width is one inch of width per eight feet of waterline, but this is really just a starting point. The bootstripe on my 28-foot waterline is 3 inches, for example.
DEVELOPING A STRAIGHT WATERLINE
After you’ve settled on a design, you need to establish a reference point for drawing and then taping off your waterline. A level waterline makes an excellent reference point. Some owners prefer to use a laser level, which can work if the boat is dead level laterally and longitudinally and you have enough space around your boat to get a complete laser line from one end of the boat to the other.
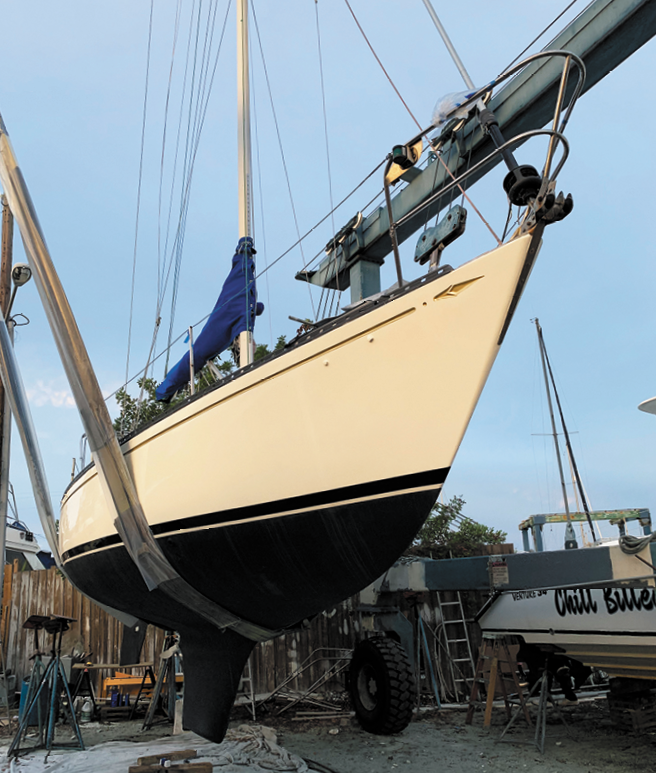
A far simpler method is to use two levels—one at the bow and one across the stern with the top edges aligning with desired waterline height at each point. A string on each side of the hull stretched tightly between the two boards creates a flat horizontal line on each side. Use this line as a reference point for establishing a level waterline. David “Bud” Anderson’s book How to Build a Wooden Boat describes the process in good detail, as does Tim Lackey’s website (tinyurl.com/55mubts7). I’ve also provided a more detailed description on my website (www.farreachvoyages.com/blank-28/).
With a level waterline established, the next step is to achieve a level top line for the bootstripe. This might sound easy, but without your own DIY bootstripe jig this can a be difficult and frustrating chore. Fortunately, you can make your own jig with some glue and scrap wood (see “Making a DIY Adjustable Bootstripe Jig”).
Why do you need a bootstripe jig? Let’s say you’ve determined your bootstripe should be 3 inches wide. If you simply draw a 3-inch-wide bootstripe that parallels your waterline, your bootstripe will appear to sag dramatically at both ends of the boat. This is because the topsides flare outward at the bow and even more at the stern—especially with a stern counter.
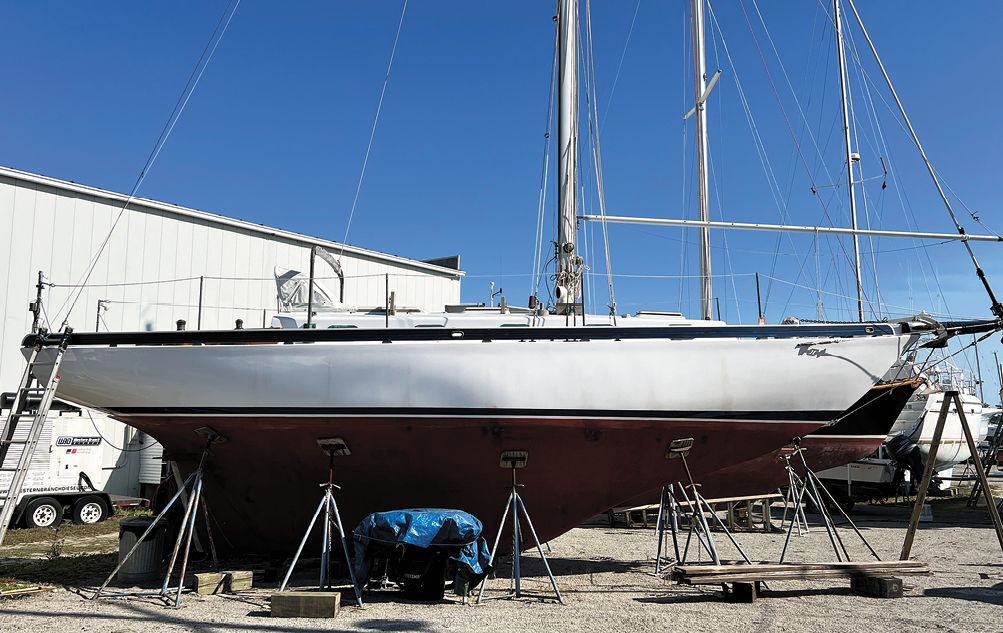
If you don’t make an allowance for the outward flare in your hull, the bootstripe will look three inches wide amidship, but it might look two inches wide at the bow and a miniscule one-inch-wide under the stern. This is because the true vertical distance between the top and bottom of the line are much less at the bow and stern, where the plane on which the line is painted is not vertical but angled out and up.
For example, my Cape Dory 36 Far Reach flares outward dramatically under the stern counter, creating about a 4:1 slope. This means the outward slope of the hull is four times as great as the vertical distance. In other words, if I want my 3-inch-wide bootstripe to appear proportionate and level for the full length of the hull, it needs to be 12 inches wide at the area of greatest flare under the stern quarter.
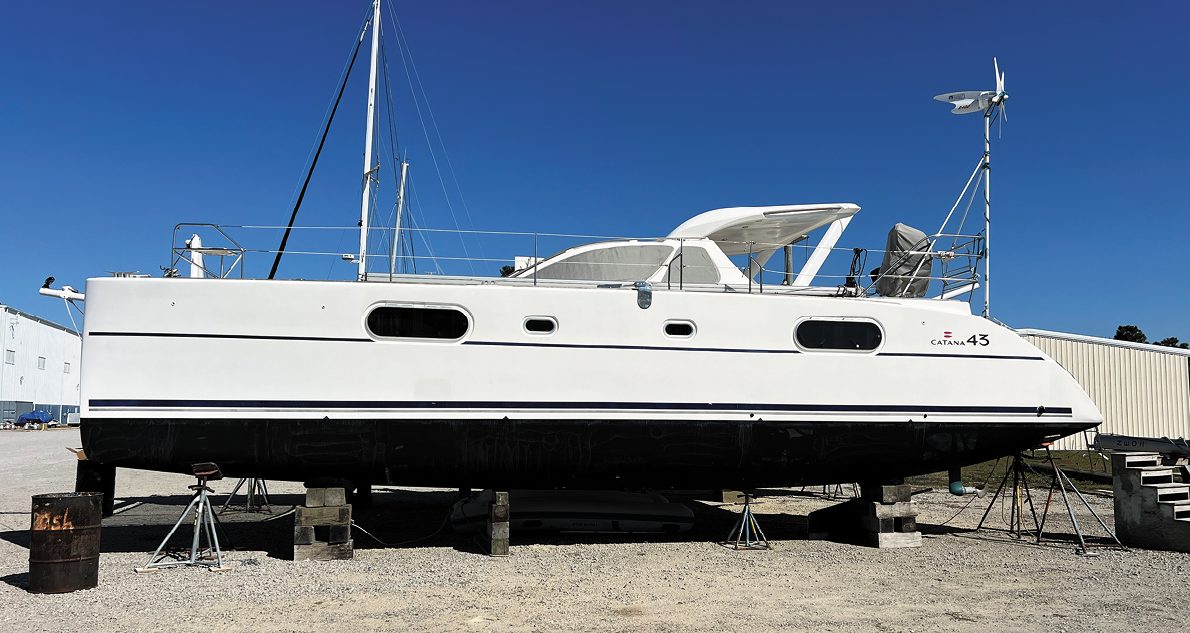
You must account for this outward flare of the hull when laying out the lines for the bootstripe. A simple DIY sliding jig can make this complex task a snap to accomplish.
USING THE SLIDING JIG
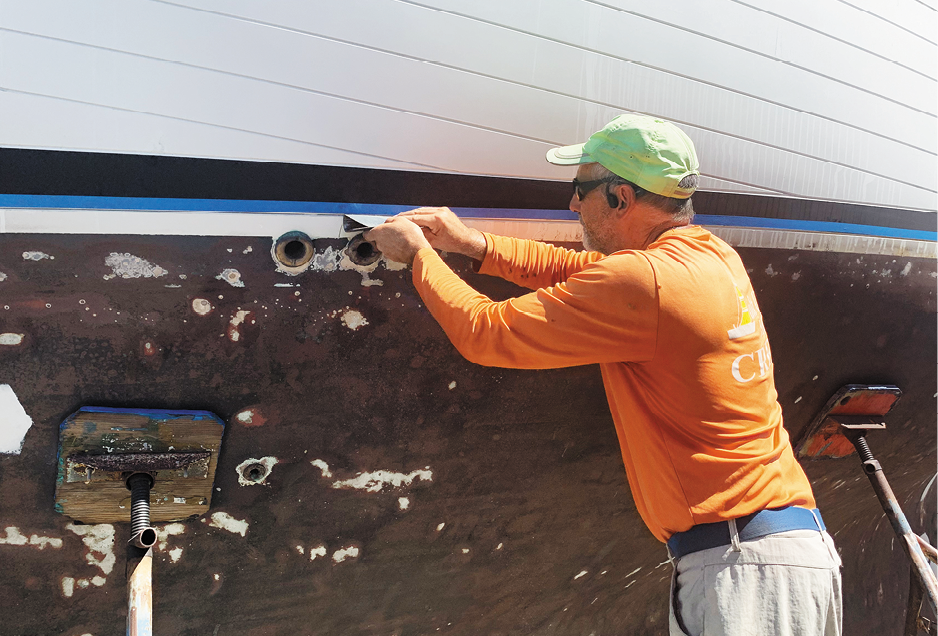
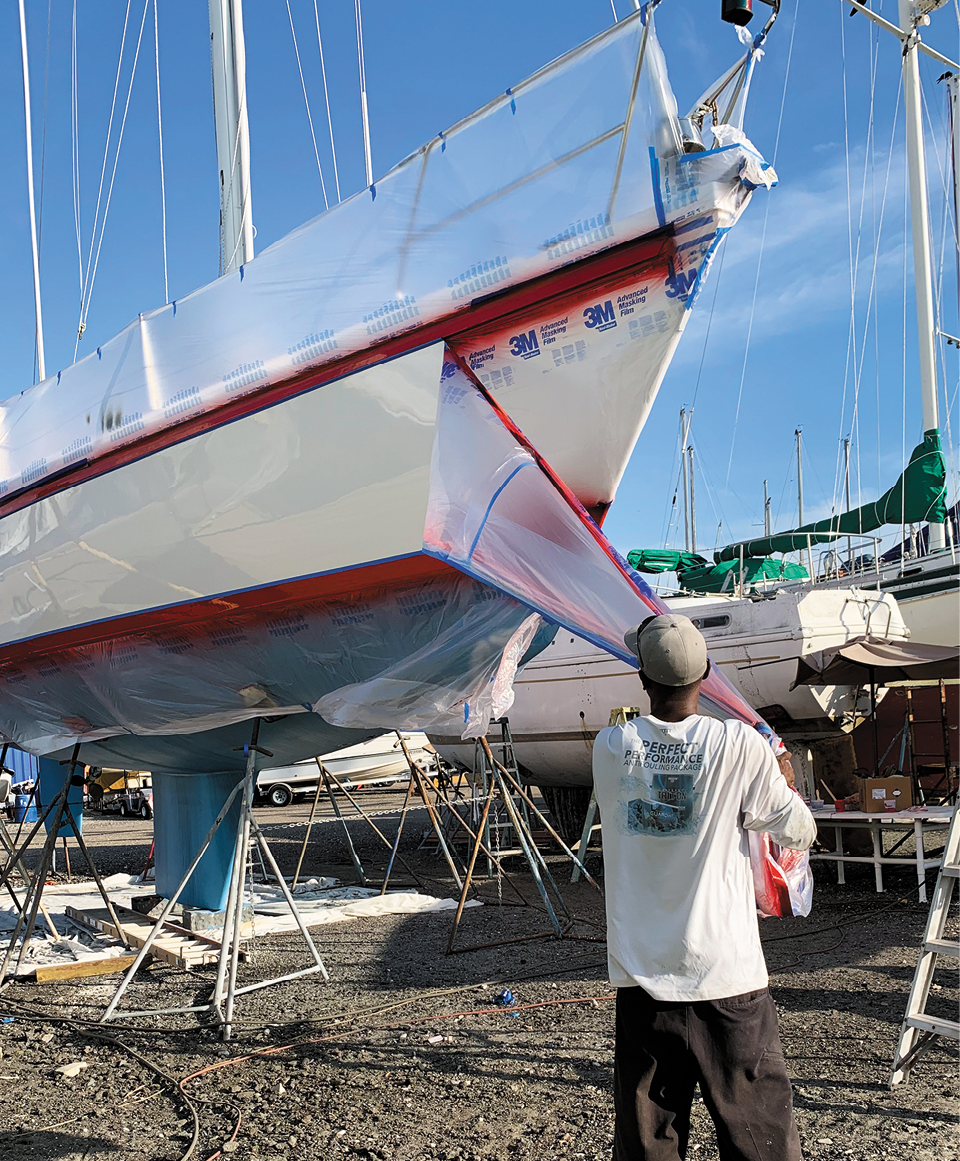
Before you begin marking the hull, you must perform a good wipe-down to remove any contaminants. Use acetone or another appropriate solvent that won’t harm your topside paint or gelcoat (I used Awlprep T0170). You want the masking tape to stick well enough that the paint you apply will not creep under the edge of the tape. I used the 3M 233 solvent resistant green tape, which worked fine, with only a few spots bleed-through which was easily fixed. In Practical Sailor testing, 3M 218 fine line tape delivered the most exacting color separation and cleanest edges (see “3M Masking Tape Matchup,” PS October 2013).
To mark your bootstripe for masking, you will use the waterline for your reference point. Slide the top indicator on your bootstripe jig back and put the bottom indicator of your DIY bootstripe jig at the waterline. Tilt the jig up or down until it is level. Slide the top indicator in until it also touches the hull. Double-check the level and make a 1⁄8-inch-long mark on the hull where the top indicator makes contact. I like to make the mark under the top indicator, but you can also mark above it. Just be consistent.
Proceed around the boat, marking at regular intervals. The less distance between adjacent marks, the more accurate and level your tape line. I made marks about every 6 inches amidships and about every 3 inches under the stern quarter. With my wife making the marks while I handled the sliding jig, it took us less than an hour to mark the entire boat.
Once a dashed line is marked around the boat, you simply apply the masking tape along the pencil marks. Although one person can tape this line, two makes the job easier. One person unspools the tape, while the other presses it down at each mark. Don’t press the tape down firmly until you are sure you have it in the right place.
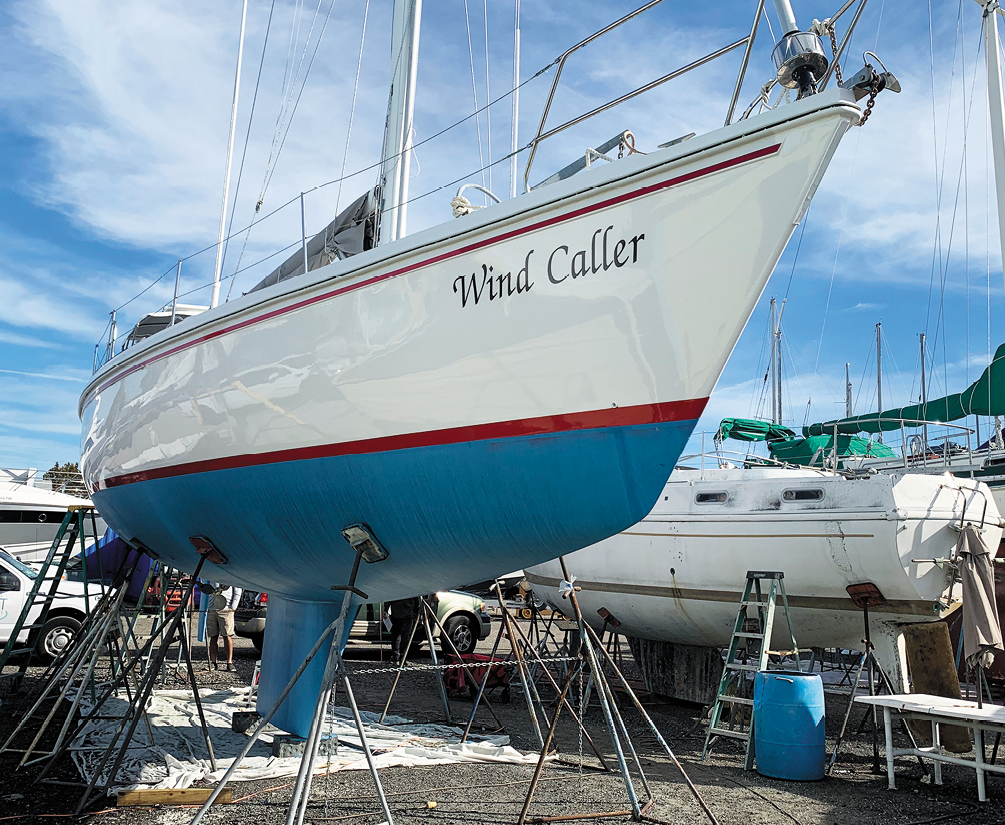
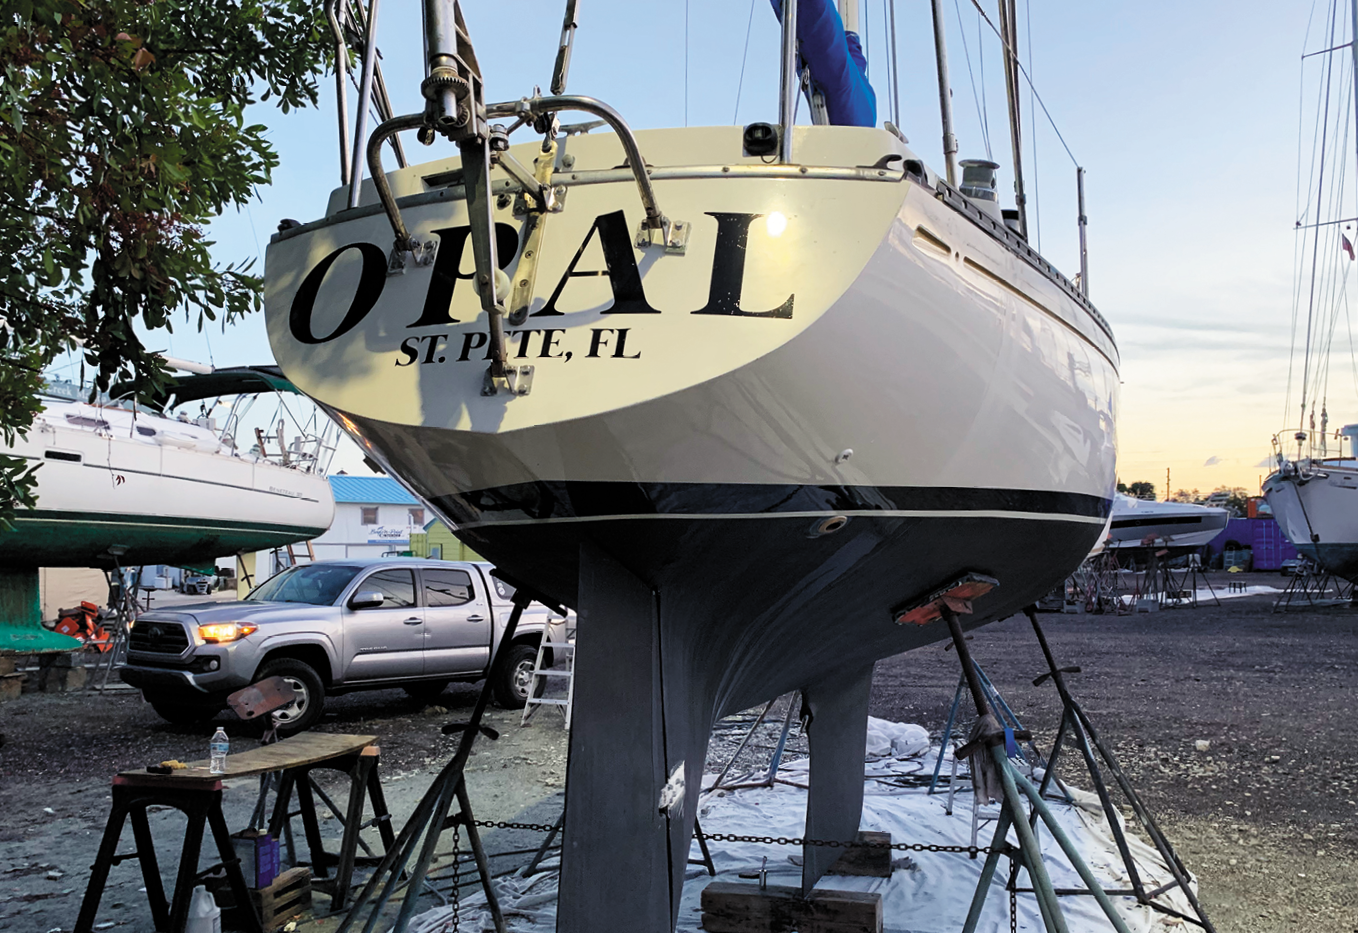
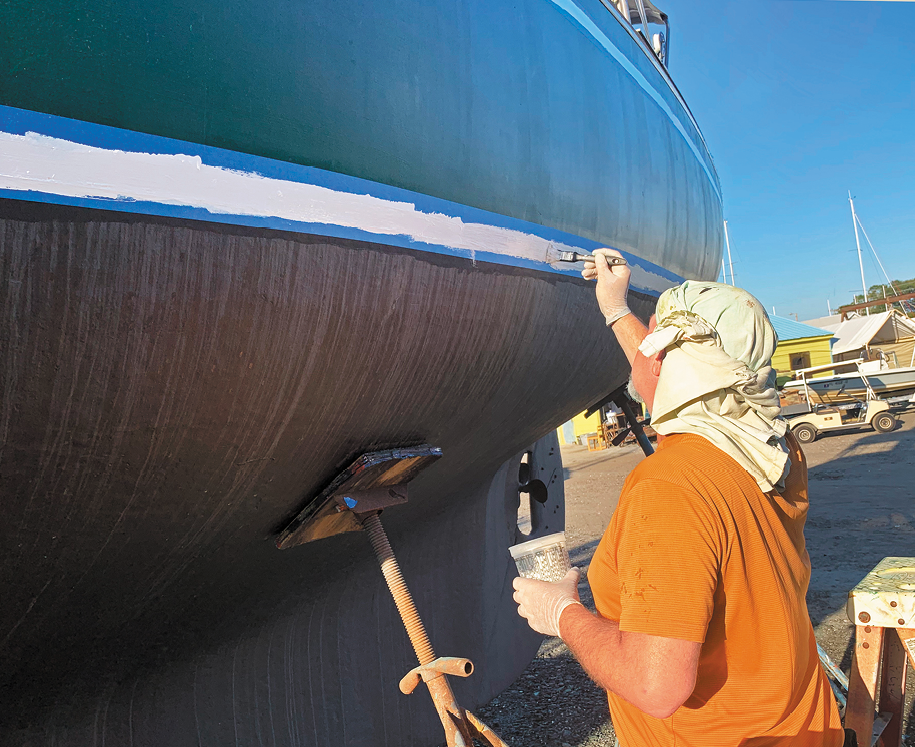
Because I wanted to have a newly painted (Awlgrip Snow White) 1-inch gap between my bottom paint and my 3-inch-wide blue (Awlgrip Aristo Blue) bootstripe, I had to perform this task twice. To measure the gap for painting, I used a 1-inch-wide plywood top indicator in the sliding jig. After marking the 1-inch gap with the sliding bevel, I taped it off, prepped, and painted. After this paint had cured, I repeated the process for the bootstripe, swapping out the 1-inch-wide top indicator for a 4-inch-wide one. To stay consistent, I kept the top of the waterline as a reference point for marking the bootstripe.
When both lines were painted, I had a wide blue bootstripe above a narrow white line between the bootstripe and the bottom paint. Measured vertically, the new bootstripe is three inches high—with a slight upward curve at the bow (see below). At the stern, where the outward flare of the hull is the greatest, the actual painted width is nearly a foot. Thanks to my handy bootstripe jig, the bootstripe and the white gap above the waterline are perfectly proportioned.
A DELICATE BOW CURVE
Because my boat has a moderate upward curve in her sheerline, I desired the bootstripe to also curve upward slightly. And, since my primary motivation in adding a bootstripe was to provide a sacrificial surface to the damage caused by mooring balls I wanted the upward curve to be as wide as possible while still pleasing to the eye.
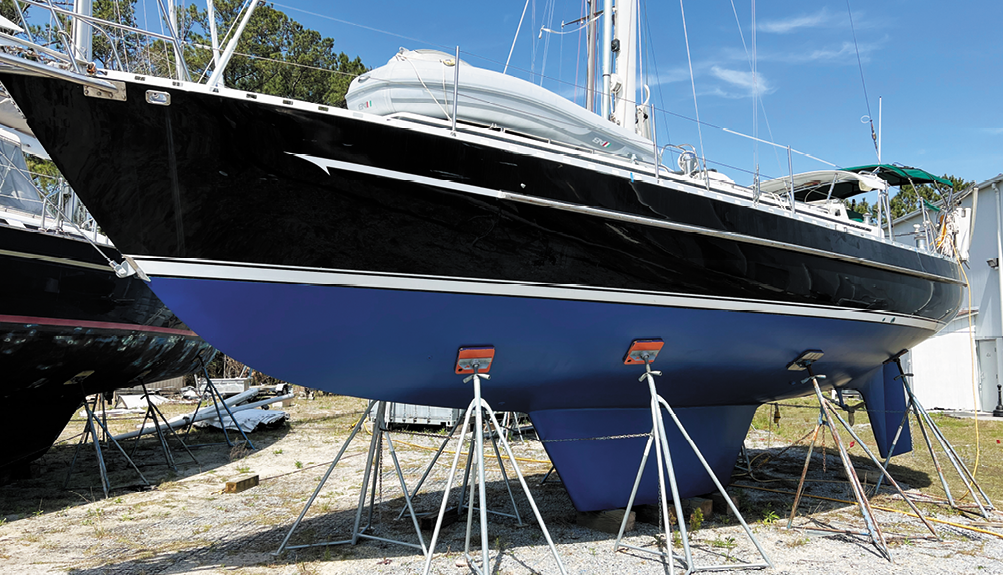
There was a Hinkley Bermuda 40 yawl in the boatyard, and I had long admired its bootstripe. While the Hinkley’s overall length is a bit longer than the Far Reach, the waterline length and freeboard are about the same. Based on the bootstripe on the Hinkley, I decided my 3-inch-wide bootstripe would look good if it gently widened to 8 inches at the bow. I didn’t use the adjustable bootstripe jig for this. I simply marked off 8 inches from the bottom line of my proposed bootstripe near the bow.
There are people who can create a nice curve adjusting the tape by eye until it’s right. Whenever I have attempted this approach, though, it resulted in a wobbly mess. To overcome this difficulty, I used my mainsail’s lower fiberglass full batten—about 15-feet-long. With two helpers I laid the batten on the hull along the upper tape line at the aft end of the batten and gently curved it up to the mark I had made near the bow.
I dragged a pencil along the curve and removed the batten. I taped this line and stood back and looked at it. Satisfied, I measured up from the water line midway along the new curved line and made a small pencil mark on the opposite side of the boat in the same place. We repeated the taping process on the opposite side, this time curving the batten through that middle mark to ensure the spring of the curve on the second side matched the first. Once the upward curve was taped to my satisfaction, I removed the segment of the original tape that was extending beyond the new tape.
TYPES OF PAINT AND COLOR
Some sailors suggest using a one-part LPU paint for the bootstripe because you will be repainting it when it gets damaged. Also, if you use a one-part paint, you only must keep on hand a quart of paint and the reducer (thinner) for touch ups. With a two-part paint, you need a third component—the activator. The one-part LPU is also not as hazardous to handle. But the prep work is the same for both paints and the two-part Awlgrip is vastly more durable (see “Topside-Paint Endurance Test 3-Year Checkup,” PS December 2012).
Ultimately, color is a personal choice but, in general, matching the bootstripe to something prominent on the boat is helpful to achieving a professional finish. The paint color for my bootstripe was an easy choice. Since I wanted my bootstripe to conceal darker waterline stains, I looked for a dark color that would match my boat. The sail covers are dark blue as are bulwarks, so I chose the closest color, Awlgrip Aristo Blue. It was a good match.
PAINTING THE BOOTSTRIPE
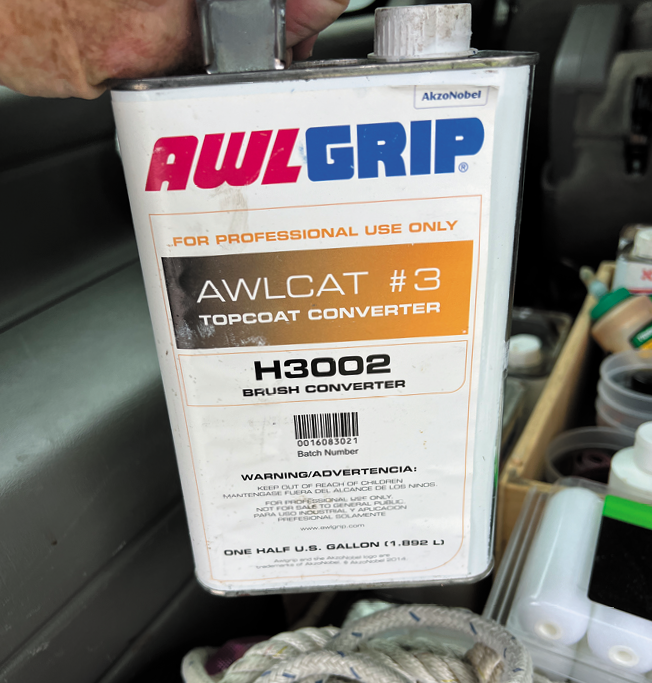
I have a lot of experience using the roll-and-tip method with the two-part linear polyurethane paints (LPU) paint Awlgrip, so that’s what I used. In the roll-and-tip method, the paint is applied first with a roller, then quickly smoothed with a soft bristle or foam brush. When using the special converter (H3002) and reducer (T0031) made for roll-and-tip painting, Awlgrip leaves no visible brush marks.
LPU paints can be sprayed, but spraying requires extensive masking. Because overspray can harm other boats, many boatyards do not allow spray painting unless the boats are completely tented. Additionally, spraying a two-part LPU paint is very hazardous, requiring a specialized full-face respirator. Rolling and tipping a two-part LPU requires the use of only a quality respirator with the correct vapor cartridges, eye protection, and gloves.
Whatever paint or method you use, be sure to follow your paint manufacturer’s safety precautions and application instructions. For working with Awlgrip, I wear a half respirator with the correct vapor cartridges—even when painting out of doors (see “Best Respirators for the Boatyard,” PS September 2017). I also wear disposable nitrile gloves (see “Best Gloves for the Boatyard,” PS August 2022).
Proper prep work is essential. Before painting, I carefully dewaxed the existing Awlgrip between the tape lines using Interlux Fiberglass Surface Prep YMA 601, a pinkish gritty slurry. The YMA 601 also works on gelcoat. Be sure to follow the instructions for its use.
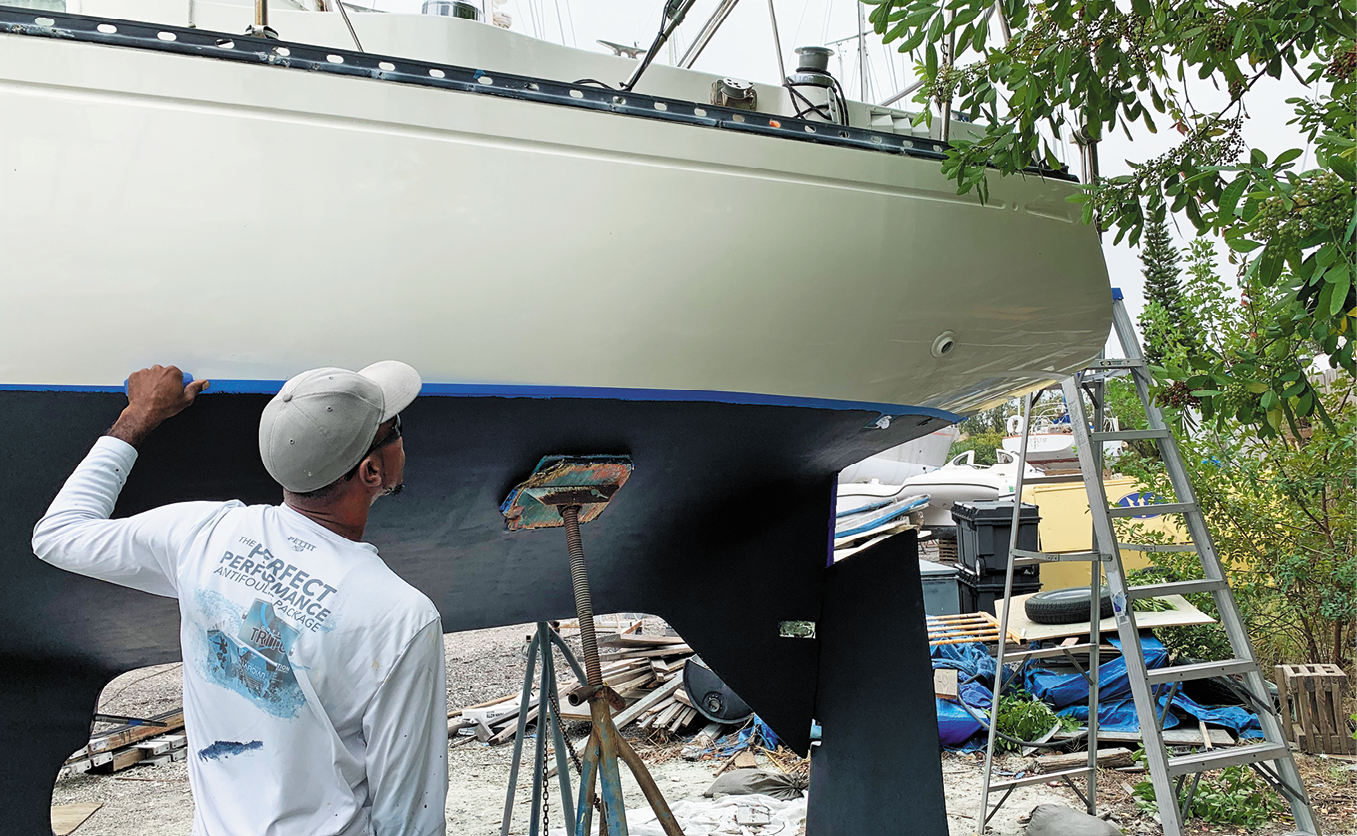
Next, I lightly and carefully sanded all the topside paint between the taped lines with 320 grit paper. I scribed a line with a pencil along the outside of the tape and peeled it off. I then cleaned the surface (being careful not to remove my pencil marks) and retaped the lines so I had fresh tape. I wiped the surface with Awlprep 400 using the two-rag method (wipe the solvent on with one rag and clean it off with a second clean rag). Finally, I performed a last wipe-down with quick flash T0008 solvent.
LPU paints have relatively short working life, so you need to mix small batches and apply the paint quickly. I plan for about 45 minutes at 80°F. Getting the right viscosity is also important, so thin accordingly. For larger jobs, it helps to work in pairs with one person rolling and tending the paint, and the other tipping. For a bootstripe, one person can do the job alone.
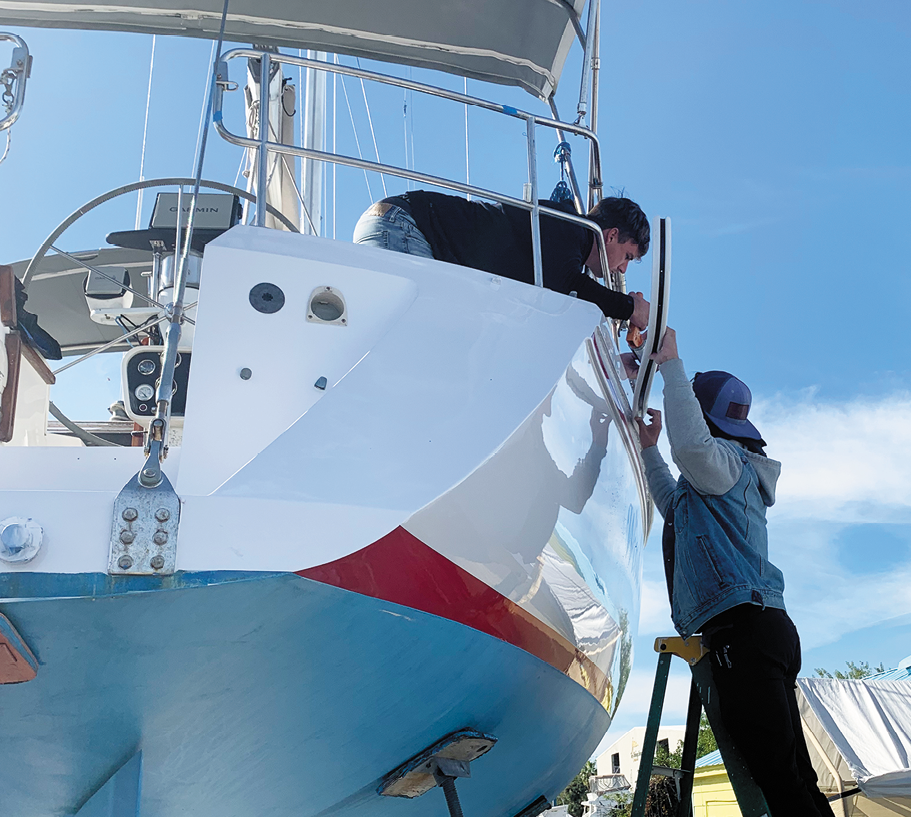
Although many experts prefer vertical strokes when rolling-and-tipping topside paint, horizontal strokes work better for painting a bootstripe (see “Tips on Rolling and Tipping with Awlgrip,” PS August 2021). For painting topsides, I use 4-inch white foam hot dog rollers we purchase at Lowe’s Hardware for rolling and Jen-Poly solvent resistant foam brushes for tipping. For the bootstripe, however, I worked with a pair of 2-inch-wide Jen-Poly solvent resistant foam brushes—one for painting, one for tipping. The disposable foam brushes are cheap. Get several since you’ll want to replace them as soon as they go limp.
I applied three coats of Awlgrip—one coat per day, sanding between coats with 320 grit abrasive. I removed the tape the day after the last coat was applied and admired my work. The bootstripe was dead level and straight where it was supposed to be and gently and uniformly curved towards the bow in a very pleasing manner.
CONCLUSION
A bootstripe can improve the look of your boat by making the freeboard look lower. It can also add color to an otherwise boring monotone color common on contemporary boats. Lastly, a bootstripe can serve as a sacrificial paint protecting the valuable topside paint. With a thoughtful approach, an easy to make sliding jig, and a long flexible straight edge a quality bootstripe is well within the capabilities of the DIY sailor.
John Stone has been sailing since he was 12 years old. He raced dinghies and MORC as a teen in Southwest Florida and sailed throughout a 26-year career in the Marine Corps. You can follow his voyages and boat projects, including a complete refit of his Cape Dory 36, Far Reach, at www.farreachvoyages.com.
An adjustable bootstripe jig can be as simple or complicated as you want it to be. I have refined mine over the years to be easy to use with my hull. Once you understand how it works, you’ll be able to use a few scraps of wood to make your own. In addition to some scrap wood and some wood glue, you’ll need a saw, a drill, and a router or skill saw—although you can manage without the last two in a pinch. The dimensions will vary depending on the boat and available wood. Here’s how I made mine.
The main component comprises two pieces—the base and the bottom indicator. For my jig, the base measures 24-inches by 3-inches and is ¾-inch thick. I cut a ¼-inch-wide, 3/8-inch-deep slot (dado slot) down the centerline of the base.
To make the bottom indicator I used a piece of scrap plywood ¼-inch thick, 3-inches wide and about 24-inches long. I beveled one end (cut at an angle), to create the pointed “indicator.” The angle needs to be greater than sharpest angle in the hull. In my boat, this was at the stern. I edge-glued the longest side of the bottom indicator into the slot in the base leaving a few inches of pointed extending beyond the base.
The second component, the top indicator must be as wide as your bootstripe (in my case 3-inches). It slides alongside the bottom indicator and is used to mark the top part of your bootstripe. To make mine, I cut another strip of ¼-inch plywood about as long as the bottom indicator (24-inches). Again, one end was beveled to create a point; this angle does not need to be as sharp as it is on bottom indicator. You can make top indicators of different widths to make additional bootstripes, or to trace the gap between your bottom paint and the bottom of the bootstripe.
Place the top indicator alongside the bottom indicator, with shorter side on the base and the pointed end facing in the same direction as the bottom indicator. While the bottom indicator is fixed, the top indicator slides in and out, so that it can adjust to the contours of the hull.
The last touch is to place a level on the base next to the bottom indicator. This keeps your adjustable jig level as you move fore and aft marking your tape line for your bootstripe. For more details on using the sliding bevel, see the adjacent article.
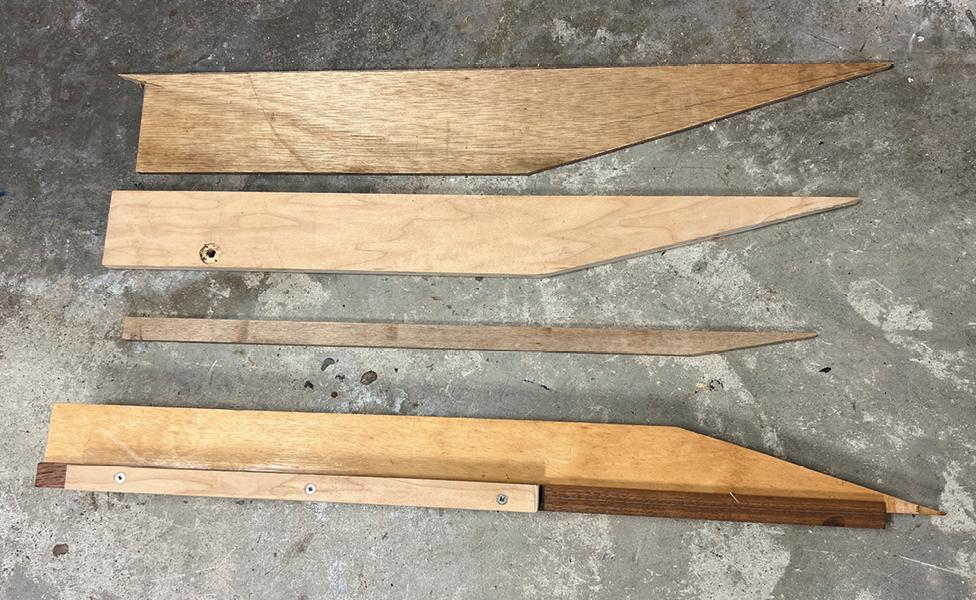
1. The bottom indicator (at bottom) of this bootstripe jig can be paired with one of the three top indicators above it depending on the desired stripe width
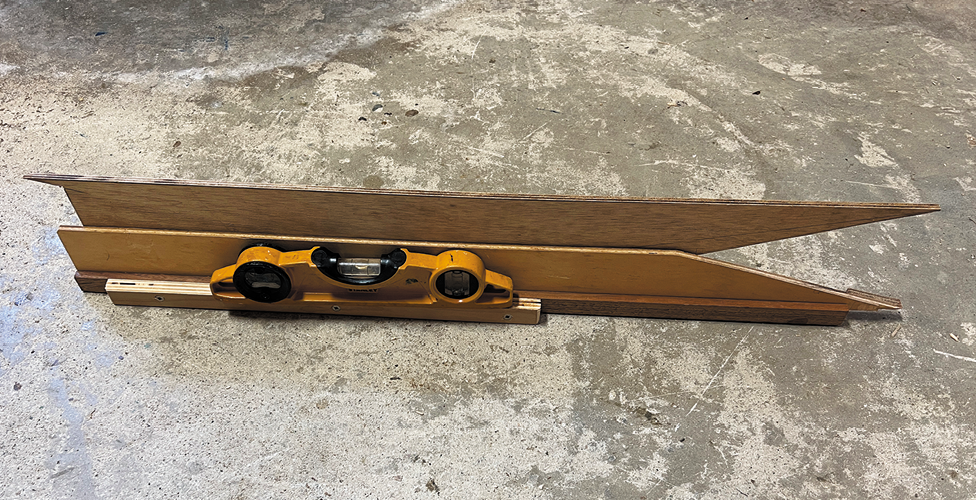
2. A narrow strip of wood supports the spirit-level. Keeping the jig horizontal as you work your way down the hull ensures consistent measurements and a straight line.
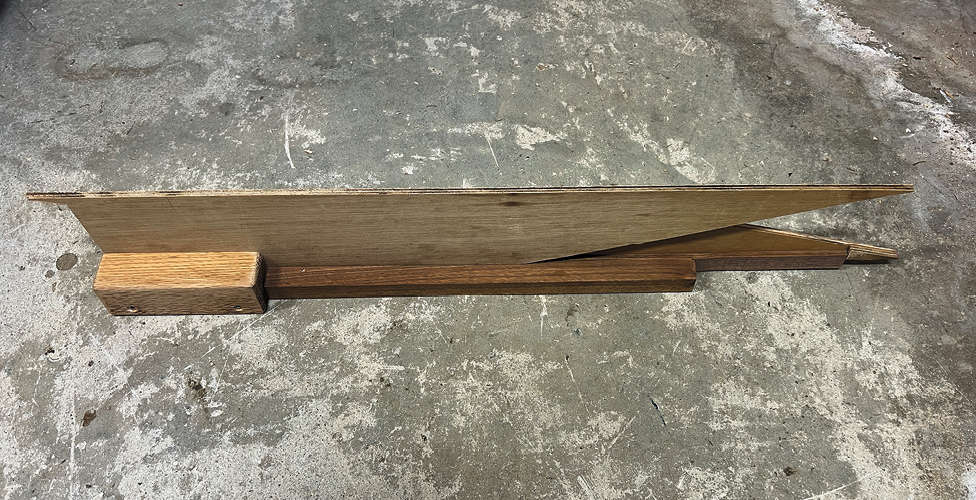
3. The top indicator slides in a small channel on the left side of the author’s bootstripe jig. The small block of pine at the end serves as a handle for gripping.


