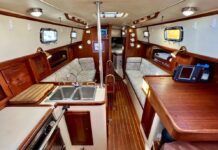
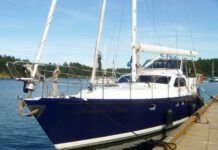
In response to Whats in the Practical Sailor Toolbag? (PS, January 2012): How about a list of tools that a live-aboard cruiser should carry? Given storage, power, and workspace limitations, many of the suggested tools are not feasible and may require alternatives. For instance, I carry a major Dremel toolkit, and it cuts the very occasional holes I need for switch installation, etc., plus helps me with sanding and minor refinishing work. I use my Dewalt 18-volt right-angle drill probably twice a month for repairs and upgrades. I also use my cordless screwdriver several times per year, especially when removing and reinstalling my headliner while chasing wires. Most others are tools that don’t require electricity, but there are many.
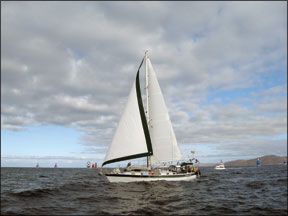
Photo courtesy of Richard Lewis
Richard and Lyn Lewis,
Fellowship, Valiant 42,
Wilmington, Del.
In Boatowners Mechanical and Electrical Manual, author and boat systems guru Nigel Calder offers a useful, comprehensive list of tools for the live-aboard sailor, including breakout lists for a mechanics toolbox and electrical, woodworking, and power tools, as well as essential engine and mechanical supplies. You can buy the book from Practical Sailors online bookstore.
In addition to the article you mentioned, youll find several articles on tools for cruising sailors in our online archives. In the November 2007 Ocean Tested report, professional carpenter and live-aboard circumnavigator John Spier outlined the must-have power tools that survived his more than 15,000 miles of sea trials. In the March 2007 issue, bluewater voyager Evans Starzinger details the tools he uses most often onboard, those he keeps at the ready in his doctors bag of boat tools.
Great article on mid-range marine stereos (PS, April 2013). I’d like to buy the recommended unit, the Fusion MS-RA200SD, which the article states comes with two coaxial speakers (MS-FR6580). But I can’t find it on the Fusion, West Marine, Defender, or Amazon websites. Can you tell me where this particular model might be purchased, or does it have a different model number?
Tom Bohanon,
Via email
We actually tested the MS-FR6520 model speakers with the RA200SD stereo, and we bought the kit we tested at West Marine. However, a recent search found that they no longer sell that stereo as a package with speakers. It looks like West Marine may have upgraded the kit to the RA205 with the EL602 speakers ($299 vs. the $200 kit we tested). There may be some old stock lingering at some other websites. An Internet search found the RA200-FR6520 package at HookedOnTronics, but we have never dealt with this online retailer.
This letter is in response to the Sizing Ground Tackle and Anchor Bending letters and your replies in the July 2013 Practical Sailor. In my opinion, the element missing from the discussion is the relationship between water depth and recommended scope. Scope is normally defined as anchor-line length deployed divided by water depth. Most discussions of anchoring treat scope as independent of water depth (which it is for a rope rode) but for an all-chain rode, water depth has a large impact on the required scope. In 40 feet of water, a 3:1 scope is probably all you need. In 10 feet of water, 10:1 scope may not be enough.

Photo courtesy of Richard Lewis
Your answer to Richard Lewis cites Beth Leonards rule of thumb for sizing chain and while I respect her superior experience in all things cruising, I would add that there are two reasons for choosing an all-chain rode: It eliminates the potential for abrasive failure of a rope rode on the bottom, and it reduces the overall length of rode length required in any situation. It reduces the length requirement because of its weight. So while 5/16-inch chain is strong enough to restrain my 41-foot boat, I prefer to use 3/8-inch chain because it provides an increased safety factor as well as a reduction in the required scope.
In your answer to Richard Paden, you state: Because you are in shallow water, you lose most of the advantage of chain catenary in absorbing shock loads. That statement is true, if you stick with the conventional 7:1 scope ratio. If you increase the ratio to say 15:1, then the performance of the system comes closer to the performance of the same system in 40 feet of water with its attendant shock-absorbing properties.
The explanation for this lies in the properties of a chain rode. An anchors performance is compromised once the anchor line starts to exert an upward force on the anchor shank. An upward force cannot be exerted on the anchor shank until all of the anchor chain is suspended off the bottom. In order to suspend all of the anchor chain off the bottom the vertical component of anchor chain tension at the bow roller must equal the suspended weight of the chain (in water). If the angle of the rode to horizontal at the bow roller is 5 degrees when you have 150 feet of 3/8-inch chain out in 10 feet of water and the bow roller is 4 feet above water level then the horizontal force required to start anchor uplift is approximately 2,300 pounds. With only 70 feet of chain out, the horizontal force will be approximately 520 pounds. (Angle at the bow roller is 11 degrees.)
The above numbers are approximate, but they are good enough to develop an appreciation of what is actually happening. In 10 feet of water with an approaching storm, putting out 150 feet of chain rather than 70 feet will increase your resistance to uplift on your anchor by a factor of four. The choice of anchor has far less effect on the result than the amount of chain out. As you point out, there are many other factors that should be evaluated when sizing and deploying an anchor; however, I would argue not enough weight is given to the relationship between recommended scope and water depth for an all-chain rode.
Charles Springett
Ariel, Bristol 433,
White Stone, Va.
Chain is our preferred rode in most situations, including shallow water. What you lose in catenary, you gain in friction through bottom contact. The downside is that you can snag on a rock, causing the links to flatten, or even break, under load. In mud, the uptick in holding power can be significant. Theres also a yaw-dampening effect that can be a big plus.
The homemade snubber setup described in the June 2013 issue seems to make sense. But I am curious, how exactly does this arrangement look? Where are the bow-mounted turning blocks located? How are they mounted?
Christian Hoepfner,
Via www.practical-sailor.com
Here are the specifics of the homemade setup often used on one of our test boats, a 6-ton Lightwave 38 catamaran named Josephine. PS Technical Editor Ralph Naranjo is not a fan of this arrangement as it adds complexity, introduces chafe, and, in his view, makes it more difficult to pay out additional scope in a blow. We are sharing it here for discussion. Perhaps some other multihull owners have come up with different solutions.
Starting with the chain hook that is hung under the bowsprit (photo 1), the snubber leads outside the bobstays to a turning block on the bow (photo 2), and runs aft to a horn cleat. Note that the image (photo 1) shows a previous setup with the snubbers (then a 12-millimeter braided nylon) inside the bobstay wires; they now run outside the wires as it gives a better angle and allows the snubber more stretch.
The snubbers, made of 11-millimeter rock-climbing rope, are then run inside the stanchions (photo 3). The turning block is simply strapped to the padeye with Dyneema, which is more kind than a shackle. We had a previous setup with the block strapped to the pulpit base, but we did not think the base was strong enough to hold up for the long haul.
If the test boat were a monohull, we might have a block on a long, soft shackle to bring the snubber from the sidedeck so that it ran straight through a fairlead or over a bow roller. Note that hollow, braided Dyneema is used as a chafe guard (photo 2). It is whipped and sewn at one end and whipped only at the other; this allows the snubber to move in the braid.
The bow padeyes are held by two M6 bolts, lower, and one M8 bolt. The backing plates are contoured stainless-steel plates, bedded in marine sealant. Working in those bows is only for the lithe, and installation might be expensive, if you used a shipwright.
Ive been through a number of sailing hats (PS, August 2013), including Tilley (www.tilley.com) and Ultimate (www.ultimatehat.com), and have found one that has all the features important to me: light weight, large mesh ventilation, big floppy brim, adjustable for most head sizes, chin/head strap, dark underside, and inexpensive. The hat is made by Bimini Bay, the Boca Grande Mesh Wide Brim, and can be purchased online.
Ferman Wardell,
Wind-Borne, 1985 Hunter 28.5,
Lake Norman, N.C.
I’ve recently finished building a Chesapeake Light Craft Eastport Pram and powered it with a Torqeedo 1003 electric outboard. I did some evaluation of watts consumed versus speed. The pram weighs about 80 pounds and is 7 feet, 7 inches long. I found that adding a second person didn’t really affect the power consumed. For the pram, the watts/speed values are: 9.5 watts/1 knot, 19 watts/1.5 knots, 39 watts/2 knots, 52.5 watts/2.5 knots, 107.5 watts/3 knots, 67.5 watts/3.5 knots, 425 watts/4 knots, 850 watts/4.5 knots, 1,005 watts/4.7 knots.
It would be interesting to perform the same testing, with the same motor on different boat types. I suspect the Torqeedo (www.torqeedo.com) is more practical for hard shell or RIB boats than inflatables, but it would be interesting to see some real-world tests with different types of boats. A dinghy and motor are not independent of each other. It is important to match the two and match that to the users needs.
George Jachode,
CLC Eastport Pram,
Via email
In our January 2011 comparison of electric outboards, we tested both the Torqeedo T-801 and the 1003 on several types of boat, including a 19-foot Cape Dory sloop; a Herreshoff Ronzinante; a round-bilged Wing Systems rigid, rowing/sailing dinghy; and even a kayak. Although we did not test the Torqeedo electric outboards on a RIB or inflatable, wed expect youre right about their being better suited to rigid boats. Check out that article, and well see what we can set up as a followup test that includes RIBs, inflatables, and a hard-shell dinghy.
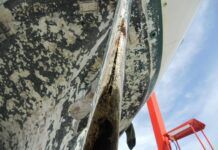
In response to your Waypoints newsletter on inspecting a hull, heres an additional tip: If the hull is not cored, you can shine a bright light through the laminate and see any imperfections, just like an X-ray. The hull must not be cored, nor heavily painted, though regular paint and gelcoat are not a problem, and of course, it will not work unless the side opposite the light is dark and there are no interferences such as joinery. Frequently, bright sunshine will be sufficient when looking from the inside.
Bill Nokes,
Someday, GS41,
Chetco Cove, Ore.
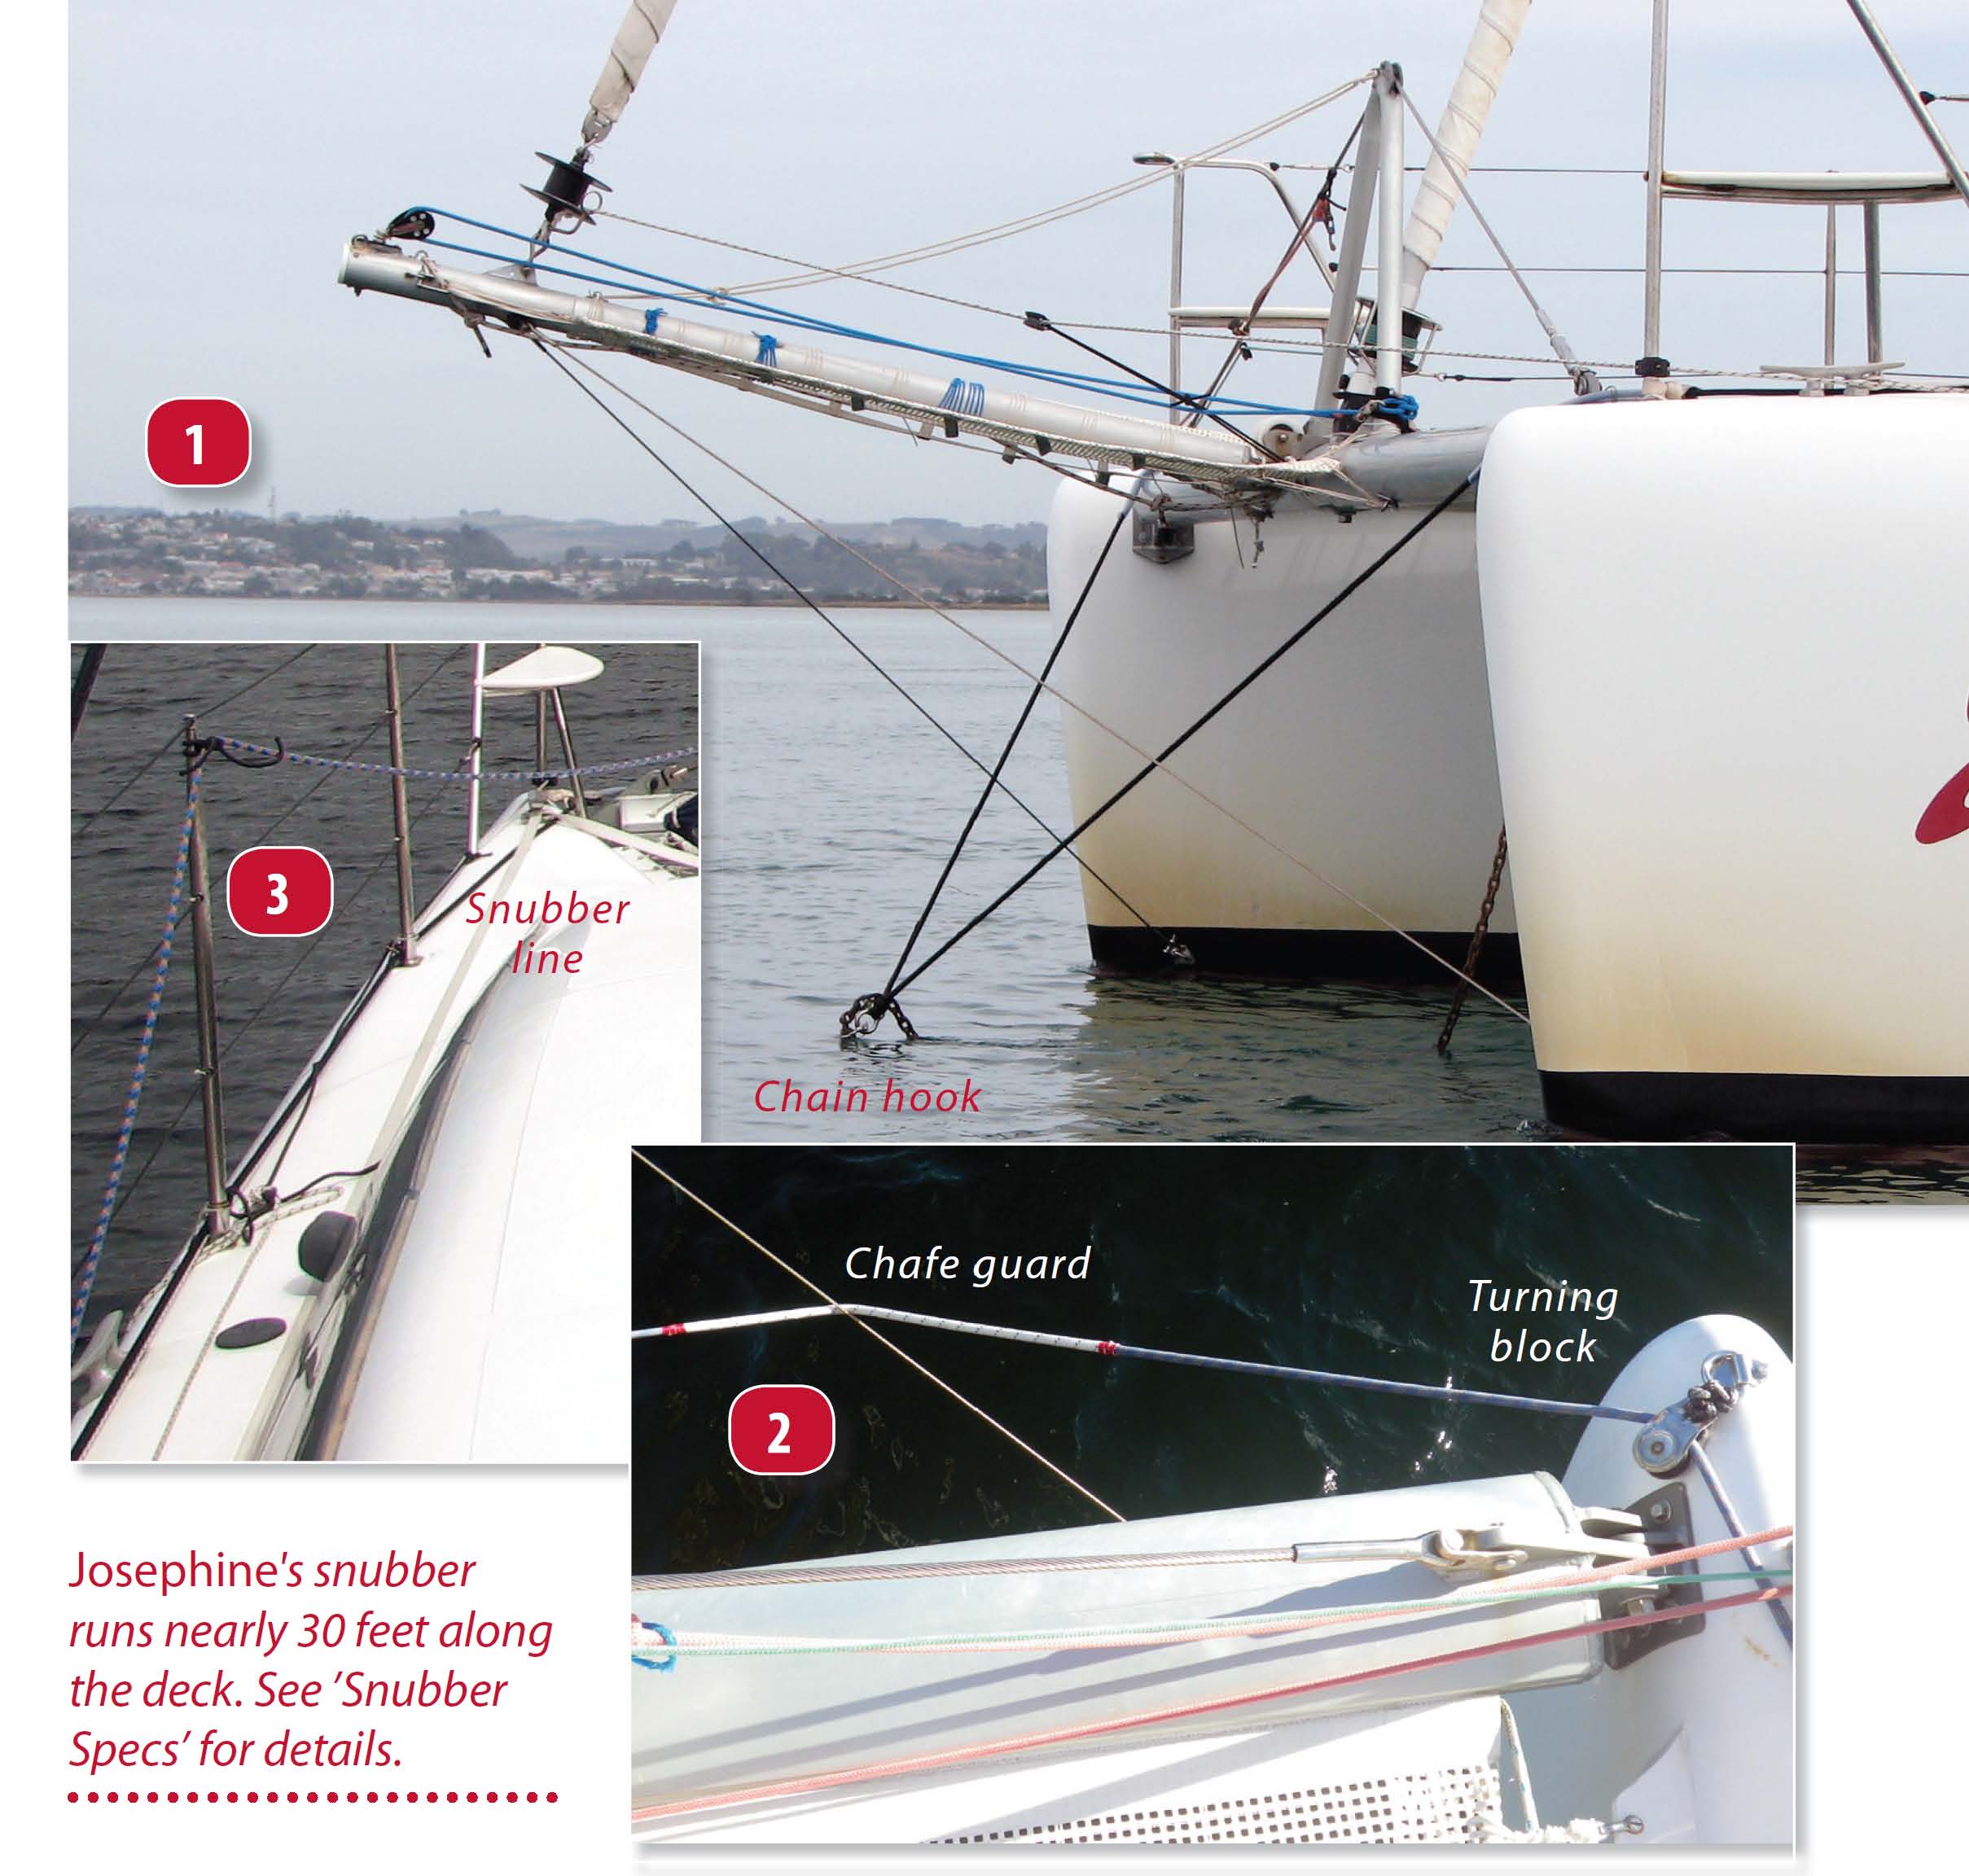
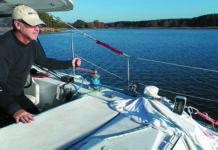
Photos by Jonathan Neeves – Josephine’s snubber runs nearly 30 feet along the deck. See Snubber Specs for details.


