Beauty of a Wood-trimmed Boat
Regarding your recent blog post on the future of wood on boats (see Farewell to the Wood-trimmed Boat? Inside Practical Sailor blog), my last boat was a beautiful, cold-molded (West System) custom 26-footer designed by Gary Mull. It was built by the very talented late Jim McClelland of McClelland Boatworks in Kenora, Ontario.
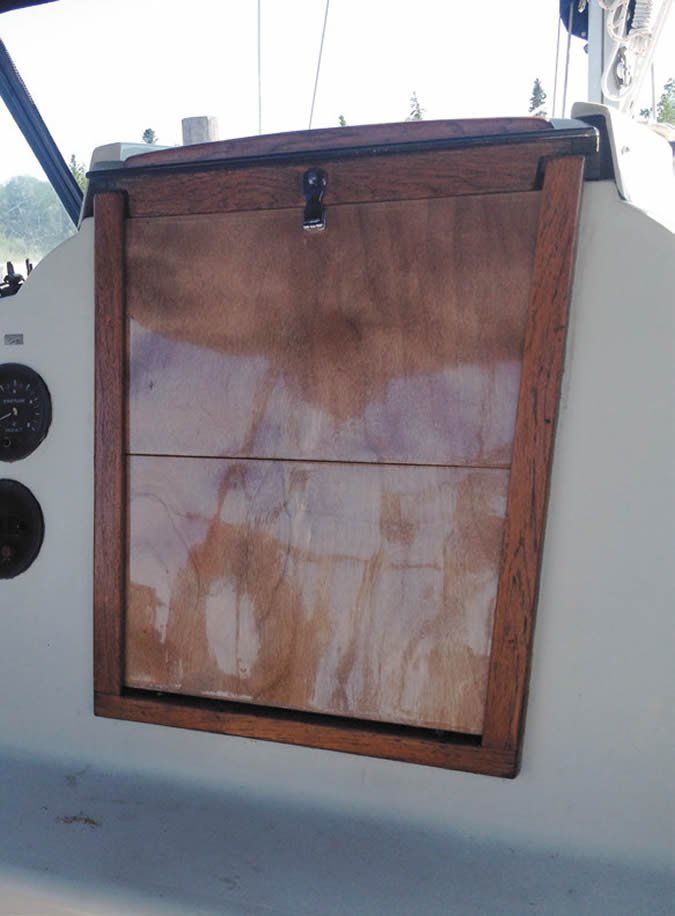
It was a wooden boat, so it had teak toerails. These required refinishing on an annual basis, and required particular attention in the region of the limber holes for deck drainage, where water penetration tended to stain or rot the wood.
Why anyone would choose to install teak toerails on a fiberglass boat confounds me. My current boat, a fiberglass C&C 30 MkI, is fitted with slotted aluminum toerails, which are maintenance-free and offer multiple attachment points for things like blocks for roller reefing, twinger lines for spinnaker sheets, a boom preventer, or for belaying a halyard or the mainsheet when not in use.
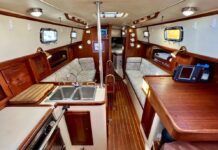
This boat has lots of teak in the interior, where it is handsome, functional and easy to maintain since it is not exposed to the elements. Unfortunately it has teak handrails, which also require annual refinishing. CS yachts, another Canadian manufacturer of high quality yachts, saw the light years ago and equipped their boats with stainless handrails.
I really hated to see the wood wonder go -it was in as good shape when it left my hands as when I bought it, owing the virtues of wood-epoxy composite construction, careful maintenance, and the high quality of McClellands work. I am also very pleased with the C&C, it sails beautifully, is solidly constructed and nicely outfitted, plus it was made in St. Catharines, Ontario, where I grew up. Part of its appeal is the all-teak interior. Most of the wood is out of the weather with the exception of hand and caprails, plus the mainsheet traveller and hatchboards.
Bruce Bolster
Sanibel, 1980 C&C 30
Silver Harbor, Manitoba, CAN
Mylar Bird Busters
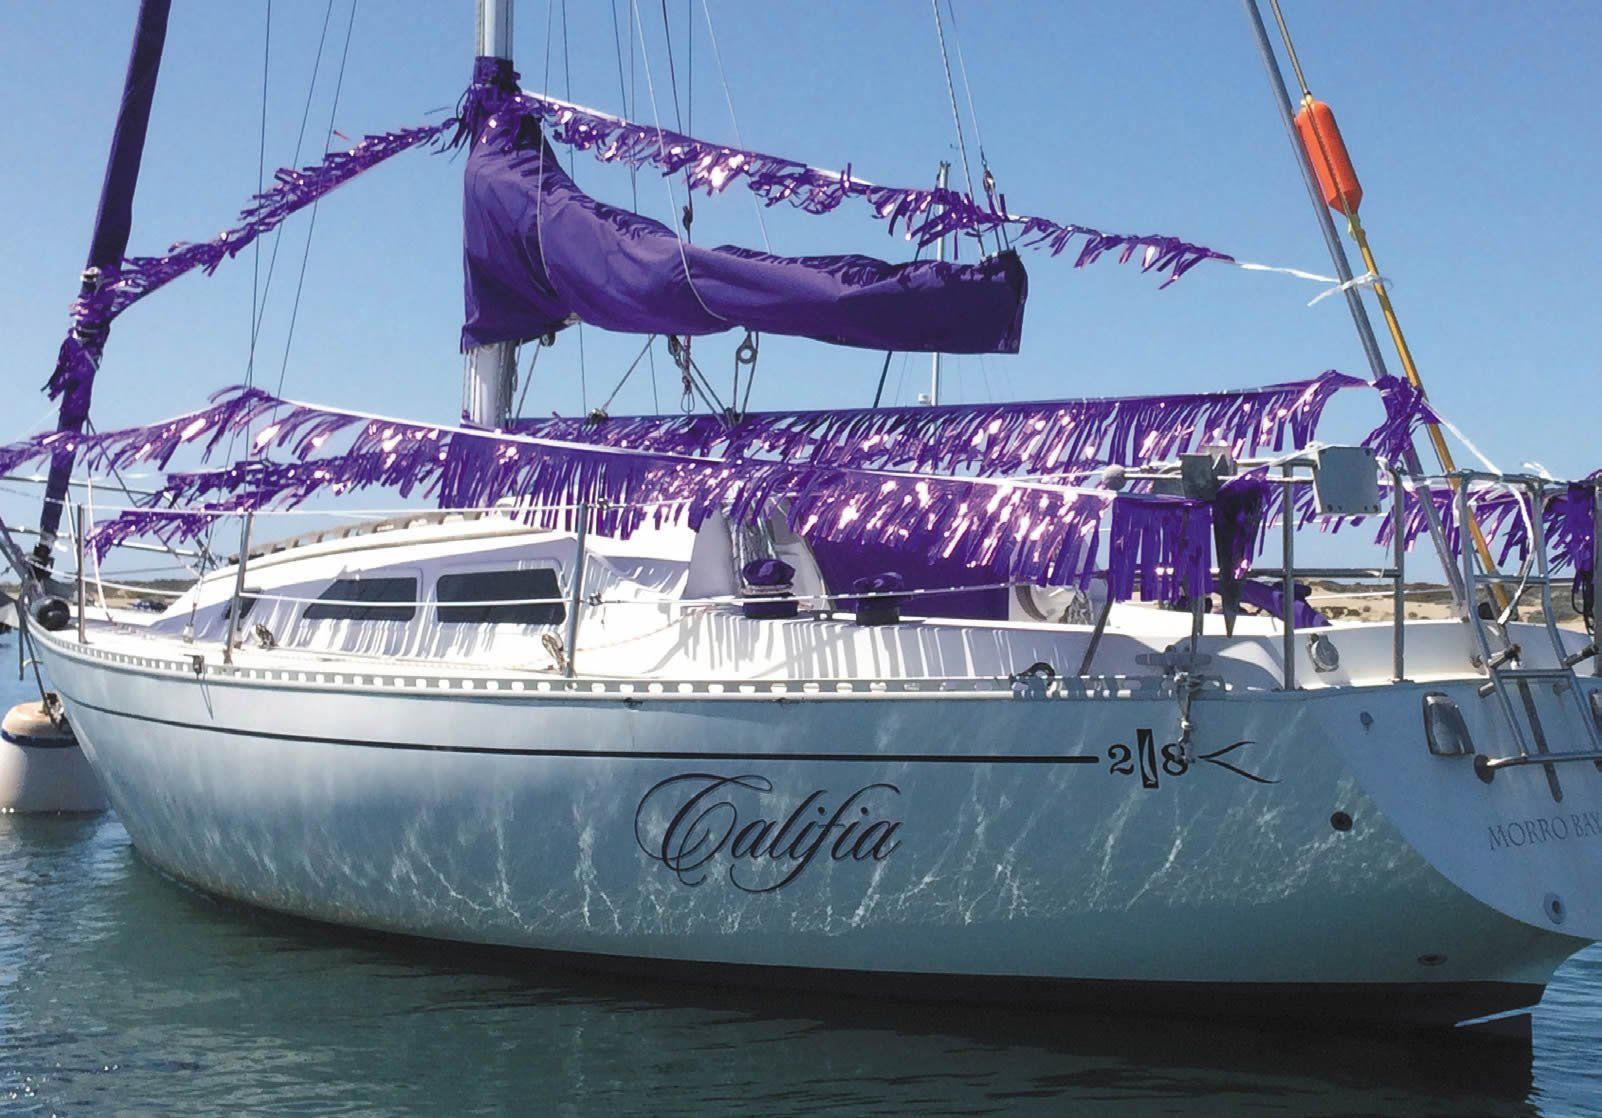
In response to your recent report on bird deterrents (PS Advisor, September 2017): I use brightly colored mylar streamers, like the kind seen on car lots. They are available on the Internet. My boat sits in a mooring field in Morro Bay, CA, and until recently I was the only one using these. These streamers pretty much guarantee the birds visit other peoples boats and leave mine alone. I run two of them from the stern around the stays forward to the bow, on both sides. Then I run one from the bow around the mast, a foot or so above the cabin, back to the stern rail. This protects the foredeck and the cabin top and the cockpit. The last one, I run from the backstay, up about 6-feet around the topping lift to the mast, and then down to the bow. This protects the main sail and appears to discourage our winged friends.
I use a simple half hitch and a slippery hitch so that its easy and fast to untie. These have worked great for me. They do begin to fall apart at about 12 to 18 months, but theyre inexpensive and easy to use. Your boat will look like its ready for a parade. My Sunbrella is purple, so my purple mylar streamers match.
Ive used this technique for 15 years. Because Im one of only a handful of women boat owners on Morro Bay, the guys used to kid me all the time about decorating my boat. That was usually before they worked on their hands and knees to scrap off bird poop. Now there are a number of boats on the Bay with this type of bird repellent.
Captain Pandora Nash-Karner
Califia, 1983 Islander 28
Morro Bay, California
Weve also had success (although results varied location) using a similar defense, reflective tape for home gardens called Bird Tape (See Keep Birds Away from Your Boat and Dock, Practical Sailor, April 2010). Other sailors use chains of reflective compact disks hanging from monofilament. Sailors who use this or similar deterrents should be sure to replace the plastic before it deteriorates and hits the water. Perhaps a reader has found an eco-friendly alternative?
After the Poop
Regarding your recent PS Advisor on cleaning bird poop (PS Advisor, September 2017), this letter is about prevention, not cure. Several years ago I was brushing Starbrite liquid waterproofing on my canvas dodger, and accidentally knocked over the bowl with the Starbrite and it went all over the deck. The instructions say not to apply this product to fiberglass, but my non-skid deck is the texture of course sandpaper and the stuff soaked in at once before I could clean it up. To my surprise, it didnt stain my light grey deck and thereafter, water beaded up on the deck where the spill had occurred. The next year, I painted all non-skid areas with the stuff and it created a waterproof coating that lasts for years.
I contacted Starbrite to ask why the label says not to apply the product to fiberglass, and told them of my results. They said the warning was only there because, depending on the color of the deck, it could stain, but the product is clear and will seal the pores in just about material. The only downside is that the deck is slippery for a couple of weeks, so I apply the stuff very early in the season and only once every few years. Water will bead up on the deck for at least several seasons.
Mark Rigoler
Via Email
Keeping the deck clean with a thin coat of wax makes clean-up so much easier. The trick is finding a deck wax or sealer that doesn’t create an ice rink. Some other products that weve found helpful are spray waxes (see Searching for Spray Shine, PS December 2014 online), deck waxes (Non Skid Waxes, October 2006), and concentrated wax n wash soaps (Best Boat Soaps for Regular Washdowns, January 2013). Weve used all three with success on the textured decks on our test boats, but, as you found, the results depend on the grippiness (or, as our testers refer to it, the friction coefficient) of your non-skid deck.
Winterizing Tips
We enjoy the email updates as much as we enjoy the monthly print versions. and the most recent one on winterizing caught our eye. We have stopped using antifreeze in our fresh water system, feeling it added to the bad taste we occasionally experienced the following spring (no matter how much we ran the lines to clear them). Instead we now empty our tanks, including sponging them out through ports, then blow all the water lines on both sides of the pump. Systematically and meticulously blowing the lines at a low psi until nothing but air comes out, and repeating the procedure so every line, tap, head feed etc is devoid of any water has not failed us in nine years and counting. We keep out boat near the Mackinaw Bridge in northern Michigan where it gets plenty cold.
Fred Bagley
Catamount, Caliber 38
Lake Superior, Michigan
TRAM Antenna Issues
I have a Tram VHF antenna, and after I lost two aerials before I figured it out why this was happening. As you are well aware, any antenna experiences significant torque at the top of the mast. This torque is applied in more or less a circular cycle as the boat pitches and rolls through a seaway. You can easily observe this.
After losing my second aerial (the base was fine), I did an experiment in my garage with a brand new antenna. I had to buy the whole thing in order to obtain a new aerial component. I grasped the base of the antenna in my hand and began to simulate the pitch/roll movement. Before too long I was able to literally walk the areal off the base. The problem with the Tram is that there is no obvious indication that the aerial screws into the base. There is no wrench tightening indent, no set screws, no nothing. There are set screws to lock the areal into the small areal base which, in turn, screws into the antenna base. If you don’t know there are threads behind this smooth aerial base, you don’t know there is a potential weak link.
I actually sent a product defect report to Tram explaining that this issue could potentially threaten someones life. I didnt get a response.
I did not want to discard the Tram because I had some complex RF wiring at the masthead which I did not want to redo. So I used the highest level of Loctite to lock those invisible threads and I tightened the connection very firmly after doing so. This seems to have solved the problem, at least after a few hundred sea miles under my belt. Important safety issue, even moreso for those use a mast antenna for automatic identification system.
William Cunningham
Jacquelin Freedom 30
San Francisco Bay
DIY Hard Dodger
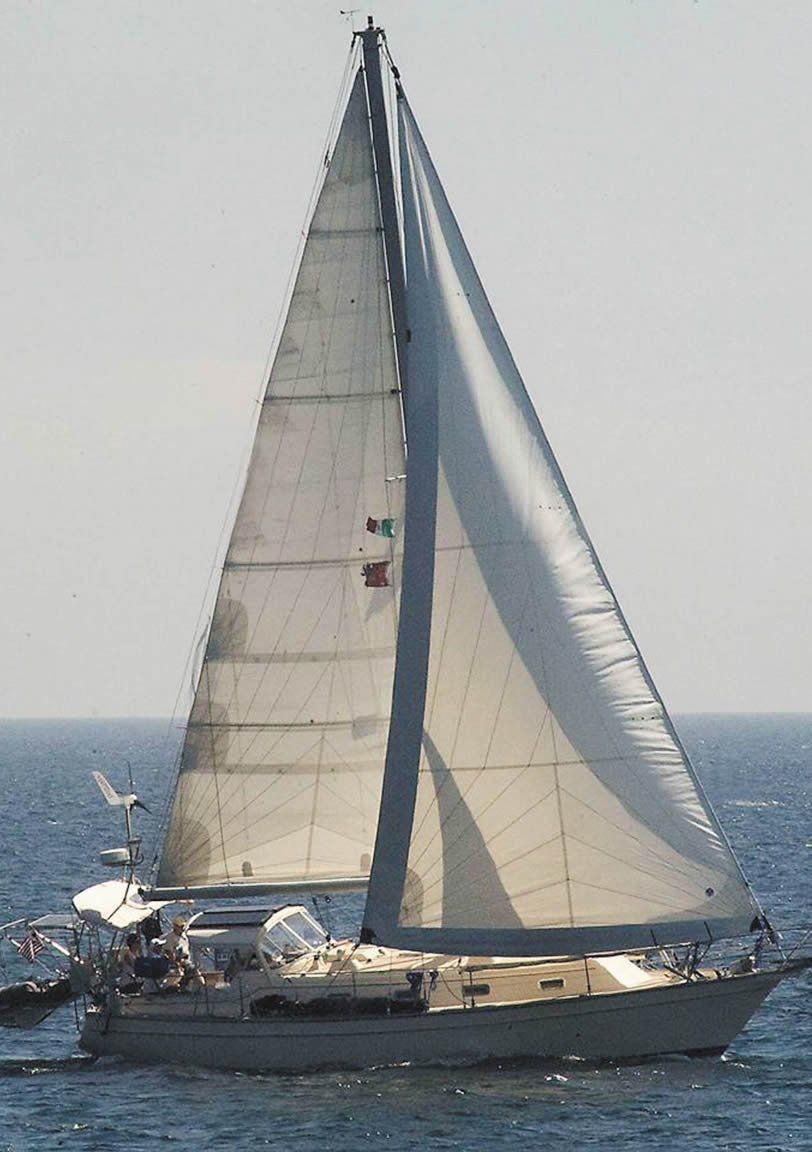
It was with some interest that I read of Bill Hudsons quest for a workable hard top for his catamaran Half Moon. In 2005 I was faced with the same problem. Winter had seriously damaged the aging Bimini and dodger on our Pearson 422 Autumn Wind. I wanted a hard top upon which I could mount solar panels, and I wanted a dodger with better visibility. Furthermore, I did not want to spend even half the quoted cost of having the job done commercially.
My solution was to build a stitch-and-glue hard top on the existing bows and add a dodger and side curtains to shelter the boats large cockpit. I got a copy of Sam Devlins book Boatbuilding: How to Build Any Boat the Stitch-and-Glue Way. After taking measurements I removed the bows and brought them home. In my garage I mounted them on a frame made of two-by-fours. Then, using a band saw I cut a bunch of 1/8 inch by 3-inch by 8-foot strips of oak. I fit these to the bows, then removed them, applied epoxy, and clamped them onto the bows so as to take on the shape of the bows in the vertical dimension.
The next day, after the epoxy was cured, I marked and cut the 3/4 inch layup in the horizontal dimension so it fit the bows. I did this for all the bows. These pieces formed the anchor points into which I could screw the stitch-and-glued marine plywood top, once it was built and the bottom side of it was covered with fiberglass cloth. I then applied fiberglass cloth to the top side, cleaned up the epoxy mess, and painted it. What I got was a hard top that is rugged, relatively light weight, and which could serve as a support structure for a dodger and side curtains, which my wife and I built.
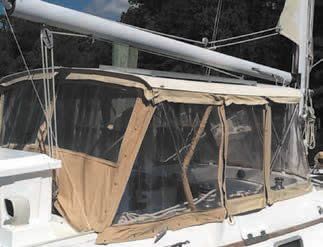
We have been using this hard top for the last 12 years, and it is still going strong. It has two 125-watt solar panels mounted on it. We rebuilt the dodger once, and replaced the outdoor cushion grade Sunbrella with marine-grade Sunbrella, and replaced some damaged Strataglass. We ran out of Strataglass and used heavy weight clear plastic for one panel. Now, after a few years, the plastic is showing its age and needs to be replaced. The Strataglass is still clear and should last a few more years. Cost of this project was about $700 for materials and $1,100 for the sewing machine, which continues to earn its keep with many canvas projects.
Bottom line: you can do it yourself. Use marine grade materials, use Strataglass, and follow the stitch and glue method and you will be surprised.
Ken Vincent,
SV Autumn Wind
Pearson 422
Fire Extinguishers
Regarding your recent report Fire Extinguisher Tips for Cruising Sailors, PS October 2017), remember that it is also a very good idea to have an extinguisher visible from anywhere in the boat.
A panicked person, particularly a guest, should have one in sight anytime there is a need.
Also, since galley fires are most common, and can block access to either side, it is best to have one extinguisher on each side of the galley, a clean agent for the engine spaces, a dry chemical for the galley and paint locker.
William Nokes
Someday, Gulfstar 41
Chetco Cove, Oregon


