In 2021 I bought Epic, a 2013 Lagoon 450 catamaran, and soon learned the boat’s forward bulkhead, along with other important structural components, were damaged. I discovered this thanks to Colin MacRae who runs the Sailing Parlay Revival YouTube Channel. MacRae was sharing videos about broken bulkheads on his Lagoon 450. Watching his videos helped me diagnose my own problems. I decided to sail down to Linton Bay, Panama, to repair the bulkheads alongside MacRae and his crew. I never expected to dedicate a year of my life to learning about bulkheads and creating a YouTube channel around repairing them, but that’s what happened.
I took on the repairs out of necessity. Two different Lagoon dealers I spoke to told me the misaligned doors and trim, horrible creaking under sail, and even bent floors were normal in a used catamaran. Even my surveyor missed the broken bulkheads, which can be hard to confirm without removing significant amounts of trim.
DIAGNOSIS
The forward/main bulkhead is located directly under the mast. In my catamaran like so many others, this bulkhead is a single laminated sheet of plywood and fiberglass that runs the full width of the boat and ties all the major hull components together. The structure helps stiffen the boat laterally as wind and waves twist and strain the rig, hull, and deck. There is also a transverse beam that runs along the top edge of the bulkhead, and under the deck.
The beam provides critical reinforcement under the mast and in the area above the two fore-and-aft passages in each hull. These large openings create nearby “hot spots,” areas in the bulkhead where forces are concentrated. This is where the problems often begin.
The bulkhead helps support the downward compression of the mast and the upward tension of the rigging. On my boat, the bulkhead consisted of a single piece of 15 millimeter plywood and a few layers of fiberglass reinforcing it on each side. The forces of the mast and shrouds had compressed the bulkhead at the inboard side of each hull passage causing the bulkhead to bend and crack.
Once the bulkhead fails, the shrouds pull the port and starboard hull upward and outward. This causes a bow in the deck that can be measured using a taught cord and tape as MacRae demonstrates on his YouTube channel.
The most certain way to confirm bulkhead damage is seeing it. This requires removing door trim and adjacent paneling. The bulkhead on our boat was severely disfigured. It had been compressed to resemble an “S” shape on the port side. On the starboard side it was bowed about an inch, so that it pushed against the adjacent cabin liner.
SURGERY BEGINS
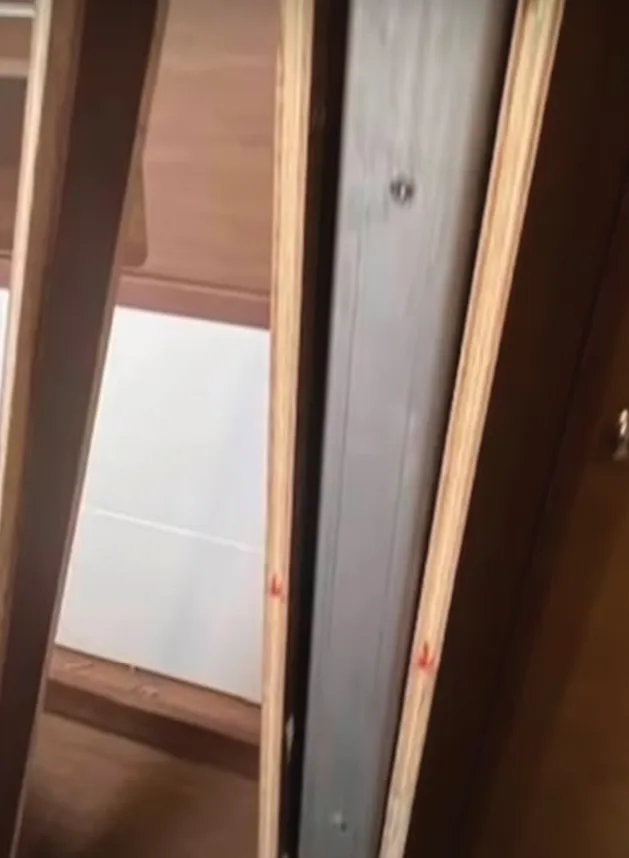
First, we had to remove all the interior paneling, ceiling and cabin sole surrounding the damaged area. We had to expose the bulkhead as well as the top beam. Screws holding the interior paneling together are behind glued panels, making it very difficult to disassemble without damage. I planned to customize the forward cabins, so I decided to tear the interior panels out.
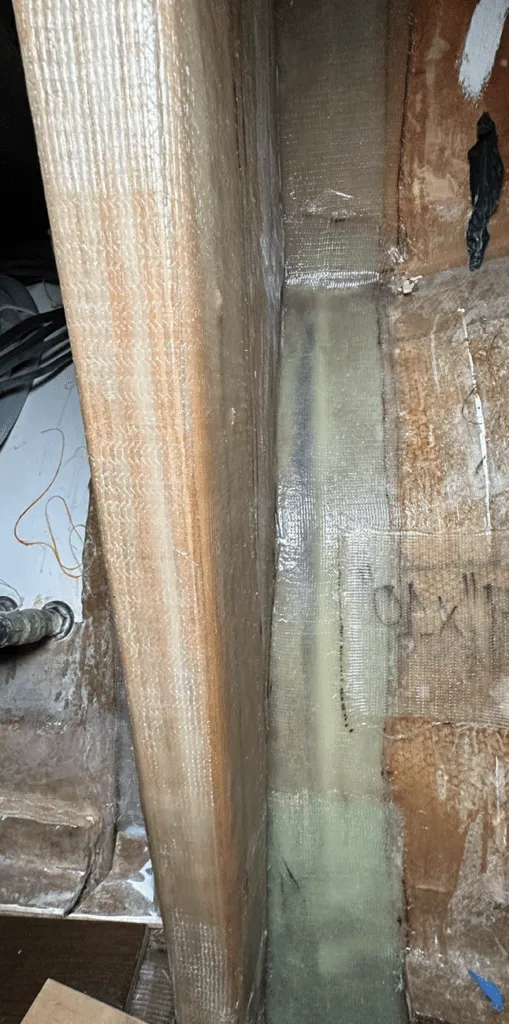
Once the bulkhead was exposed we found more problems: some fiberglass sheathing the main beam had failed to bond or had delaminated; the fiberglass tabbing bonding the bulkhead to the hull had separated in some areas; and the joint between the main beam and deck—bonded only with adhesive—showed signs of separation.

Around the time I disassembled the cabins, Lagoon connected MacRae with Vincent Lauriot Prévost, designer of the Lagoon 450. Through video calls, the naval architect explained how to reinforce the hull to prevent further damage. Prévost described the wood-ply and laminate schedule that would safely strengthen the hull. MacRae had conceived a way to use jackstands, a Travelift and the hull’s own weight to straighten the boat before repair. To me, it sounded crazy, but Prevost approved the plan (see https://www.youtube.com/watch?v=5dzMjfitl5c&t=50s).
After much audible cracking and creaking, the bulkheads were straight, the hulls realigned, and the deck was level. It was an amazing sight, but the real work had not even started.
Grinding away the bad fiberglass laminate to expose good structure for bonding was a slow and tedious process. I spent three long, hot (90 F) days in a Tyvek suit wearing a full respirator. Only a spray hose could remove all the dust. My skin itched for weeks.
We dried the interior with a pair of dehumidifiers and every fan we could get our hands on. Surprisingly, this dried out all the wet wood within 24 hours. The boat was clean and the beam and bulkheads were fully prepped. Of the original bulkhead in each hull, a single sheet of bare plywood remained. This clean slate would serve as the foundation of all the reinforcements to come.
We rebuilt the bulkheads for each hull in three stages: first we constructed a new beam, we then bonded newly laminated bulkhead sections in place, and finally, we tabbed the bulkhead into the surrounding hull and structures. The relaminated beam was 20-percent thicker than the original.
We made cardboard templates of the port and starboard hull bulkheads and cut out twin panels of 18mm marine plywood for each hull. When each pair was laminated in place, the new bulkheads were three times thicker than the originals.
The new bulkhead pieces were glued in with thickened epoxy. Stainless screws joined the pieces as the glue set. Fiberglass tape capped the inboard end-grain. Finally, the new bulkhead pieces were reinforced with fiberglass.
The corner where the edge of the bulkhead met the beam (inboard upper corner of the entryway) was identified as a weak point by Prévost. This was also where the beam had cracked. We followed his advice and wrapped the beam-bulkhead joint in fiberglass, overlapping and covering the entire radius of the corner.
Every structure had to be tabbed into each other to get full strength and help spread the load evenly. We fiberglassed the beam and bulkhead into the surrounding structure and the lower bulkhead under the floors was tabbed into the hull. We joined the top edge of the bulkhead, beam, and ceiling/deck with fiberglass laminate. We used fiberglass tape to join the reconstructed bulkhead sections in each hull to the undamaged center section of the bulkhead.

REBUILDING THE INTERIOR
The last step, still in progress, is to rebuild the cabins. MacRae, who had carefully dismantled his cabins, was able to rebuild his in about two weeks. The newly reinforced bulkheads proved to be the largest hurdle during reassembling. MacRae compensated for the new thicker bulkhead by shaving away the backside of the wall panels to match the contour of the new bulkhead. The rest of the walls were reinstalled with battens from behind and limited screws on the front. The lower half of the cabin was covered by vinyl wall panels which hid many of the cuts. The floors were reinstalled with battens as well and new supports were fiberglassed to the hulls.
As I write this, my bulkheads are still exposed. We will rebuild the cabins soon, but for now, I really enjoy seeing my badge of honor. By fixing the bulkheads we inadvertently converted a production charter boat into a capable bluewater cruiser, a project I would have never taken on by choice. We did install temporary floors so the cabins would be usable. We splashed the boat and had a rigger tension the shrouds to spec.
With the bulkhead repairs complete and the rigging set, it was time to sail home. Over the next month we sailed Epic 1600 miles from Panama through Mexico and home to Texas, and she performed flawlessly. The hulls no longer flex or twist in big seas. The boat is completely solid and silent while underway–not a creak below deck.
From haulout to splash, it had taken me 11 months, we had many delays because of the location. With a couple of skilled workers and access to tools and parts, the repairs could be completed in 6 weeks. In total, we spent about $33,000, which was significantly more than what I had originally estimated, but only a fraction of what we would have had to pay a company in the U.S. to fix it. We had quotes ranging from $75,000 to $120,000. We spent $8,000 on materials and tools, another $12,000 in yard fees, $2,000 on helpers, and $11,000 on flights and car rentals.


What a project! Great job David!