With a little imagination and some inexpensive materials, you can put together a leakproof mast boot in a few hours.
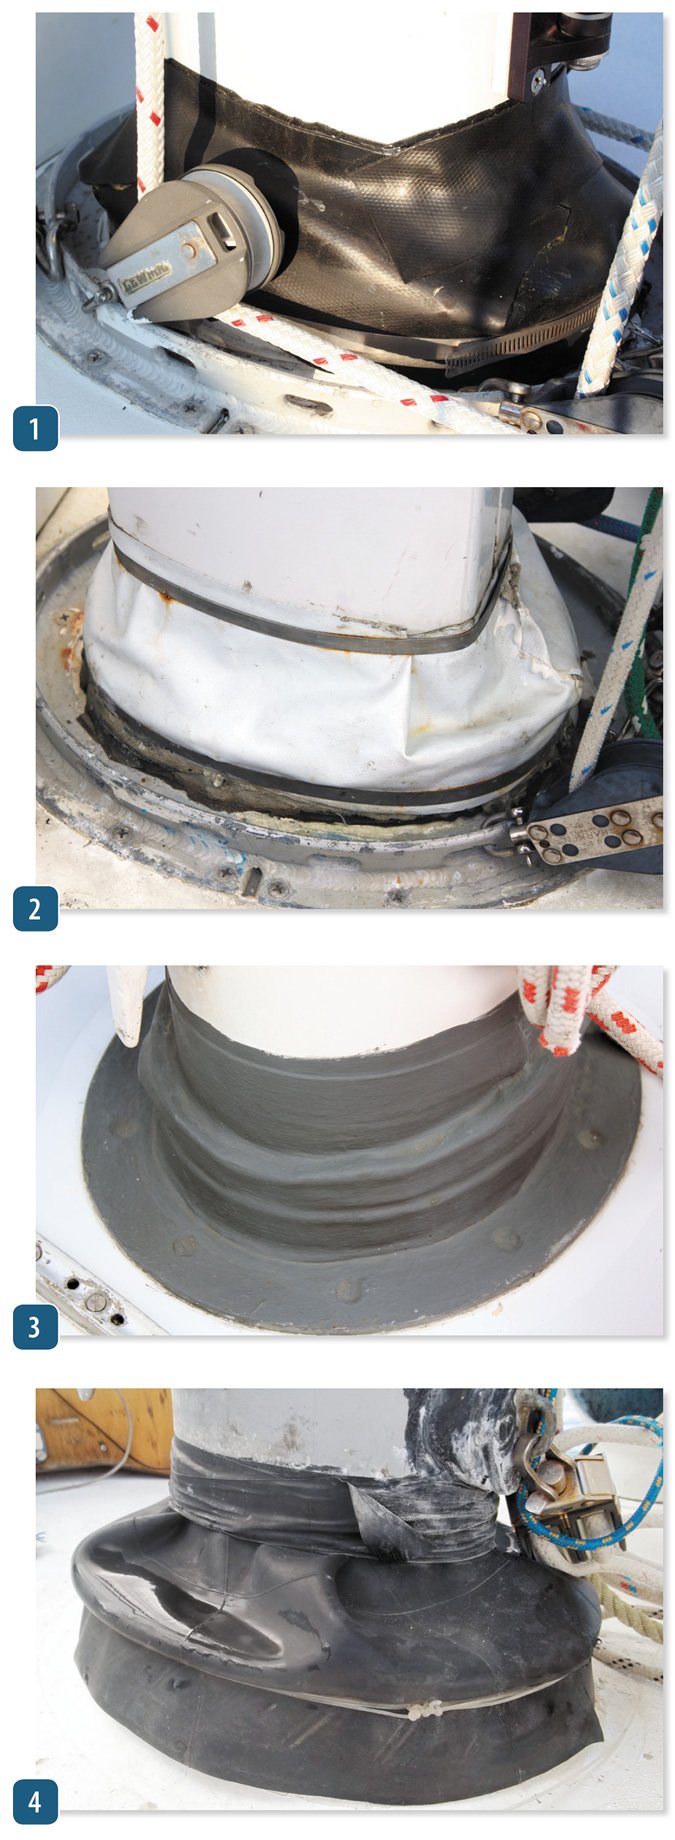
1 Roofing Rubber
One reliable boot sealer is self-adhesive ethylene propylene diene monomer (EPDM), a common rubber-membrane roofing material. Sold at local building supply stores, the rubber is black in color and comes in a roll that is 5 inches wide. (Dont confuse it with ice and water shield, which is much thinner.) Peeling the plastic backing from the underside of the EPDM material exposes the sticky side. Arrange precut strips prior to permanent installation. We suggest using American-made products as the imported stuff doesn’t adhere well to itself.
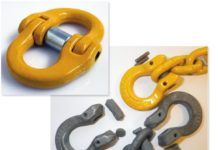
2 EPDM + plastic sheeting
A white, heavy, PVC plastic sheet can be installed over the EPDM for cosmetics and additional protection, or you can use it by itself. You can seal all of the overlapping seams at the mast with a medium-strength adhesive caulk like 3M 4000 UV. You also can seal any material held in place with hose clamps with butyl caulk (easier for disassembly later). Some cruisers have successfully installed only the plastic sheet as a mast boot.
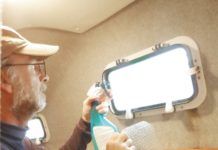
3 Bandage Boot
Surprisingly, a common Ace bandage can be used to make a mast boot. Simply wrap the bandage around the mast, starting at the bottom and going up to 6 inches above the deck. Apply a thin coat of Hypalon paint (commonly used to waterproof RV roofs; Geocel is a common brand) to waterproof the bandage. To further protect the Hypalon from the suns ultraviolet (UV) rays, it might be worth applying a coat of exterior acrylic house paint, which will expand and contract and has better UV properties than an oil-based paint. (The mast boot pictured has lasted over four years without a leak.)
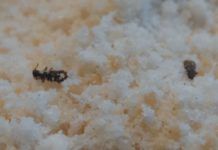
4 Truck tire tube
You can cut up an old truck-tire inner tube and wrap it around the mast, sealing the contact edges with butyl sealant. Seal the top with self-bonding rigging tape and secure the bottom with heavy monofilament fishing line. Seal the overlapping tube with contact cement or an adhesive sealant.
If you decide to go the retail route, there are very nice-looking, factory-made, contoured mast boots. But be sure to seal the area that joins the mast, under the retaining clamp, with butyl caulk rather than silicone. Butyl is far easier to remove with mineral spirits where silicone will need to be cut, scraped, and sanded from the mast. Where the mast boot overlaps, seal the seams with contact cement or an adhesive sealant.








Or you can use Flex Seal.
Just removed my boot because the fabric cover was falling apart. Underneath was a car or truck inner tube that was cut to take advantage of the tube’s shape and overlapped at the back side. This was taped to the mast to seal the top. The bottom was not clamped. This was then covered with a fabric wrap using velcro and draw strings top and bottom. Surprisingly it never leaked.