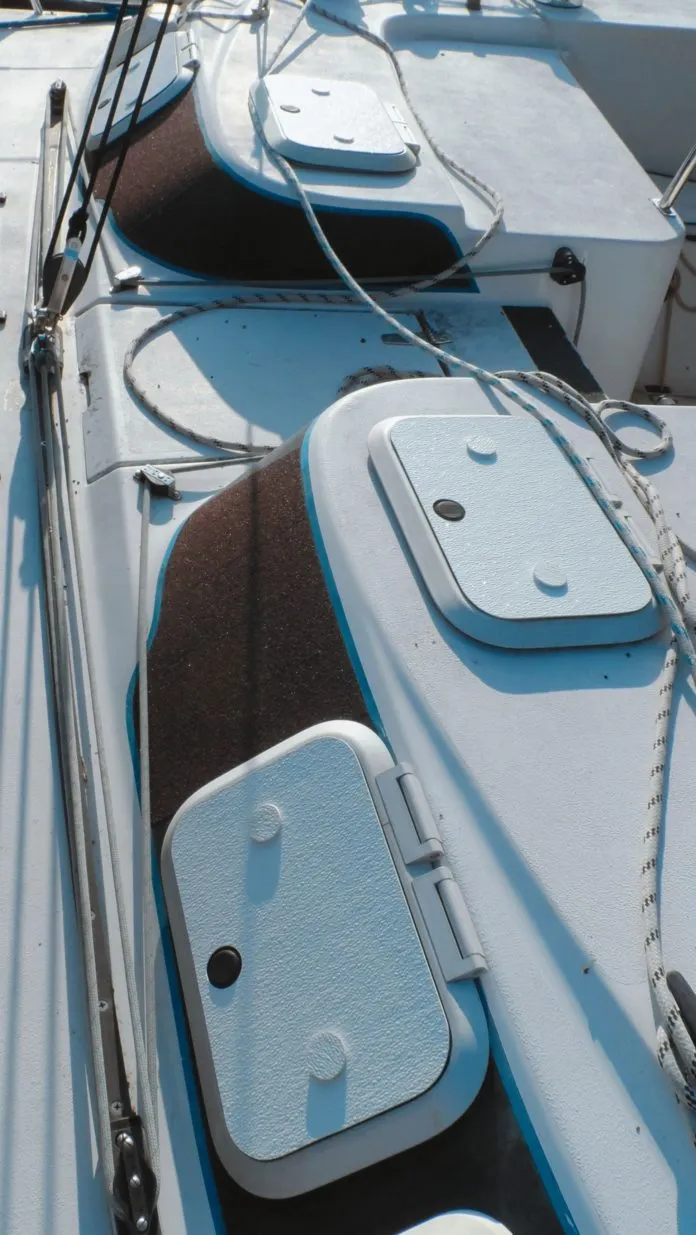
To protect the fixed and soft-vinyl windows aboard our PDQ 32 test boat, we have a combination of snap-on canvas covers and awnings, along with the two Outland Hatch Covers were testing. After the success we had using the Outland Hatch Covers PVC covers, we wanted to install more of them, but the cruising kitty could not bear the cost, so we sought a do-it-yourself solution.
A dock neighbor made a set from inexpensive fiberglass shower-surround material; his hatches exterior handles secured the covers. However, our test boats hatches have interior handles so we opted to use the Velcro-like Scotch Clear Extreme (3M Dual Lock) re-closeable fasteners for our DIY fiberglass covers. Heres a look at our DIY project.
Materials: 4 ft. x 8 ft. x .09 inch fiberglass wall board (Home Depot, #MFTF12IXA480009600, $33); Scotch Clear Extreme fastener ($30 for 10 feet of 1 inch wide)
Tools: Hole saws, 1 1/8 inch and 1 inch; disc sander; table saw; 150-grit sand paper

The Process
The first order of business was to create templates from the existing hatch windows; we did this using freezer paper, confirming measurements carefully. We transferred the template onto the fiberglass wall board by cutting out the template and tracing it using a Sharpie. Then we cut out the covers.
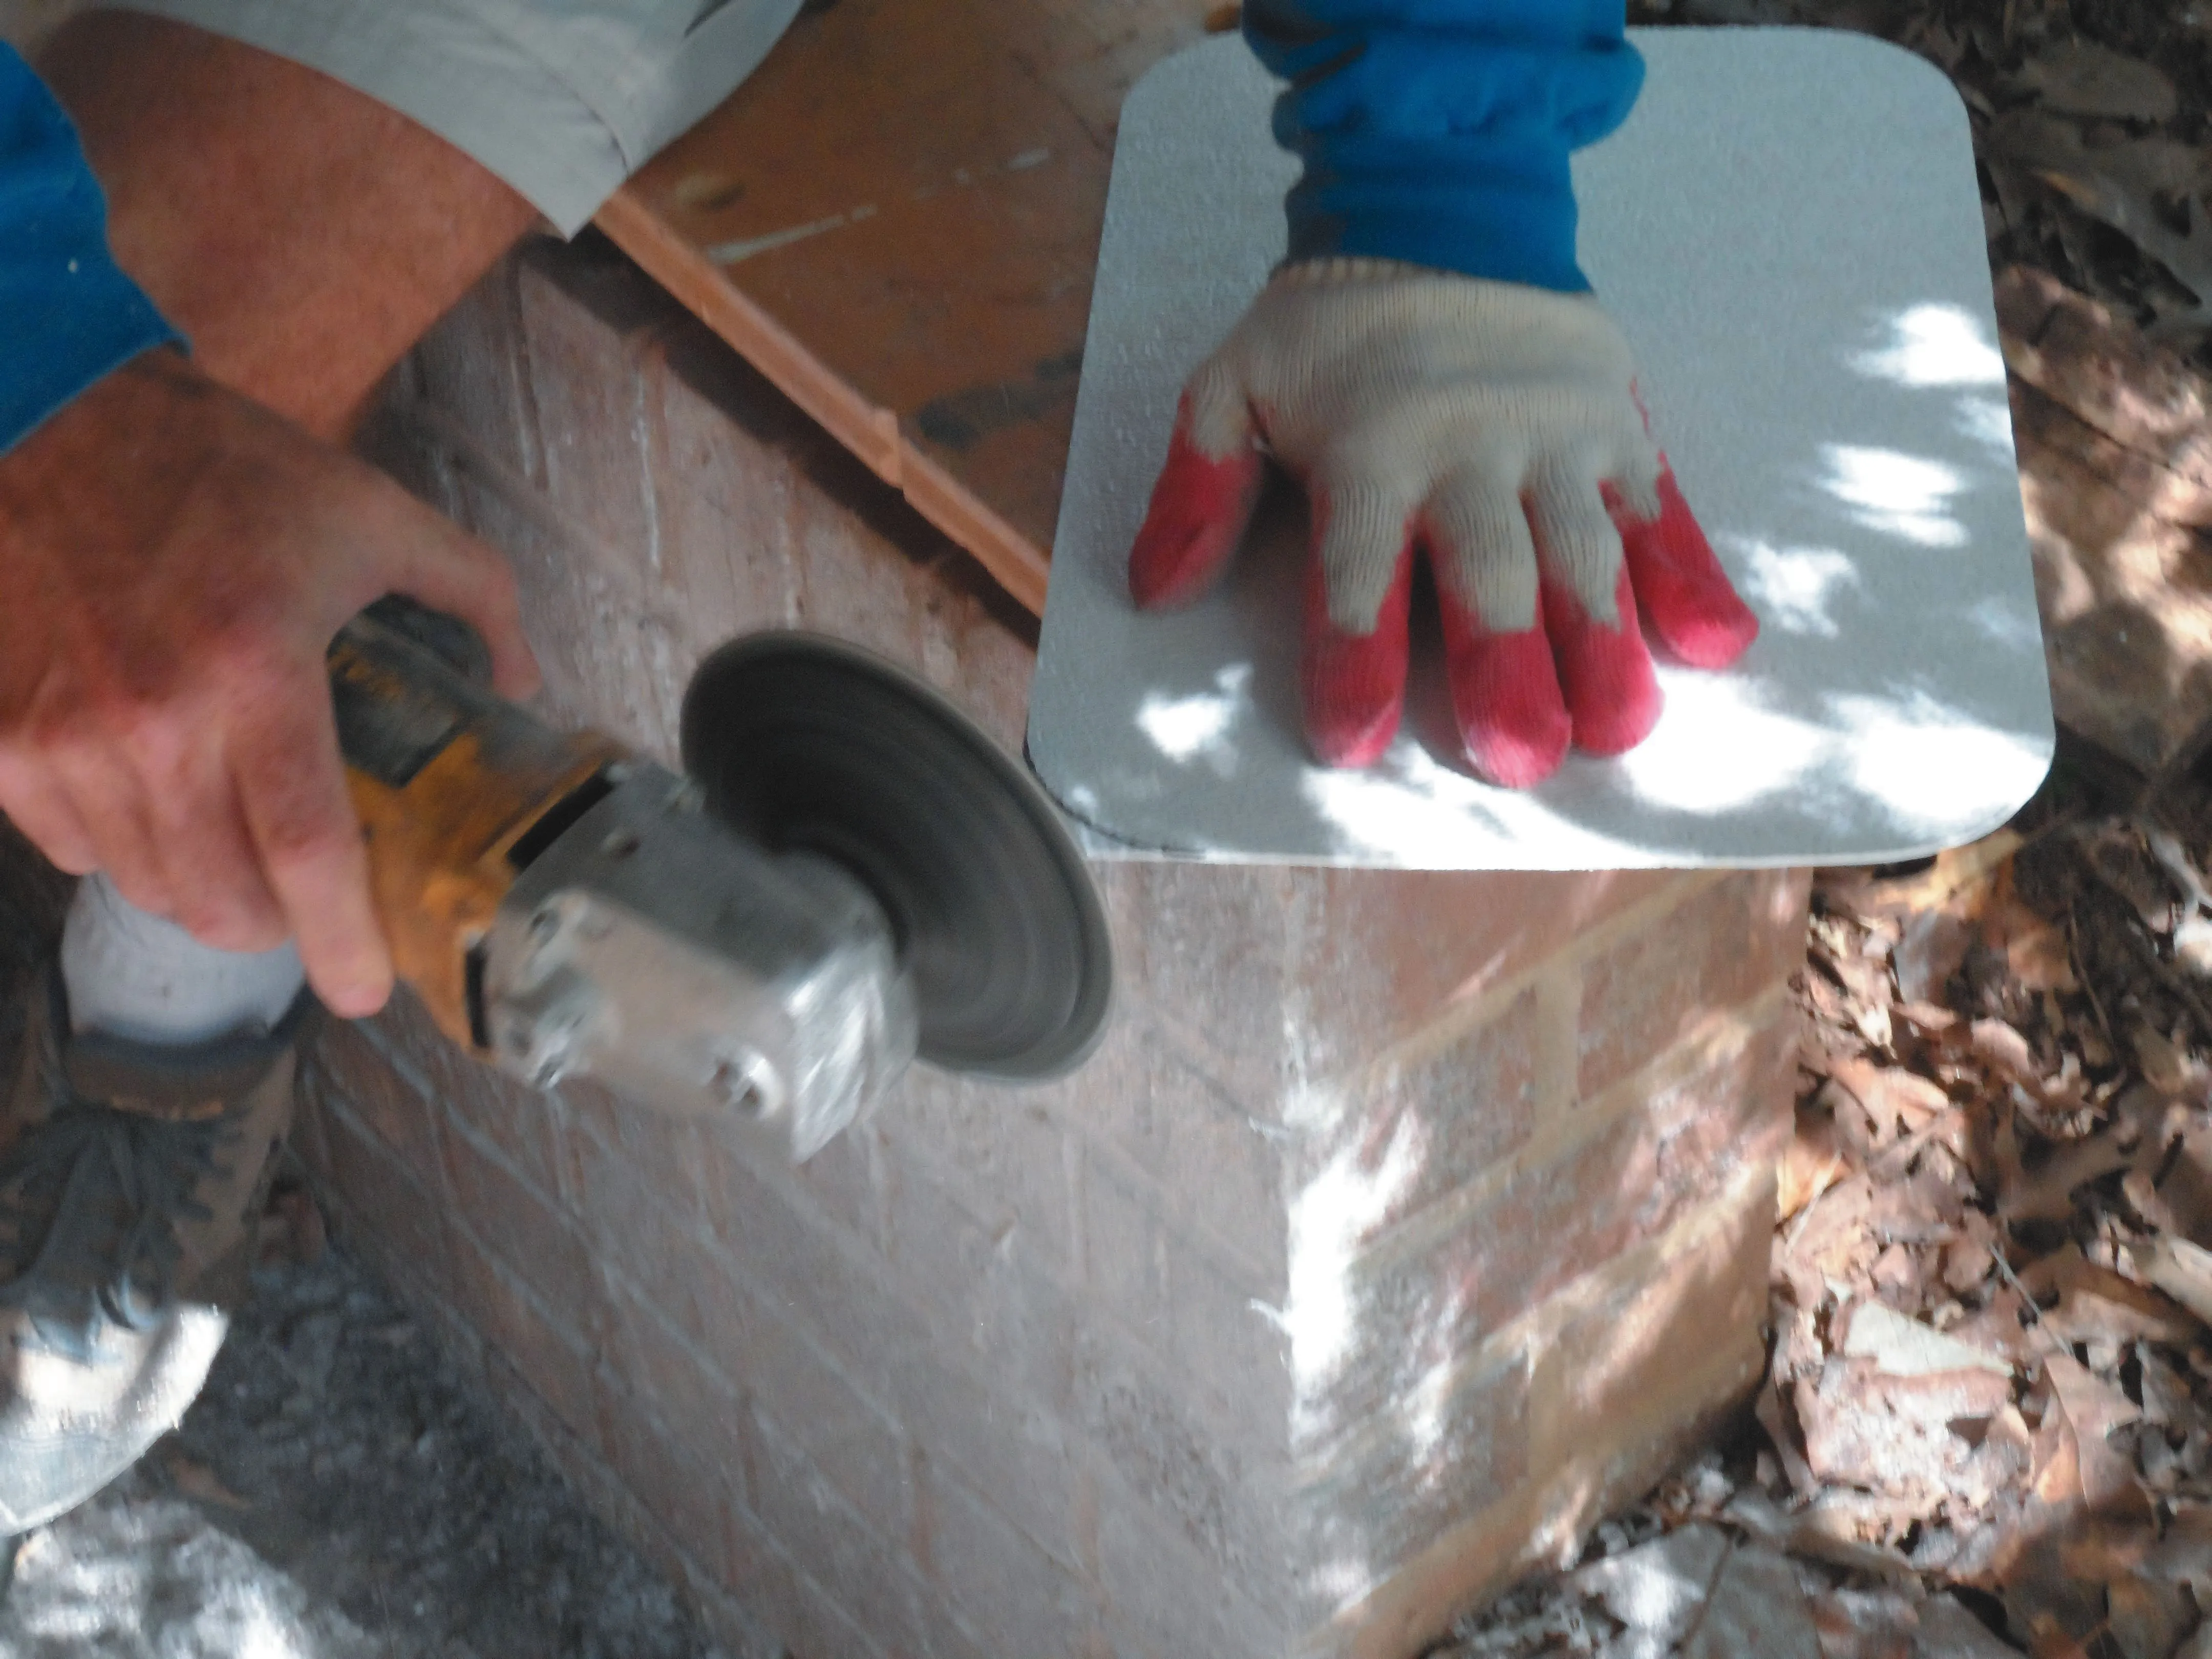
Careful measurement is the key. The fiberglass is easily cut to size by scoring and snapping with a plastic cutter. To allow space for sanding smooth edges, we cut the pieces 1/8-inch larger than they needed to be, then trimmed them with a disk sander (with 150-grit paper) and finished them by hand sanding.
The 1-inch circles (buttons) and the holes for the adhesive buttons (1 inch diameter) and support brackets (varies) were cut using a hole saw; we removed the center bit to cut the circles.
To install, we covered circles entirely with Dual Lock, trimming to fit. The 1 1/8-inch circle of Dual Lock that is placed on the lens was carefully trimmed to fit the 1 1/8-inch cover hole. We then snapped the Dual Lock circles onto the center of the covered buttons (backing still in place), placed the covers on the windows, and then removed the backing and applied the buttons to the holes.
We used two buttons for the smaller hatches. For larger hatches, four buttons located in the corners worked well. If the hatch has external handles, you can replace two of the buttons with holes drilled to slide over these handles; the fiberglass will flex.
Conclusions
The DIY covers have stayed in place underway and through a few squalls, but we remove them for offshore work. The buttons are the most vulnerable part-they can be removed with a swift kick from a careless foot-so we made extras. In six months, we havent lost any buttons or covers.
The total cost was about $64, which comes to $5 per 21-by-21-inch hatch cover, allowing for waste and assuming you will use all of the material eventually. If youre making several covers, going the DIY route is a money-saver over the Outland Hatch Covers. Also, if your hatches are oddly shaped or sized-and youre handy-the DIY solution is worth considering.
While we are pleased with our DIY fiberglass covers, we still prefer our snap-on Sunbrella covers for fixed windows and vinyl skylights-they are fast, secure, and compact to store. The Outland Hatch Covers are ideal for high-traffic areas, like around the mast.


Can we see the bottom? I’ve read the article 5 times and I still dont understand the purpose of the buttons. Why not install the velcro directly to the cover?