


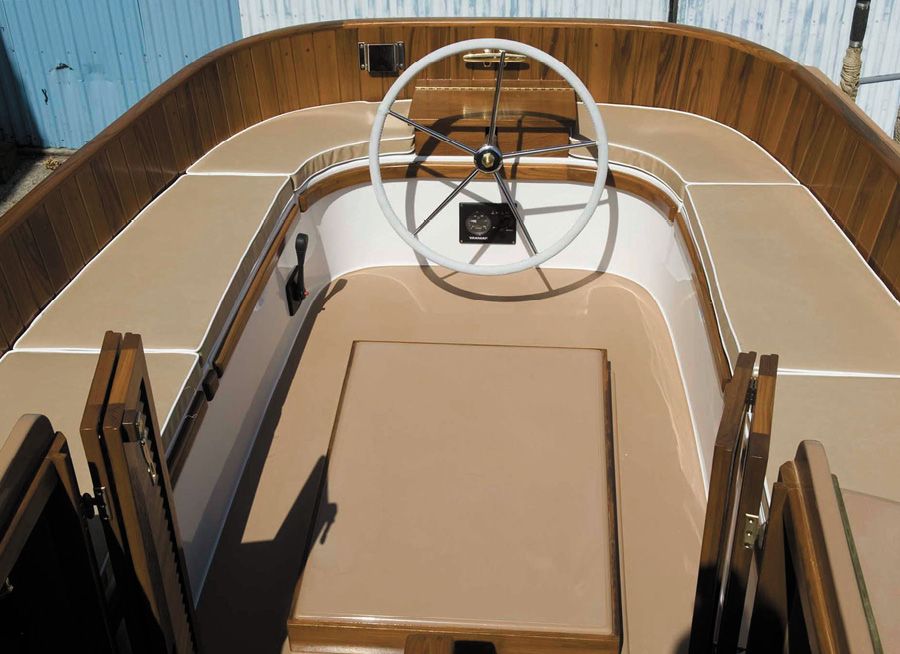
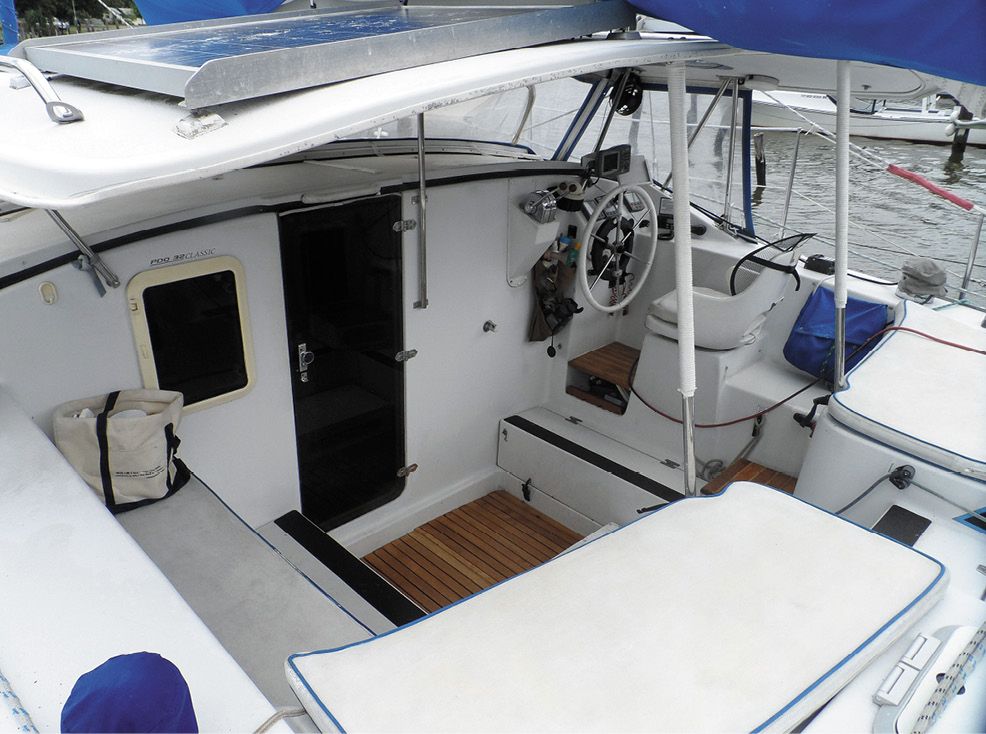
Loose cockpit cushions can blow away in a good breeze or slide off when sharply heeled. A sliding cushion is a nuisance at the helm and dangerous when coming back into the cockpit from on-deck. Broken bones happen that way.
For safety reasons, many sailors put away any seat cushions at sea, or when the weather is rough. Others put them away as soon as they leave the dock because they won’t stay put. Skipping cushions is asking for a sore backside in the summer and a cold one when temperatures drop and cold fiberglass sucks body heat away.
I could blame my preference for cushions on my aging backside, but I’ve preferred a little padding under me for more than 40 years, long before my joints started creaking. I wouldn’t drive a car with a plank seat, and the best park bench becomes uncomfortable after a while. Even if you use your cockpit cushions infrequently, or only at anchor, secure them.
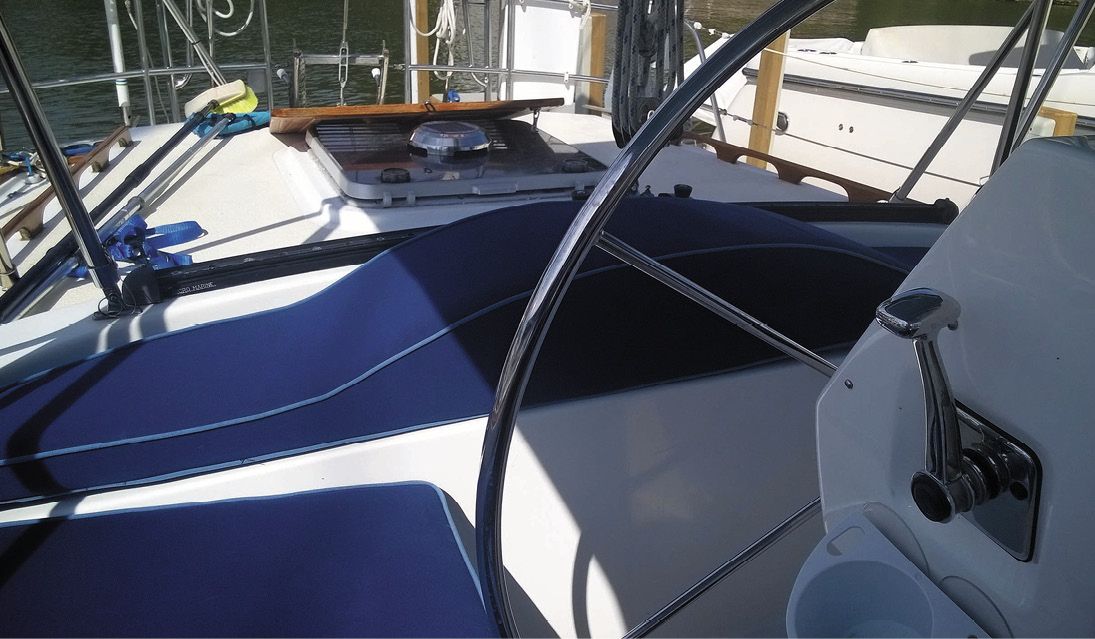
Many cushions have no attachment points. The greater weight and friction of coated closed cell foam products like C Cushions have given them a reputation for staying in place, at least in deep cockpits with high coamings. But even heavy cushions are vulnerable on performance boats and multihulls that routinely sail in apparent wind speeds exceeding 20 knots. A snug fit helps prevent sliding, as each cushion traps the next in place. But sooner or later there will be a strong gust, the boat will heel, or a someone will make a wrong step coming in from the deck and the cushions will slide.
will likely stay put until somebody steps or stands on them and applies lateral force.
Cockpit cushions can be made from conventional upholstery foam, sealed in plastic, and zipped into a cover with a waterproof top and a ventilated bottom, but these are far inferior to contemporary closed cell foam materials that don’t absorb water. Nevertheless, we still see the old-style cushion/cover combinations on boats, and you’ll know their owners by the wet circle on their rear ends. A wet bottom might be funny for a while, but on long passage, the wetness can lead to chafe, skin infections, or boils that can turn a trade wind passage into a painful ordeal.
There are also several types of rapid drain foams, and cushions constructed with these foams usually feature ventilated tops and mesh bottoms for relatively faster drying. But where do we store our giant wet sponges when we leave the boat, or when they get wet while sailing? Even at anchor, a pop-up thunderstorm is bound to drench them. Who wants to sit on a squishy, water-absorbent foam cushion in the rain or spray? Not me. Closed cell foam cushions float, so they can be part of your MOB plan, but not open cell. My advice is to take any open cell foam cushions off the boat and give them to the kids (or grandkids) to build a fort in the basement.
Closed cell foam is the answer. Firm seat cushions made of closed cell foam—either coated closed cell foam cushions such as C Cushions, or bare closed cell foam are the best choice for offshore sailing. Look for medium to high-density closed cell foam that is certified to meet or exceed Underwriters Laboratory standard for personal floatation devices (UL 1191), or the International Standard Organization equivalent (ISO 12402).
A good option is 1½-inch thick EVA Minicell T200 ($6 per square foot), which has a compressive strength of 2 pounds per cubic foot. Foam can also be rated by ILD (indentation load deflection), which measures compression using a 50-square-inch plunger. The ILD of Minicell T200 is 200 (thus the name). Any foam with an ILD of 75-300 is acceptable. Denser, firmer foam will have less flotation.
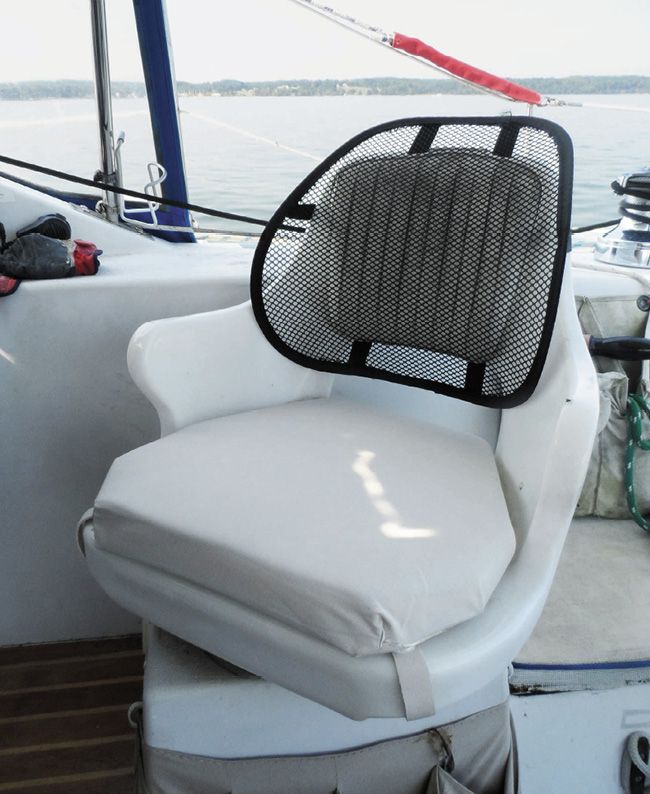
You want firmness so it is safer to stand on, but firm cushions will be less comfortable when sitting for many hours. To add more padding when the boat is in port or during long sails on calm days, you can put a softer cushion on top and then put these away before it rains or the breeze picks up.
CUSHION FASTENERS
You’d think that the increasing popularity of go-fast cruisers and daysailers that routinely reach cushion lift-off speed would prompt dealers to make cushion fasteners mandatory, but from what we have seen at recent boat shows, loose, or poorly fastened cushions are still the norm. A loose cushion placed right where you step aboard or return to the cockpit can be downright dangerous.
So, what are our options for securing cockpit cushions? In recent years, the introduction of high strength, reinforced plastic snaps and buckles have opened a wide range of options that are generally better than the old familiar metal snap.
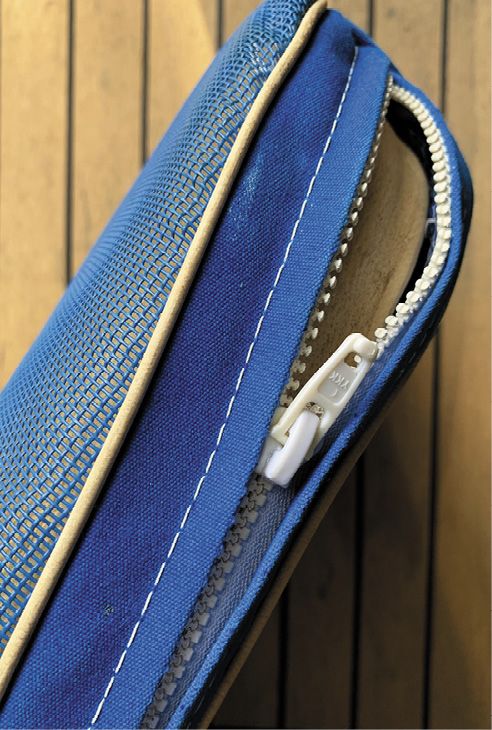
Before looking into fastener options, look at the bottom of your cushions. You want a surface that won’t slip, but will resist mildew, which loves to grow under seat cushions. C Cushions are naturally grippy, but a covered cushion will often require some modification to improve grip. Phifertex, a screen-like material that drains easily, is commonly used on the bottom of cushions.
You can increase friction by gluing foam mesh drawer liner material to the bottom of a bare closed cell foam cushion, or cushion cover. This foam doesn’t last very long, but it’s out of sight and easy to replace every two seasons. We’re sure there are other materials that can be glued to the bottom and would be interested to hear what other sailors have tried.
You want to secure cushions at the back of the seat, not the front edge. No one ever secured a rocking chair cushion at the front edge. You can keep snaps at the front edge of bow cushions or others that might lift up in a breeze, but otherwise they’re not needed.
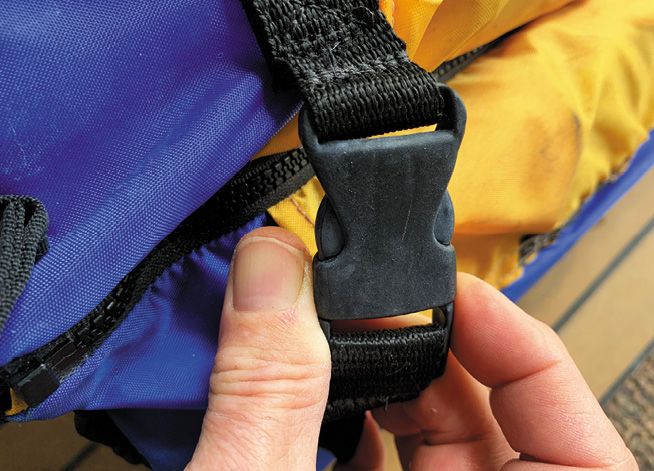
To connect the back of the cushion to the cockpit seat, we like Fastex side-release buckles—the pinch-to-connect buckles found on everything from backpacks to sail covers. These buckles offer a quick and easy way to secure the back part of a seat cushion, and the buckles can be adapted to a range of installation scenarios. Heavy duty, military spec, UV-resistant acetal plastic (Delrin) fasteners from YKK should provide years of service. The most UV-resistant buckles are usually black, although not all black buckles are UV-resistant.
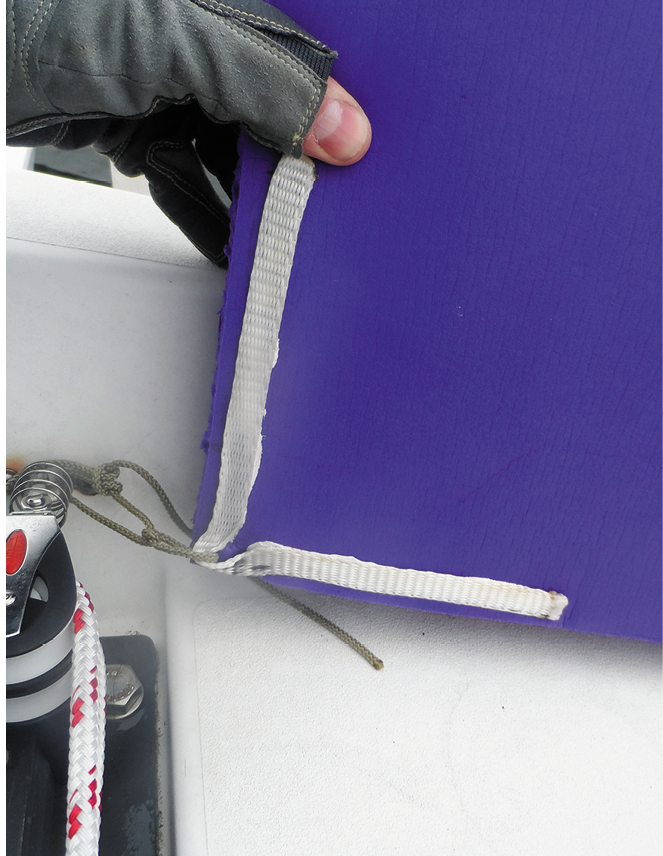
To attach the buckle to the cushion, all you need is a loop of webbing that can be glued and/or stitched to the bottom of your cushion. Because the force is considerable when jumping down off a heeling deck, the load on each fastener should be well distributed across the cushion. Treat the part of the cushion or cover where the buckle attaches like you would the corner of a sail. Use heavier fabric, and reinforce the area with a gusset, or webbing straps.
Coverless cushions require a slightly different approach. C Cushions will supply a snap or strap tab that secures to the bottom the cushions using a 3M VHB adhesive (see “Through-bolt Alternatives,” PS September 2023). Closed cell foam cushions (coated and uncoated) can be securely attached by gluing 18-inch strips of polyester webbing to the underside of the cushion. For glue, a polyurethane sealant such as Loctite PL S40 or Sika 291 will bond well. Another option is to glue a small tab for a snap to the bottom corner of the cushion—like what C Cushion does. The tab can be made of fabric or webbing.
DECK FASTENERS
The common way to secure Fastex buckles and their webbing loop to the deck is with a metal or plastic eye strap. But if you don’t like the idea of drilling holes into your deck or locker lid, glue-on hardware can be extremely strong. One neat and secure way to make your own metal-free attachment point is to make a glue-on Dyneema eye.
All you need is some epoxy, a small (approximately one inch square) tab of fiberglass laminate, and a small length of Dyneema. Pass the Dyneema loop through a small hole in the fiberglass, fray the ends and then glue them to the backside of the fiberglass tab. Bond your new Dyneema “padeye” to the deck where it’s needed. In little more time than it takes for epoxy to cure, you have created a neat and reliable attachment point for your cushions (see “Ultra Fairleads and Soft Padeyes,” PS March 2023).
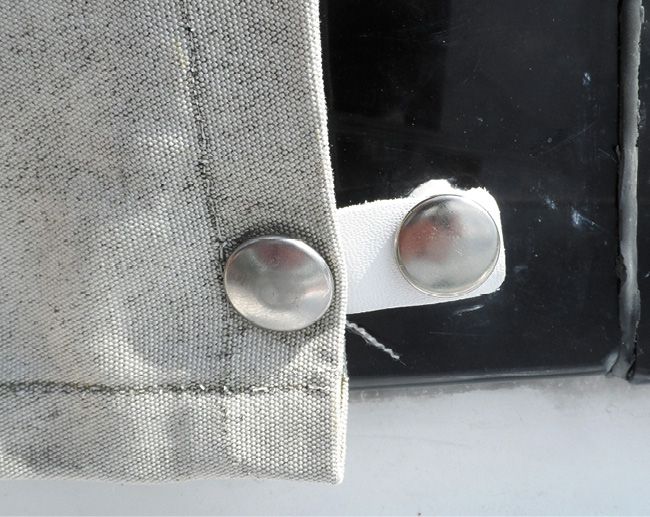
I’m not a big fan of snaps, but some people like them. I don’t like the time and fiddling it takes to align the snaps. And anytime metal and fabric meet, there is a potential for chafed or torn fabric. One sharp pull trying to separate a corroded snap is all it takes to start a rip.
You don’t have to drill holes in your cockpit to install new snaps or replace old ones. YKK self-adhesive snaps (SNADs) will fit over the old holes. They attach with 3M VHB tape and are nearly permanent if properly installed (see “SNADs, Snaps without Screws,” PS November 2023). When under tension, SNADs can unsnap more easily, so they’re not a good choice for canvas that is pulled tight.
SNADs are self-lubricating, but if you have metal snaps, you will want to lubricate them several times each season. This will make them a lot easier to use and reduces fabric wear. Do this at the same time you lubricate your zippers onboard.
You can use a special snap and zipper lubricant, but a thin layer of carnauba wax also works. Avoid spray products that contain silicone if you plan to do any bonding, painting, or varnishing projects. Silicone prevents good adhesion and can penetrate deep into the gelcoat or teak pores, requiring extra time and effort to remove (see “PS Tests Adhesive Removers,” PS January 2017).
VELCRO AND OTHER FASTENERS
3M Dual Lock hook-and-loop fasteners are handy for mounting cockpit accessories, but algae grows on these fasteners and the growth will prevent good grip. The problem is worse with conventional stick-on Velcro tape, but even the 3M Dual Lock hook-and-loop fasteners invite biological growth. Velcro will work just fine for securing cabin cushions, but we prefer other fastening solutions on deck.
Other attachment methods we’ve seen include bolt ropes and tracks, lacings, and fiberglass rods that thread through a series of loops along the back of the cushions. These are all neat, strong means of attachment, although some are a little fussy to install and use.
Using loops of line or webbing as an attachment point on your cushions (instead of snaps, twist-locks, or other hardware) gives you all kinds of options for securing them to the boat. Use your imagination. Keep in mind, however, that if you intend to use cockpit cushions as flotation in a man-overboard situation, you should be able to remove your cushions in a matter of seconds.
CONTACTS
3M, www.3m.com
C CUSHIONS, www.ccushions.com
LOCTITE, www.loctiteproducts.com
SEKISUIVOLTEK (MINICEL), www.sekisuivoltek.com
PHIFERTEX, www.Phifer.com
SAILRITE, www.sailrite.com
SUNBRELLA, www.sunbrella.com
YKK GROUP, www.ykk.com
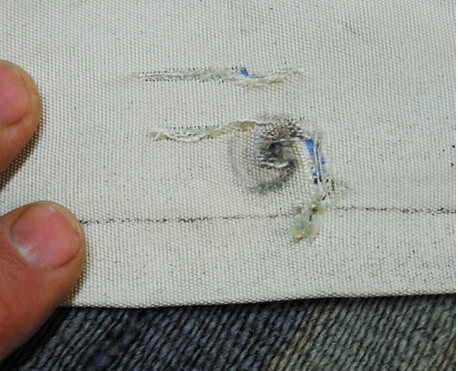
We’re always looking for ways to stitch without a machine, or better yet, without stitches. As it turns out, one of the most common fabric repairs—a torn-out snap—is a prime candidate for a no-stitch solution. By gluing layers of Sunbrella or other strong, porous fabric together, we can create a laminated, glue-on patch that distributes the snap’s load across the fabric.
Old Sunbrella is a good patch material if you want to match color, but the technique will work with any fabric that can be glued—including sailcloth (see “Sail Repair Tapes vs. Glues,” PS November 2017). New fabrics, including Dacron sailcloth and Sunbrella, often have surface treatments that resist adhesives. Vigorously washing the fabric with TSP and rinsing with water removes most surface contamination or treatments in preparation for gluing.
Like combining fiberglass cloth with epoxy resin, the cloth can be laminated into thick patches that are as tough as the sidewall of a bicycle tire. These repairs are often stronger than sewn repairs and will last longer than the item you are repairing.
If possible, choose a glue or adhesive sealant that will match the fabric color. For our project we used Loctite PL S40, a general-purpose polyurethane adhesive-sealant that has done well in past testing and is relatively inexpensive.
Work neatly and keep a roll of paper towels handy for clean-up. Mineral spirits will remove excess glue from hard surfaces, but it’s less effective on fabrics. For a neat job, mask the cloth around the patch area.
There is no sense putting a snap into fabric that can’t stand the strain of unsnapping. If excessive strain due to cloth shrinkage caused the snap to pull out, relocate the snap for a looser fit. For too-tight canvas or situations requiring a little more cloth, snap extenders can bridge the gaps. Extenders and all the tools and hardware you need are available at Sailrite (www.sailrite.com).
1. Join the edges of the hole together with masking tape.
2. Mask off the adjacent area outside the hole.
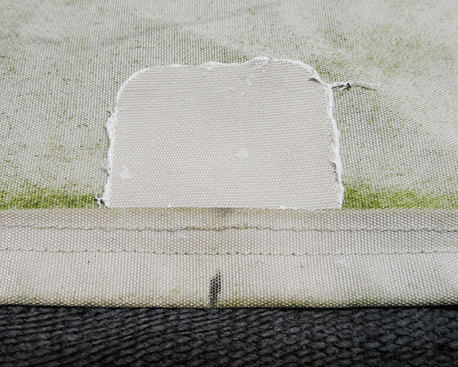
3. Make your patch. For a snap, a 1½-inch square patch is a good size. A 2-inch-square is about right for a grommet.
4. Round the corners of the patch (½-inch radius minimum).
5. Lay the patch on a paper towel and cover it with sealant about 1/16-inch thick.
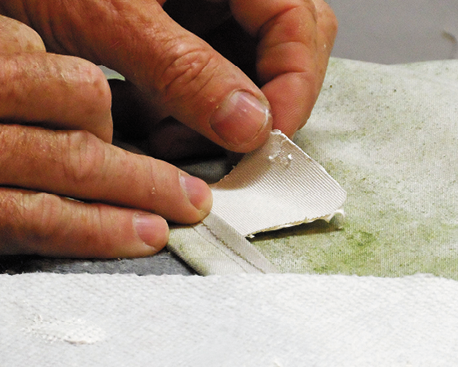
6. Press the patch into place. Cover the patch with wax paper to keep the goop off your tools. Using a firm spreader, apply pressure from the center outward to squeeze out excess glue.
7. If you also need a top patch, mark the underside to help align the top patch and position the new snap.
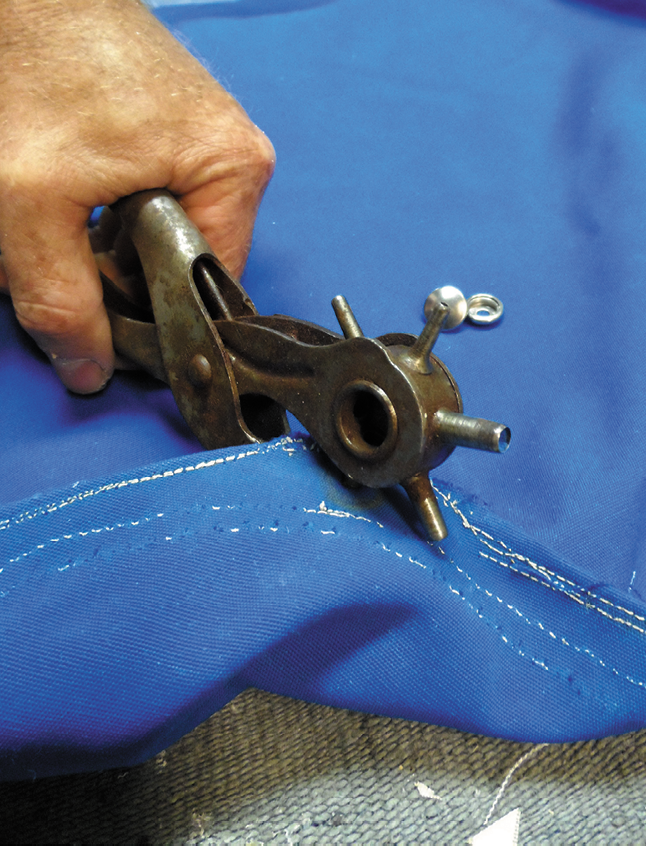
8. After curing for several days, punch a hole for the
grommet or snap.
9. Hammer the snap or grommet into place.
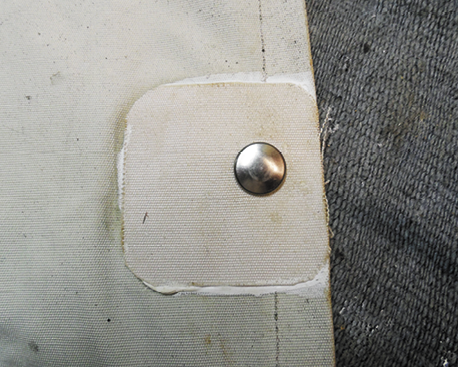
10. Your newly installed snap will be stronger than the
original.


