
Dry the core the best you can. Protect the area from the weather, use fans, heat guns, and even vacuum to pull the water out. Dry is best, but the reality is that core will remain slightly damp. If you really want it dry, you need either a lot of time or to peel it open. Thus, the best glues are those that tolerate moisture. In northern climates repeated expansion of trapped moisture, such as ice, will further damage the core and continued delamination.
Mark the injection points in a grid and apply masking tape. This can minimize any chipping of the gel coat. Additionally, the adhesive will bubble back out of the hole, and drilling through tape makes clean-up and finishing a lot easier. With Inject-A-Deck we recommend draping the entire work area as though prepping for surgery; massive amounts of foam can come back out.
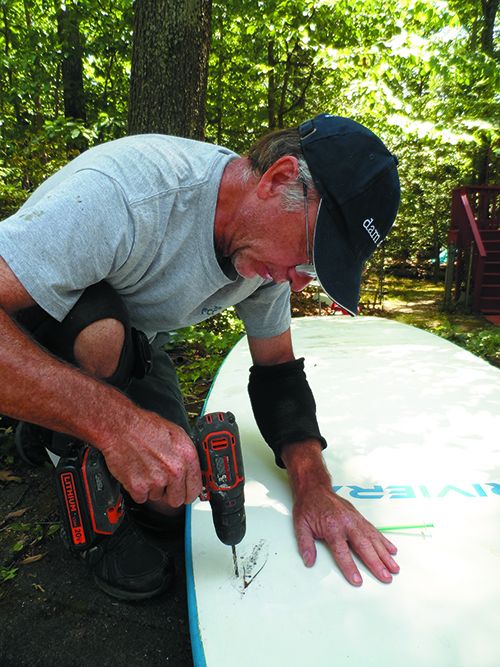
Drill a grid of holes. If the delamination is slight and you are using a low-expansion product (epoxy or Gorilla Glue), drill 3/16-inch holes on 1- to 2-inch centers. The adhesive will not soak far. If the deck is really floppy and you’re using Inject-A-Deck, drill ¼-inch holes on up to 10-inch centers. The foam will travel farther and the ¼-inch holes provide more room for the excess to come back out.
On vertical surfaces, angle the drill downwards so that the glue won’t just run out. Use a clamp-on drill-stop on the drill; you don’t want to drill into the cabin, although if you do, just slap some duct tape on the underside. You need to drill all the way through the core to insure maximum penetration, but you don’t want to puncture the inner skin.
Inject-A-Deck will expand and come out of the holes. Topping off is only required if the voids are huge. With Gorilla Glue, and even more so with epoxy, expect to spend the next 20 minutes topping-off the holes.
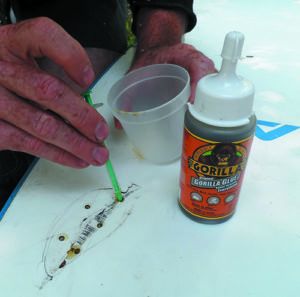
Working from underneath is possible with Gorilla Glue. Just slap some tape on each hole as soon as you fill it; expansion will keep it full. This is not as effective as working from the top, but you don’t have to bother with refinishing to cover the holes. We tried it once and it seemed to work.
If you are dead set on using epoxy, we suggest using a slow hardener and warming the deck (not the epoxy—it will exotherm) to 115F; noticeably warm to the touch but not hot. This will thin the epoxy and allow better penetration.
Use a razor to shave off excesses while the adhesive is still green. This will save a lot of sanding. Remove the tape.
Depending on surface damage and the characteristics of the product, you may need to sand, fair, and finish, as we did on the standup paddleboard. Even if the surface is smooth, it will look like a pegboard. Another alternative is simply to drill out the top 1/16- to 1/8-inch of each hole and fill with matching Marine Tex or Gelcoat. Not perfect, but it may work for just a few holes.
It is easy. If the core was plywood or balsa, there is still some rot in progress and you’ll be back in a few years. If the core was foam and the damaged area is small, maybe you’re done.


