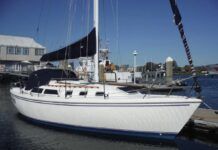
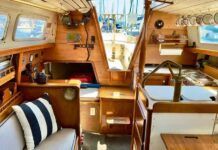
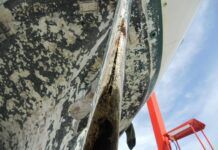
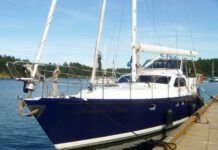
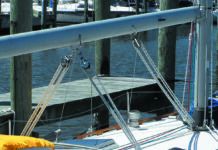
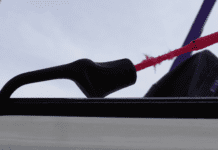
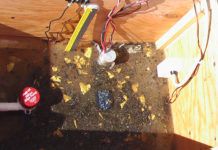
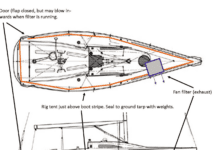
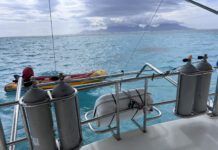
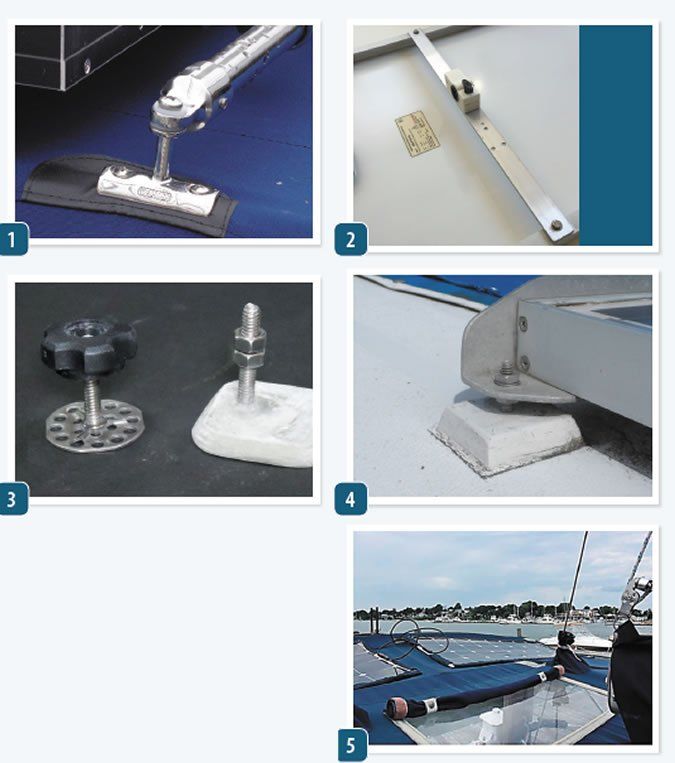
The simplest mounting method for rigid panels is directly to the deck using z-brackets, studs, or glue-on brackets. If mounting to frame above davits or a Bimini top run -inch x 2-inch aluminum bar crosswise under the panel, attach it to the factory-supplied mounting holes, and then attach with rail clamps or brackets (photos 1 & 2).
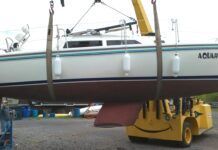
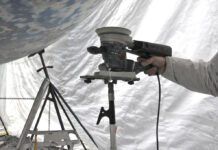
Flat panels. Use adjustable studs or spacers to avoid any torque on the panel (photo 3).
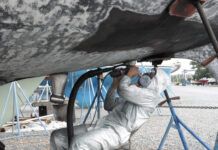
Correct mounting points. Frames are factory drilled for proper mounting points that will distribute the load when the boat moves vigorously. If holes are placed incorrectly excessive bending force can result. Alternatively, a supportive aluminum sub-frame can be added to provide additional support. This is particularly advisable for lower cost panels with light-weight frames (photo 4).
Torsional rigidity. Consider a picture frame; with the glass in place it seems reasonably firm, but remove the glass and most are as floppy as spaghetti. Because the panels are sealed to the glass, you don’t want to twist this. You must provide a frame that does not twist as the boat sails.
Frame must be stand-alone. Panel frames are not intended to hold the sides together. We cringe when we see panels with legs attached that apply spreading forces. Of course they delaminate. Bracket-only mounting is only acceptable to a rigid surface, such as a deck or hard top.
Guards. The glass must be protected from impact. However, the guards must not block any sunlight; even a few thin bars can reduce output by 20 percent or more.
Air gap. Panel output is reduced by high temperatures, so an air gap of a least 1-inch should be maintained. A junction box on the underside may also require clearance.
Removable. Though we have never had a failure, Murphy is watching. When we went to add a third panel, easy access to the mounting nuts was a plus.
Railing mounts. While not a favorite, as they must be retracted while docking and in heavy weather, they offer a shade-free setting and minimal weight.
Semi-Flexible panels
The instructions clearly state that regular flexing, even very minor, will result in reduced life of these panels. If mounted on a bimini or dodger the fabric must be firmly tensioned so that there is no pumping in the wind. Even top brands have been ruined by cloth flexing. The dodger must not twist. The panel may not be bent under a snow load.
No ridges. They may not cross ridges on the deck or be placed across a Bimini support bow. They are not suitable for mounting on arches unless continuous support is provided.
Foot traffic. Although some panels can be walked on, this does not mean they should be located where more than rare traffic is possible. Additionally, the instructions specifically state that panels subject to foot traffic be walked on must be firmly bonded to a rigid surface. The panel may not flex under foot in the most minute degree.
Velcro. Semi-rigid panels can mount directly to the Bimini using pockets closed using Velcro flaps, but this can shorten life with flexing. Flexible panels are even more vulnerable here (photo 5).
Screws. Seal all holes against water intrusion by over drilling and epoxy-sealing the core.
Bonding. Use a medium to high strength sealant on the perimeter, such as 3M 4200UV, Sika 295, or Locktite PL S40. Use a weaker bedding compound, such as Sudbury Elastomeric Sealant or Boatlife Caulk for the interior. Continuous bonding is only required if foot traffic is anticipated.
Size. While rigid panels maintain output, semi-flexible panel output will drop noticeably within five years. Plan for it.
3M Dual Lock. Though grommets are supplied, you may find a no-fastener mounting more convenient. These fasteners provides more than five years durability and 15 pounds per square inch pull-out strength.


