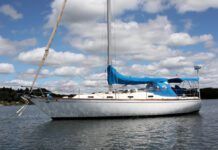
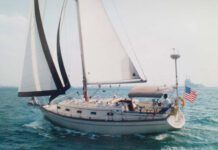
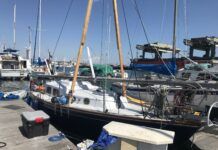
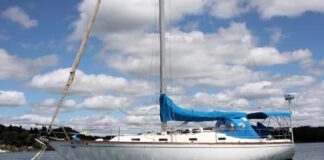
Three years ago, I bought a 1968 Hinterhoeller HR28 from a local junkyard that had paid $250 for it with plans to salvage the lead keel and Sawzall the rest. Ive spent almost three years on an amateurs refit. Now, I need new lifelines.
I know that plastic-coated wire is out-of-favor and that race-sanctioning bodies now approve of high-tech (and high-priced) ropes. What risks am I taking if I just use a cheaper and thicker rope-something like Samson LS 3/8-inch with a tensile strength of 3,700 pounds? Stainless-steel 3/16 lifeline wire is rated at 3,700-pounds breaking strength. Are tensile and breaking strength the same?
I understand some might reject the aesthetics of fat, colored lifelines, but on the other hand, they may be more visible and easier on the hand.
Hank Riehl
Mooney Hahn, Hinterhoeller HR28
Salem, Mass.
Tensile strength is the force that the line can withstand without suffering a failure. When one end of something is fixed, and a load is imposed on the opposite end, the material is placed in tension. Rope has ample tensile strength, and in practice, it is always used in tension.
Breaking strength is the force required to break the line. Some rope makers equate breaking strength with tensile strength. Others refer to safe working load (SWL) as a guideline for choosing the right one for your boat. In some cases, SWL may be 50 percent of the breaking strength.
The International Sailing Federation (ISAF) requires boats over 28 feet to have lifelines made of uncoated wire or the equivalent high molecular weight polyethylene rope (HMPE) like Dyneema or Spectra. Choosing rope lifelines of equal breaking strength to wire is a start. However, breaking strength isn’t the only factor to consider when deciding on lifeline materials: Stretch is another issue. Wire has much less stretch than Dacron, and only the high-tech HMPE rope and other esoteric fibers match or beat wires resistance to stretch. Rope lifelines that stretch can increase side loading on the stanchions and cause premature crimping, which leads to stanchion bending and eventually failure.
Other issues to consider are how to prevent cover chafe, and learning careful splicing and lashing techniques. Versions of the Brummel splice are often the preferred approach for placing an eye in single-braid line.
Well be able to offer more concrete guidance this fall, when we wrap up the long-term synthetic lifeline testing were conducting in conjunction with the U.S. Naval Academy. Be sure to check out the launch article on that test in the September 2012 issue.
Bottom Boo-Boos
I recently stripped 15 years of bottom paint and barrier coat from my 1984 sailboat to apply Interlux Interprotect 2000E and new bottom paint. My help was a little aggressive and sanded through the gelcoat to the fiberglass in a few spots. Should I wipe those spots down with acetone and apply a couple of coats of gelcoat, or just apply the Interprotect 2000E?
Paul Kelly,
Great Kills Harbor, Staten Island,
Lower New York Harbor
Over-zealous sanding/stripping that results in burn-through is a very common issue with any help thats not professional. Your best bet with below-the-waterline burn-throughs is to spot coat the raw fiberglass areas with an epoxy resin. We recommend Interluxs Epiglass HT9000, which was one of our top picks in the last adhesive test (PS, June 2012), and itll allow you to stick with the same brand of products since youre using Interprotect barrier coat. Simply brush on a coat of the HT900 resin, being careful to avoid runs and hangs from laying it on too thick. After the resin cures, wash the spot(s) with dish soap and water to remove any residual amine. Follow up by sanding with 80-grit paper to provide an anchoring pattern. And finally, dust the spots off and wipe them down with Interlux 202 solvent (www.yachtpaint.com). Then youre ready to apply Interprotect to the entire area below the waterline.


