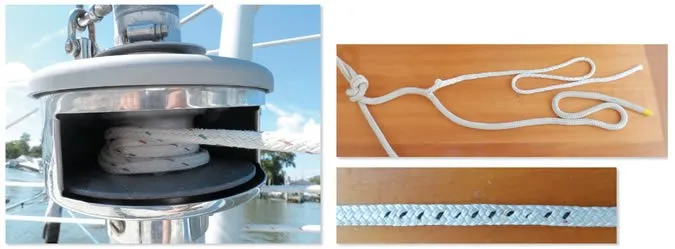
Replacing the roller-furling control line is an easy do-it-yourself job for the boat owner. Inexpensive, double-braid Dacron is a fine choice for furling lines on most boats shorter than 40 feet. On longer boats, you can opt for a furling-line material of more esoteric double-braids with less stretch. However, any line smaller than 3/8-inch diameter is too difficult to grip.
In a handful of cases, the amount of line required barely fits on the drum. A nearly full drum makes furling easier, but you don’t want the drum so full that the furling line will jam. And remember that youll want at least two sheet wraps around the furled sail, so skimping with a too-short line can lead to trouble.
If your drum is too small to handle the required line, one functional workaround is to remove the cover or the core of a section of the furling line. This will weaken the line by about 50 percent, but the rope will still be plenty strong. Here, we look at removing the core.

Once the core is stripped from a double-braided line, the cover flattens into a tape that rolls neatly onto the drum. Most of the rope remains intact, so it still runs smoothly through blocks, clutches, and winches.
Before replacing the furling line, note the number of times the existing line is wrapped on the drum and whether another wrap is needed to allow two full wraps of the sheets on the furled sail. The drum should be three-fourths full for good leverage without rubbing. You can adjust the de-cored length to achieve the ideal diameter.
Mark the core transition point at your preferred point between the drum and the last block or jammer. This point shouldnt be any closer than about three feet from the last block or jammer.
Tie an overhand loop in the new line about five feet from the core transition point toward the bitter end; this will prevent slippage. Through a gap in the cover at the core transition point, work the core out of the new line with a fid, marlin spike, or knitting needle.
Mark the core where it exits the cover. Slide the cover toward the stopper knot to expose about six more inches of core for tapering. Cut the core at the marked spot, taper the end, then pull the cover back over the tapered core. Untie the knot.
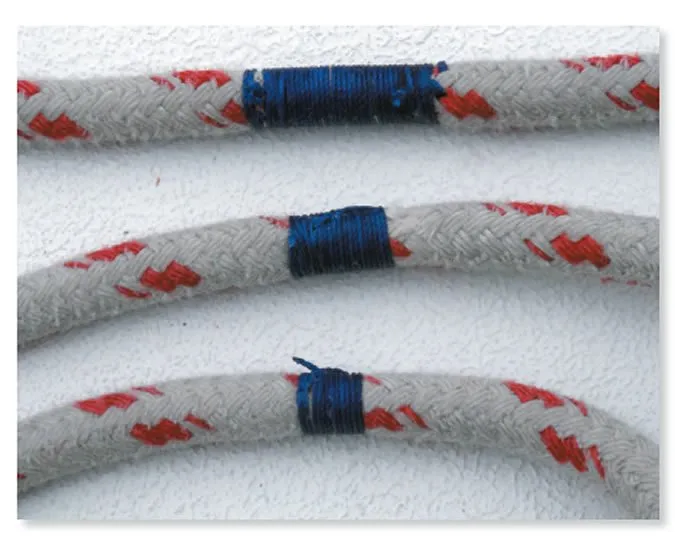
Lock the core and cover with either an anti-abrasion coating like Spinlock RP-25 or Maxijacket (see PS March 2015 online) or with stitches. If using a coating, follow makers guidance and don’t coat any portion that will be handled or used on a winch. If stitching, place about 12 stitches through the cover and the full core (not the tapered section). These stitches should be pulled tight to prevent chafe. (The stitches in the photos are loose for illustrative purposes.)

With the sail fully furled (counterclockwise is standard), secure the replacement lines tapered end to the furlers anchor hole with a stopper knot. If you can’t access the anchor hole, you can also secure the line with a clove hitch with a stopper knot on the end to prevent slippage.
Remove the furled sails sheets, and spin the sail several times, winding on extra furling line. When the sail is furled in high winds, it will be tighter and you will need these extra turns; they also reduce stress on the stopper knot.
Reattach the sails sheets, feed the line back through the fairleads, put a stopper knot in the end, belay the line, and go sailing.


